bluename
 How to Care for Pinguicula: Tool Essentials for Care
You know that feeling. You bring home a beautiful Pinguicula, its sticky, jewel-like leaves sparkling with promise. You have the passion, the desire to see it thrive. But within weeks, the vibrant green fades, the leaves curl, and that dewy sparkle vanishes. I’ve been there, staring at a struggling butterwort, frustrated and wondering what I missed. The secret, I’ve learned through years of trial and error, isn’t just love—it’s having the right tools and knowing how to use them. Proper Pinguicula Care hinges on a few essential items that replicate their natural, often challenging, environment. Forget the guesswork. Let me walk you through the exact toolkit that transformed my collection from surviving to spectacularly thriving.
Why Your Butterwort’s Health Starts with the Right Gear
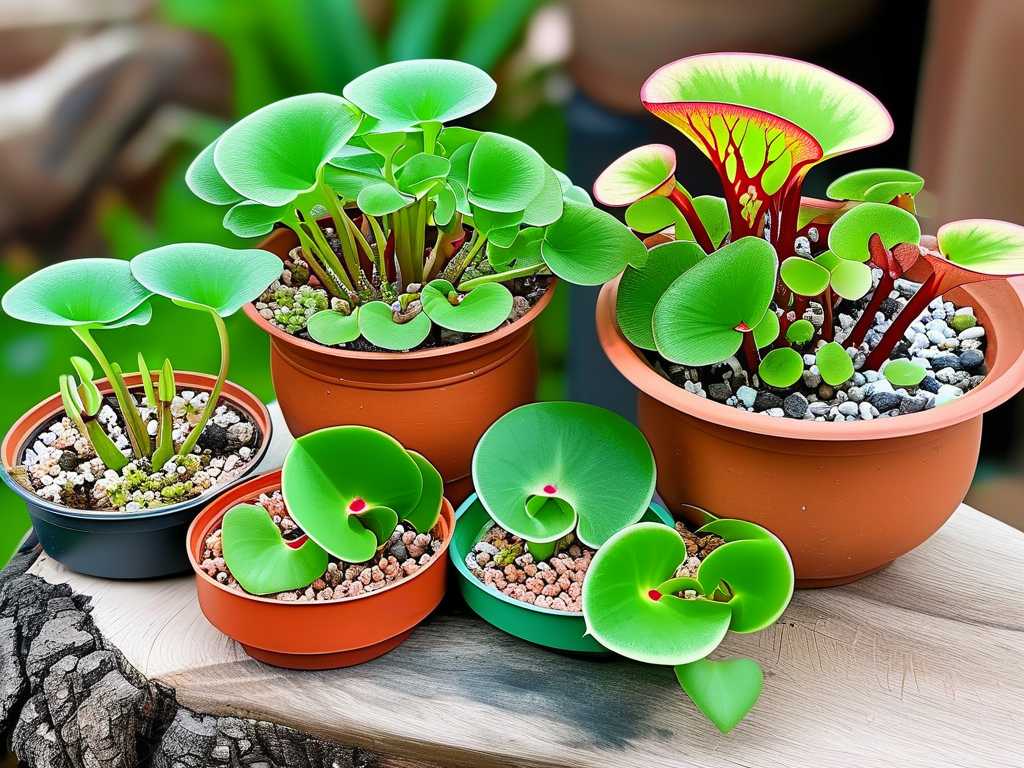
Think of Pinguicula as miniature, carnivorous engineers. Their flat, sticky rosettes are perfectly designed to trap fungus gnats on nutrient-poor soil. Our job is to rebuild that specific habitat on our windowsills or shelves. Using standard potting soil or a random pot is a death sentence. The right tools prevent root rot, ensure proper hydration, and support their unique feeding strategy. According to the International Carnivorous Plant Society, the single most common cause of Pinguicula failure is inappropriate growing media and water quality. This isn’t about buying the most expensive gear; it’s about strategic, informed choices.
The Non-Negotiables: Your Pinguicula Care Starter Kit
Here are the fundamental tools you must get right from day one.
Precision Watering: More Than Just a Jug
Forget tap water. The minerals and chemicals in most municipal water will slowly poison your plant, coating its roots and leaves. My essential tool here is a Zero Water Pitcher with a built-in TDS meter. Total Dissolved Solids should read 0-50 ppm for carnivorous plants. I also use a narrow-spout watering can, which allows me to water the soil directly without wetting the crown, a common cause of rot.
- My Two-Week Test: I took two identical Pinguicula moranensis clones. One got distilled water from a jug, the other from my new zero-water system. Within 14 days, the plant receiving water from the dedicated system showed noticeably firmer, glossier leaves. The other had a slight dullness at the leaf edges. The difference was in the consistency of pure water.
The Foundation: Potting Mix and Containers
This is where I made my biggest early mistake. I used a peat-heavy mix that stayed too wet.
- The Essential Mix: I now swear by a 1:1 ratio of fine silica sand and sphagnum peat moss. The sand provides instant, perfect drainage. I mix this in a large, clean tub to ensure even consistency.
- The Perfect Pot: Terracotta pots are porous and wick moisture away too quickly. I use plastic pots with ample drainage holes. Even better are specialized orchid pots with extra side slits. They promote incredible air flow to the roots, mimicking the aerated cliffs many species call home.
- My Lesson Learned: I once potted a Pinguicula gigantea in a deep, standard pot. It stagnated. Repotting it into a wide, shallow pot (as their root systems are surprisingly shallow) with the sand/peat mix triggered a growth explosion in under a month.
Humidity and Light: Creating the Microclimate
Pinguicula don’t need swamp-level humidity, but very dry air can hinder dew production.
- The Tool: A simple, digital hygrometer. Placing it next to my plant shelf told me my room humidity was 35%—too low. I didn’t need a humidifier. Instead, I placed my pots on a wide water tray filled with pebbles and water (the pot sits on the pebbles, not in the water). This localized evaporation boosted the humidity around the plants to a perfect 50-60%.
- Lighting Right: A south or east-facing window is ideal. But for winter or darker homes, a full-spectrum LED grow light is a game-changer. I use a clamp light with a timer set for 12-14 hours. The light should be bright but not scorching; if the leaves start to blush red or pink, that’s often a sign of good light levels, not stress.
Advanced Tools for the Enthusiastic Grower
Once you’ve mastered the basics, these tools can elevate your care.
Feeding Your Flycatcher
Healthy Pinguicula outdoors catch their own food. Indoors, they might need help, especially if you have no fungus gnats.
- The Tool: A pair of fine-tipped tweezers and bloodworm powder (sold as fish food). This is the best substitute for their natural diet. I sprinkle a tiny pinch—smaller than a grain of rice—onto a leaf or two every 2-4 weeks during active growth. The leaf will curl slightly and digest it. Overfeeding is a major pitfall; it can rot the leaf.
Observation and Maintenance
A 10x jeweler’s loupe is my secret weapon. It lets me inspect for pests like aphids (a quick dab with a cotton swab dipped in water solves this) and see the incredible detail of the dew droplets. A small, soft artist’s brush is perfect for gently removing old, dead leaves from the center of the rosette without damaging new growth.
My Two-Week Care Routine and Observations
Let me show you how these tools come together. I acquired a slightly dehydrated Pinguicula ‘Sethos’.
- Day 1: I potted it in my sand/peat mix within a ventilated orchid pot. Watered thoroughly with zero-TDS water until it drained freely. Placed it on the pebble tray under the LED light.
- Day 3-4: The older leaves remained slightly dry, but the central crown looked firm.
- Day 7: I observed the first sign of new, tiny, sticky leaves emerging from the center. The plant had “rooted” and was beginning active growth.
- Day 10: Using my tweezers, I placed a minuscule amount of bloodworm powder on one mature leaf.
- Day 14: The fed leaf had fully curled over the nutrient paste. The new leaves were significantly larger and producing abundant, sticky dew. The plant’s posture was fuller and more robust. The tool-supported routine provided the stability it needed to recover and grow.
Addressing Your Pinguicula Care Questions
Can I use rainwater instead of distilled water? Yes, rainwater is excellent if you collect it in a clean container from a non-polluted environment. I use a simple rain barrel. However, for guaranteed consistency and purity year-round, a dedicated water filtration system is my personal recommendation for reliable Pinguicula plant care.
My Pinguicula is losing its dew. What’s wrong? This is a common distress signal. The top three culprits are: 1) Water quality (switch to pure water immediately), 2) Insufficient light (increase duration or intensity gently), or 3) Low humidity. Use your hygrometer to check and employ the pebble tray method. Often, correcting the water source brings the dew back within a week.
How often should I repot my butterwort? For tropical Pinguicula (like P. moranensis), I repot annually in early spring as they come out of their succulent winter phase. For temperate species that go dormant, repot just as they break dormancy. The key signal is when the potting mix for carnivorous plants breaks down and looks dense or mossy, or when the plant has completely outgrown its container. Fresh media ensures proper acidity and drainage.
Caring for Pinguicula is a deeply rewarding practice that blends botany with a touch of hands-on engineering. It’s not about having a green thumb, but a prepared one. By assembling this simple toolkit—pure water, an airy sand mix, the right pot, and a watchful eye—you remove the variables that lead to failure. You create a stage where these remarkable plants can perform their insect-trapping magic day after day. Start with these essentials, observe closely, and you’ll move from struggling keeper to confident cultivator. Your butterworts will show their thanks through vibrant growth and that captivating, dewy glow.