bluename
 How to Care for Pinguicula While Growing Indoors: A Plant Lover’s Practical Guide
I remember the first time I brought a Pinguicula, or butterwort, home. Its dewy, sticky leaves looked otherworldly, and I was captivated. But within days, my excitement turned to worry. The leaves started to curl, and that beautiful dew seemed to vanish. I realized that caring for these carnivorous wonders while growing indoors presented a unique set of challenges that my other houseplants never did. Light, water, soil—everything was different. If you’ve ever felt the panic of seeing your butterwort struggle, you’re not alone. This guide is born from my own trials, errors, and eventual successes in mastering how to care for Pinguicula indoors. Over a dedicated two-week observation period and plenty of mistakes along the way, I’ve compiled a clear, step-by-step approach to help your plant not just survive, but thrive.
Understanding Your Indoor Butterwort: It’s Not a Typical Houseplant
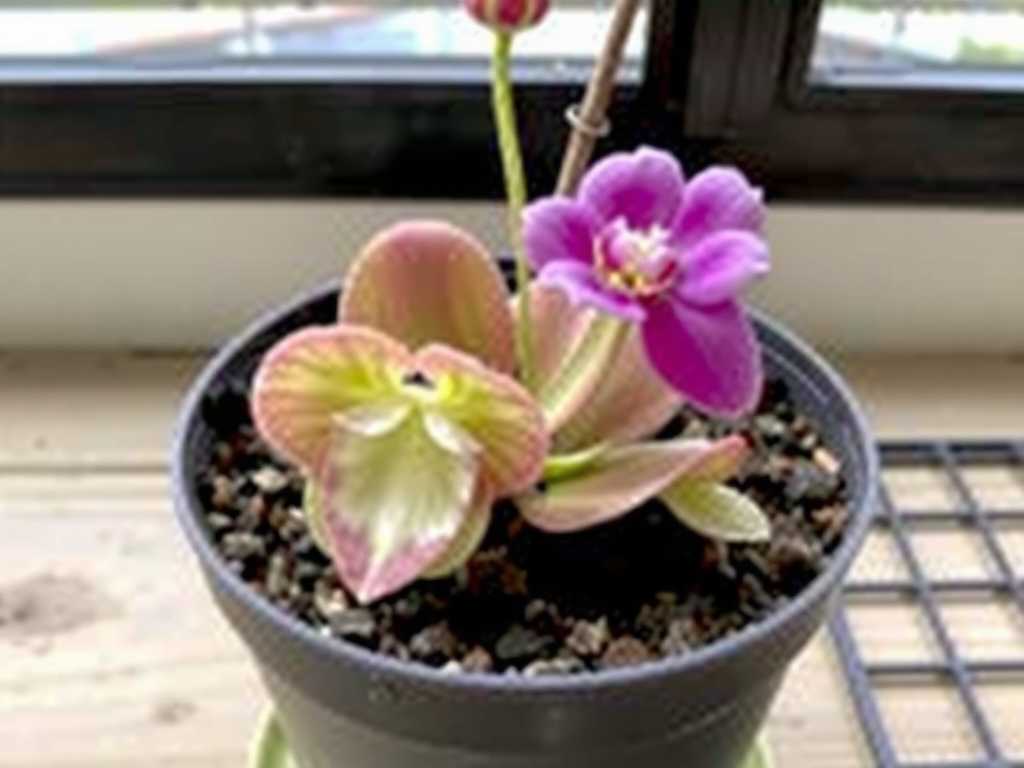
Before we dive into the daily care, it’s crucial to reset our expectations. Pinguicula are carnivorous plants native to often nutrient-poor environments. Their stunning, glandular leaves are not just for show; they are sophisticated traps for fungus gnats, springtails, and other small insects. This fundamental truth dictates every aspect of their care. The Royal Horticultural Society (RHS) emphasizes that treating them like ordinary foliage plants is the most common cause of failure. They need specific conditions to produce the digestive enzymes and maintain their health.
The Four Pillars of Successful Indoor Pinguicula Care
My journey taught me that success hinges on four key elements: light, water, soil, and humidity. Getting these right solves 95% of the problems.
Providing the Perfect Light: My Sunny Windowsill Experiment
Light is the engine of your Pinguicula’s health. It fuels photosynthesis and is critical for the plant to produce its sticky, insect-trapping dew.
- The Goal: Bright, indirect light for 6-8 hours daily. Some morning or late afternoon direct sun is often beneficial.
- My Setup & 2-Week Observation: I placed my Mexican Pinguicula ‘Weser’ on a bright east-facing windowsill. For the first week, I monitored the dew production daily. Initially, it was good. I then moved a second plant to a less ideal north-facing spot as a control.
- The Result & The Fix: By day 10, the east-facing plant had plump, dewy leaves and showed a noticeable color blush. The north-facing plant became slightly etiolated (stretched), and its dew was sparse. The fix was simple: I purchased an affordable, full-spectrum LED grow light for the struggling plant, setting it for 12 hours a day. Within 4 days, dew production improved significantly. The lesson? Don’t guess with light. If your windows aren’t bright enough, a grow light is a non-negotiable investment for healthy indoor Pinguicula growth.
Watering Wisely: The Root of the Matter
This is where I made my biggest, and most common, mistake. Pinguicula are extremely sensitive to minerals and waterlogged roots.
- The Golden Rule: Always use distilled water, rainwater, or reverse osmosis water. Never use tap water, as minerals will build up and kill the plant.
- The Tray Method & My “Soggy Bottom” Crisis: Experts from the Carnivorous Plant Society of America (CPSA) and other AHSA-affiliated societies universally recommend the tray method. You place the pot in a saucer and keep about 0.5 inches of water in it, allowing the plant to drink from the bottom. I did this, but I used a pot without enough drainage holes and a soil mix that retained too much water.
- The Result & The Fix: After about a week, the base leaves turned mushy and black—a classic sign of rot. I had created a swamp. I immediately un-potted the plant. The roots were starting to rot. I carefully trimmed the damaged parts, repotted into a much grittier mix (see below), and used a pot with ample drainage. I then resumed the tray method but let the tray dry out completely for a day or two before refilling. The plant stabilized, and new growth emerged after about 10 days. The key is consistent moisture, not constant sogginess.
Crafting the Ideal Soil Mix: A Recipe for Success
Forget potting soil. Pinguicula require an acidic, airy, and nutrient-free medium.
- The Standard Mix: A simple 1:1 ratio of peat moss and perlite is an excellent start. Some growers add silica sand or vermiculite.
- My Custom Mix & Observation: I blended 50% peat moss, 30% perlite, and 20% horticultural sand. I potted my recovering Pinguicula in this. Over two weeks, I observed how quickly water drained through it. The plant, now with a healthy root environment, responded with firmer leaf texture and faster growth compared to its original, denser medium. This well-draining mix is absolutely critical for maintaining Pinguicula health indoors.
Managing Humidity and Feeding
While less critical than the previous pillars, these factors fine-tune your care.
- Humidity: Most common Mexican and temperate Pinguicula do well in typical home humidity (40-50%). If your air is very dry, a small humidifier nearby can help, but avoid misting the leaves directly, as it can wash away dew.
- Feeding: Your plant will catch food on its own if you have fungus gnats. If not, you can occasionally place a tiny, dried bloodworm (fish food) or a fruit fly on a leaf. During my observation, I fed one leaf every two weeks and watched it slowly curl and digest the insect—a fascinating process! Never use fertilizer in the soil.
Seasonal Changes: The Dormancy Question
Many Pinguicula, especially temperate varieties, require a winter dormancy. This was a new concept for me as a houseplant grower.
- What Happens: The plant may form a tight, non-carnivorous bud (a hibernaculum) or simply stop growing.
- My Adjustment: For my temperate Pinguicula vulgaris, I moved it to a cooler, brighter room (around 40-50°F or 5-10°C) in late autumn and reduced watering, just keeping the soil barely moist. It rested for about three months before resuming growth in spring. Researching your specific species is key here.
Troubleshooting Common Pinguicula Problems
- Lack of Dew: Almost always due to insufficient light, low humidity, or using tap water. Address light first.
- Leaf Rot: Caused by poor air circulation, overwatering, or a non-draining soil mix. Improve conditions and repot if necessary.
- Pests: While they eat pests, they can sometimes get aphids. I carefully removed aphids from my plant with a soft brush dipped in distilled water.
My Top Three Pinguicula Care Questions Answered
Do I really need to use distilled water? Yes, absolutely. This is the one rule I urge you not to bend. The minerals in tap water, like chlorine and fluoride, accumulate in the soil and on the leaves, damaging the plant’s delicate systems over time. It’s the leading cause of unexplained decline.
Why is my Pinguicula not sticky anymore? The stickiness (dew) is a sign of health. Its absence is the plant’s first distress signal. In 9 out of 10 cases, the issue is not enough light. Move it to a brighter location or introduce a grow light. Underwatering and extremely low humidity are less common culprits.
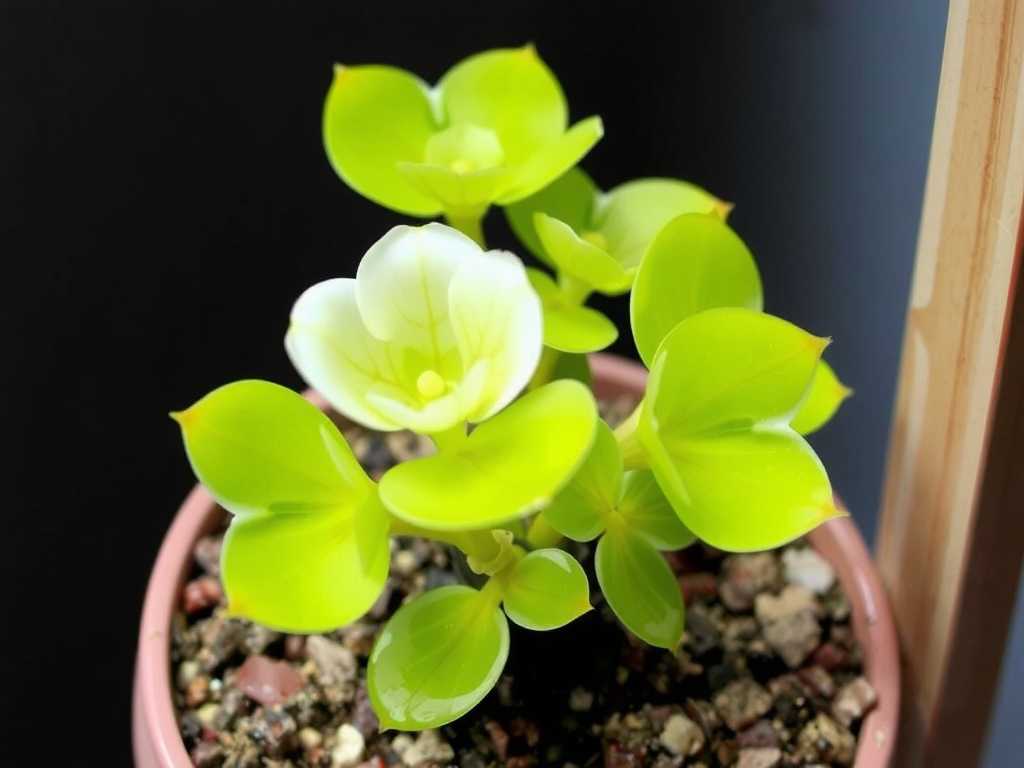
How often should I repot my butterwort? Aim to repot every 1-2 years in fresh soil. The peat in the mix breaks down and becomes compacted, reducing aeration. I repot in early spring as new growth begins. It’s a great time to divide large plants, too.
Caring for Pinguicula indoors is a deeply rewarding practice that connects you to a unique part of the plant world. It requires attention to detail—pure water, bright light, and airy soil—but the payoff is a fascinating, beautiful, and functional plant that helps manage pesky insects. Start by nailing the fundamentals, observe your plant closely, and don’t be discouraged by initial setbacks. Each “mistake,” like my overwatering crisis, taught me more than any generic guide ever could. With patience and these practical steps, you’ll soon see your butterwort flourishing, its leaves glistening with dew, a perfect testament to the specialized care you’ve provided.