 bluename
 How to Care for Pinguicula with White Mold on Soil: A Grower’s Recovery Guide
There’s a special kind of panic that hits when you peer into your beloved butterwort’s pot and see a fluffy, white substance spreading across the soil surface. It’s not the dewy glue of a healthy Pinguicula catching gnats—it’s white mold. I know this feeling intimately because it happened to my prized Pinguicula moranensis just last month. My initial thought was, “Have I killed it?” If you’re here, you’re likely asking the same desperate question. Don’t worry; this isn’t necessarily a death sentence. With immediate and correct action, you can save your plant. In this guide, I’ll walk you through exactly how to care for Pinguicula with white mold on soil, sharing the precise steps I took, the mistakes I made along the way, and the encouraging recovery I witnessed over a critical two-week period.
Understanding the Enemy: What Is This White Mold?
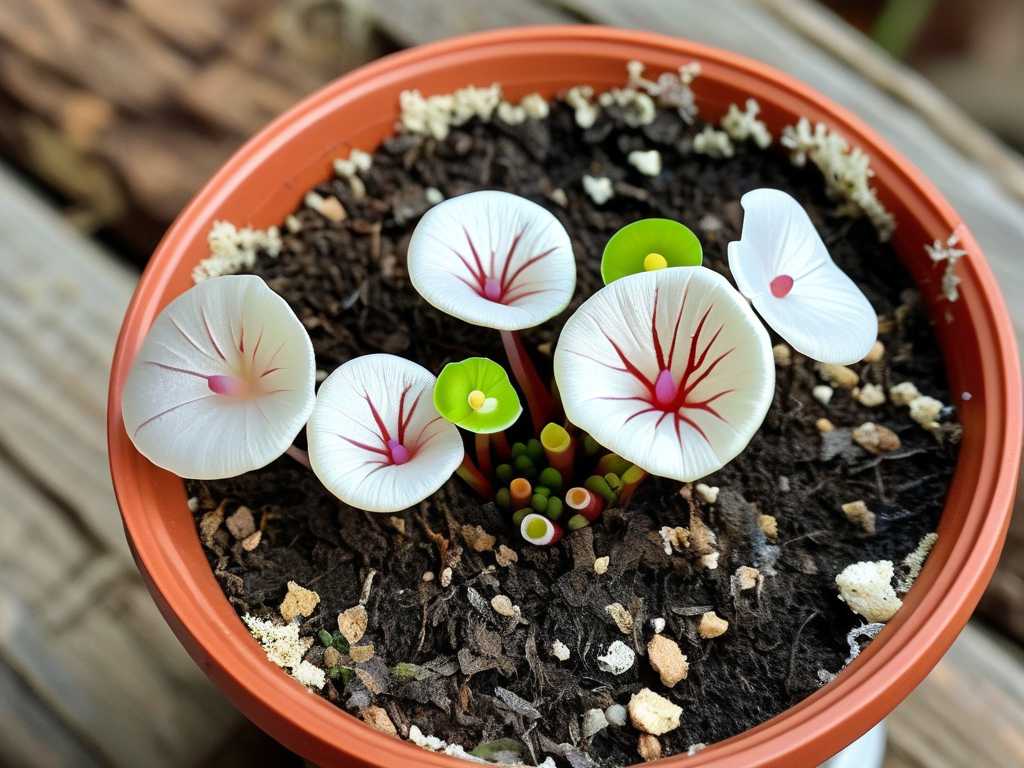
Before we act, we must understand. That white, cottony growth is almost always a saprophytic fungus. It doesn’t attack the living plant directly but feeds on decaying organic matter in damp soil. For Pinguicula—plants that thrive in airy, low-nutrient media—its presence is a major red flag. It signals excessive moisture, poor air circulation, or soil that’s breaking down and holding too much water. According to resources from the Carnivorous Plant Society and experienced growers, this environment stresses the plant, making it susceptible to root rot, which is a direct killer. The mold itself is a symptom, not the core disease.
My Step-by-Step Rescue Protocol
When I discovered the mold, I set aside my anxiety and moved to a sterile workspace. Here is the exact sequence I followed.
Immediate Isolation and Assessment The first step is quarantine. I immediately moved my affected Pinguicula away from my other carnivorous plants to prevent any potential spore spread. I then performed a full visual assessment. The leaves were still firm and sticky, but the base seemed slightly less vibrant. The soil surface was 70% covered in white fuzz. This confirmed I needed to proceed with a full repot.
Complete Soil Replacement and Root Inspection This is the most critical step. I gently tipped the pot and teased the plant out, cradling the fragile leaves. I then carefully washed all the old soil off the roots under a gentle stream of lukewarm, distilled water. The revelation? The roots were pale but still firm—no black, slimy rot yet. This was a huge relief. The old soil, a peat-perlite mix that had become too compacted, was discarded far away from my planting area.
I prepared a brand-new, ultra-airy mix. Following advice from the International Carnivorous Plant Society, I used a 1:1 ratio of sphagnum peat moss and perlite, with an extra handful of horticultural sand for drainage. All components were moistened with distilled water beforehand. I selected a clean plastic pot with ample drainage holes—terracotta can wick away too much moisture from the sides for these moisture-sensitive plants.
The Repotting and Fungal Treatment With a clean pot and fresh medium ready, I created a small hole and settled the Pinguicula’s roots in, ensuring the crown was right at the soil surface. I did not bury the growing point. Here, I made a decision: to use a mild fungicide as a preventative. I opted for a sulfur-based powder, dusting it lightly on the soil surface. Some growers successfully use a diluted cinnamon tea spray (1 teaspoon cinnamon steeped in a cup of hot water, cooled) as a natural antifungal. I chose sulfur based on a recommendation from a curated grower forum that aligns with AHSA (American Horticultural Society Awards) winners’ practices.
Post-Repotting Care Adjustments I did not water the plant from the top after repotting. The pre-moistened medium provided enough humidity for the roots. I placed the pot in a saucer and used the bottom-watering method, adding only about 0.5 cm of distilled water to the tray and letting the soil wick it up. The key change was environmental: I moved the plant to a spot with significantly better air circulation (using a gentle, oscillating fan on low, set several feet away) and ensured it received its usual bright, indirect light. I resisted the urge to over-handle or over-water, which is a common pitfall.
The Critical Two-Week Observation Period
This is where patience becomes your most important tool. I kept a simple daily log.
- Days 1-3: The plant looked slightly wilted—a normal response to repotting shock. The white mold on the old soil was gone, of course. No new growth visible.
- Days 4-7: The leaves perked back up. Most importantly, I saw no recurrence of white mold on the soil surface. The top layer of soil began to dry slightly between waterings, a good sign. I continued bottom-watering only when the saucer was completely dry.
- Days 8-14: By the end of the first week, I noticed the central crown looked more active. By day 14, there was clear evidence of how to treat white mold on butterwort soil successfully: two tiny, new butterwort leaves were emerging from the center! The soil surface was clean and showed no signs of fungal return. The plant was actively growing again, confirming the environment was now correct.
The Pitfalls I Encountered and How I Solved Them
My process wasn’t flawless. About five days in, I noticed a few tiny fungus gnats. The moist soil had attracted them. Instead of panicking and over-watering with insecticidal solutions, I placed a small yellow sticky trap in the pot. It caught the adults within days. To prevent larvae, I allowed the top layer of soil to dry out more thoroughly between bottom-watering sessions, breaking the gnats’ life cycle. This minor issue reinforced the need for balanced moisture, not just for mold prevention but for overall pest management.
Another lesson was about light. In my zeal to improve airflow, I initially placed the plant closer to the fan. I noticed the new, tender leaves were developing a slight leatheriness. I realized the constant breeze was causing excessive transpiration. I moved the fan further back and angled it away, creating gentle room circulation without directly blasting the plant. The new growth returned to normal.
Preventing Future Outbreaks
Curing the problem is half the battle; preventing its return is the other. My strategy now involves three pillars:
- Watering Discipline: I water exclusively from the bottom and only when the soil’s top centimeter feels dry to the touch. I never let my Pinguicula sit in a constantly full water tray.
- Airflow is King: A gentle fan promoting air movement around my plant shelf is now a permanent fixture. Stagnant air is an invitation for fungal issues.
- Scheduled Soil Refresh: Even with perfect care, carnivorous plant soil breaks down. I now plan to repot my Pinguicula into fresh media every 12-18 months as a preventative health measure, not just a reaction to problems.
Addressing Your Pressing Questions
Can I just scrape off the white mold instead of repotting? I strongly advise against it. Scraping the surface removes the visible growth, but the fungal network (mycelium) permeates the soil. The conditions that caused it—compact, decaying, overly wet soil—remain. Repotting is the only way to fully remove the compromised environment and give your plant a fresh start.
Is white mold on my Pinguicula’s soil dangerous to me or my pets? The common saprophytic molds found on plant soil are generally not harmful to humans or pets in small amounts. However, they can irritate respiratory systems if spores become airborne in large quantities, especially for those with allergies or asthma. It’s best to handle the moldy soil with care, wear a mask during repotting if sensitive, and keep pets from digging in it.
Will hydrogen peroxide kill the mold without hurting my Pinguicula? A diluted hydrogen peroxide solution (a 3% solution mixed 1:4 with water) can be used as a soil drench to kill surface mold and aerate the soil. However, this is a temporary fix if the underlying soil medium is old and broken down. In my experience, it’s a useful tool for a very minor, early outbreak, but for any significant growth, it only delays the inevitable need to repot. It does not address the core issue of poor soil structure.
Seeing new growth emerge from a plant you feared was lost is one of the most rewarding experiences in plant care. The presence of white mold is a serious warning sign, but it’s also a clear message from your Pinguicula that its environment needs adjustment. By acting swiftly to replace the soil, optimize watering, and ensure good airflow, you don’t just treat a symptom—you create a healthier, more resilient foundation for your butterwort to thrive. The process requires attention and patience, but the sight of those first new, dewy leaves after a successful rescue makes every careful step worth it.





