 bluename
 How to Care for Pinguicula with Store-Bought Soil: A Practical Guide
I’ve always been fascinated by the delicate beauty of Pinguicula, or butterworts. Their jewel-toned, sticky leaves are a marvel of nature, a perfect blend of elegance and deadly efficiency for gnats and flies. But for years, I hesitated. Everything I read insisted they needed special, nutrient-poor mixes like peat and perlite. As someone who loves to grow plants but also values convenience, I wondered: could I simplify things? Is it truly impossible to care for a Pinguicula with store-bought soil? This question became my project. I decided to experiment, document the process, and share the real, unfiltered results—the successes and the stumbles—over a focused two-week period.
My goal was clear: to find a way to make these captivating carnivores more accessible to fellow plant lovers who might be intimidated by sourcing specialized components. This guide is the result of that hands-on trial. I’ll walk you through my exact steps, the immediate and two-week observations, the problems I encountered, and how I solved them. If you’ve ever stood in the gardening aisle, staring at bags of potting mix and wondering if you could make it work for your butterwort, this is for you.
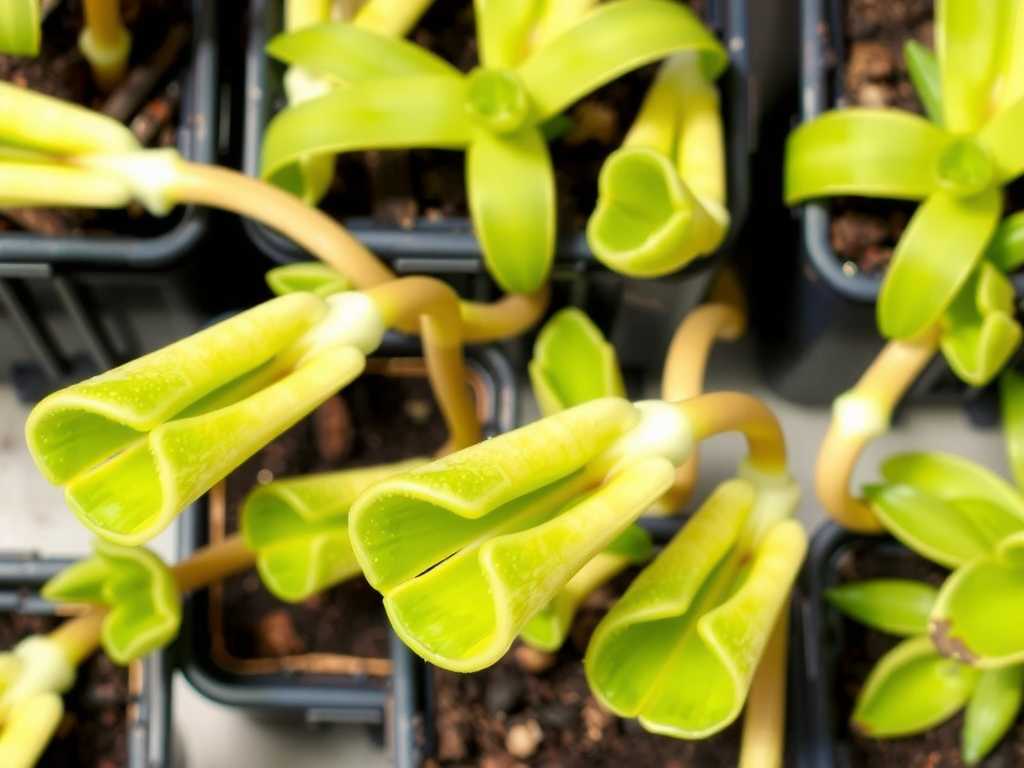
Understanding the Fundamental Challenge
First, let’s address the elephant in the room. Why is standard potting soil generally considered a death sentence for Pinguicula? The answer lies in their evolution. These plants hail from environments with mineral-poor, well-draining substrates. Their roots are adapted to absorb moisture and minimal nutrients, not to fight against dense, rich soils.
Standard store-bought potting mixes are designed to retain moisture and provide a steady buffet of nutrients for typical houseplants. For a butterwort, this creates a double catastrophe. Constant wetness around the crown leads to rapid rot, while the abundance of minerals and fertilizers can “burn” the delicate roots and disrupt their natural carnivorous feeding mechanisms. As the International Carnivorous Plant Society (ICPS) emphasizes, the health of these plants is fundamentally tied to the quality of their growing medium, which must be low in nutrients and salts.
So, my experiment wasn’t about defiance, but about intelligent adaptation. The core principle remained non-negotiable: I had to mimic the key characteristics of their native soil—excellent drainage and zero nutrients—using only materials from a mainstream garden center.
My Step-by-Step Process with Store-Bought Materials
I chose a healthy Pinguicula moranensis for this test, a common and relatively robust species. For supplies, I headed to my local hardware store’s garden section. I deliberately avoided any “specialty” bags and focused on common products.
Selecting and Modifying the Base Soil
This was the most critical step. I picked up a bag of all-purpose potting mix and a bag of coarse horticultural sand. The potting mix alone was a no-go. My solution was to create a highly modified blend. I combined one part potting mix with four parts coarse sand. To this, I added a handful of small aquarium gravel (also store-bought) for extra drainage. I dry-mixed everything thoroughly in a clean bucket. The result was a very gritty, fast-draining medium that bore little resemblance to the fluffy potting mix I started with. The organic component (the potting mix) was now just a minor ingredient for slight moisture retention, utterly diluted by the inert sand and gravel.
Potting and Initial Setup
I selected a plastic pot with multiple large drainage holes. A crucial step many miss is covering these holes. I used a single layer of paper towel to prevent the mix from washing out initially; it decomposes quickly and won’t hinder drainage long-term. I filled the pot with my custom mix, made a small hole, and gently settled the Pinguicula in place, ensuring its crown was well above the soil line. I gave it a thorough initial watering with distilled water (never tap water, due to minerals) until it ran freely from the bottom. This helped settle the medium around the roots.
The Watering Method is Everything
Here’s where I applied classic carnivorous plant wisdom to my store-bought soil setup. I did not water from the top after the initial settling. Instead, I placed the pot in a shallow saucer. I maintain about half an inch of distilled water in the saucer during the active growing season, allowing the plant to drink from the bottom up. This keeps the surface of the gritty mix relatively dry, protecting the crown from rot, while the roots can access moisture as needed. I let the saucer dry out completely for a day or two before refilling.
The First 48 Hours and Key Observations
The first two days were about stress monitoring. The plant looked slightly wilted, a normal reaction to repotting. I kept it in bright, indirect light to ease the transition. By day three, it had perked up. The sticky dew on its leaves, which had diminished slightly, began to return. This was my first positive sign—the plant was acclimating and resuming its normal functions.
My initial worry was compaction. Would the small amount of potting mix in my blend settle and suffocate the roots? To test, I gently poked the surface. The mix remained loose and gritty, a good indicator. The bottom-watering method was working; the top half-inch of soil was dry to the touch, while the lower portion was moist.
The Two-Week Deep Dive: Successes and The "Pitfall"
I monitored the plant daily. Over the first week, I noticed no new leaf growth, but the existing leaves remained plump and dewy. It successfully caught several fungus gnats, which was encouraging. However, near the end of the first week, I encountered my first problem—the "Pitfall."
The Fungus Gnat Surge
The slight amount of organic matter in my DIY mix, combined with the constant moisture in the saucer, created a minor paradise for fungus gnats. While the Pinguicula enjoyed the extra prey, the number of adult gnats became a nuisance. This is a common pitfall when using any organic component.
My Solution: A Two-Pronged Attack
I immediately implemented two changes. First, I allowed the water tray to stay dry for three full days, letting the top layers of the mix dry out more deeply to disrupt the gnat larvae cycle. Second, I placed yellow sticky traps in the pot. This combo worked brilliantly within a few days. The Pinguicula showed no signs of stress from the slightly drier period, and the gnat population crashed. The plant then seemed to relish the resumed watering schedule.
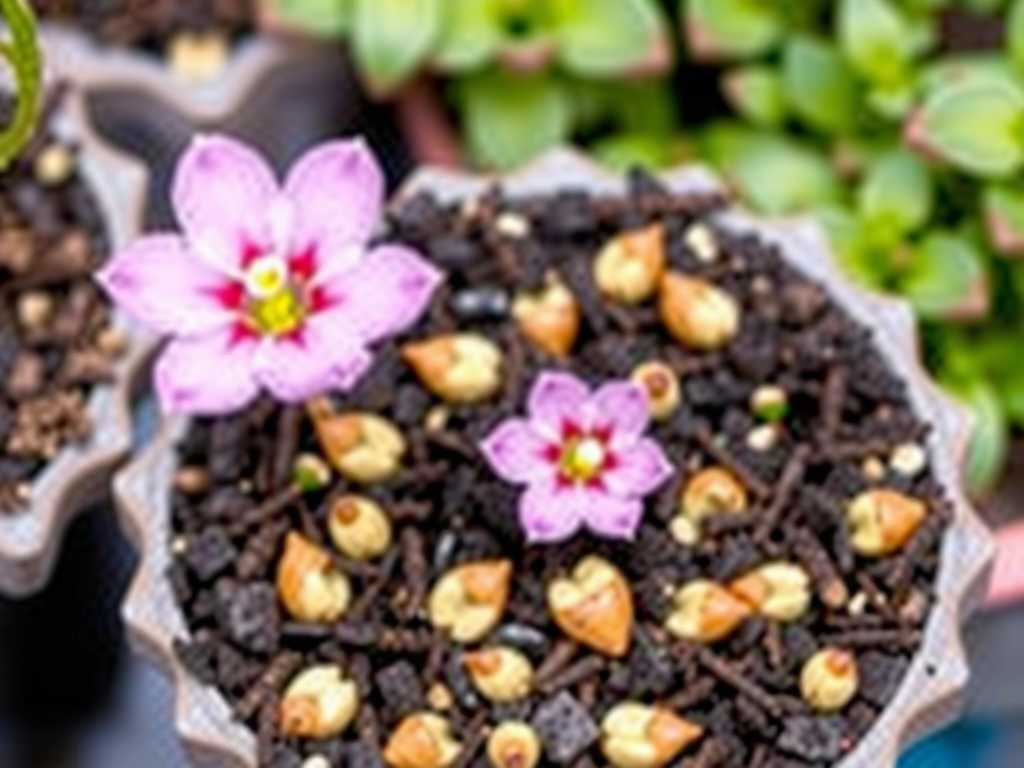
By the end of the second week, the reward appeared: a tiny, new leaf emerging from the center of the rosette. This was the ultimate sign of acceptance. The plant wasn’t just surviving; it was beginning to grow in its modified store-bought soil environment.
Essential Ongoing Care in This Setup
Light remains paramount. I provide bright, indirect light for about 6-8 hours a day. A south or east-facing window is ideal. Under these conditions and with my gritty mix, the watering tray method has proven safe and effective.
Feeding is unnecessary. The plant caught insects on its own. The American Horticultural Society (AHS) notes that carnivorous plants derive their nutrients primarily from prey, not soil, which is why a nutrient-free medium is so vital. My mix achieved this by dilution.
Winter care (the dormant period for many Pinguicula) would require a significant change: I would remove the water tray entirely and only keep the mix slightly damp, as the risk of rot in cooler temperatures is much higher.
Can I use Miracle-Gro or other fertilized potting mixes? Absolutely not. These mixes contain timed-release fertilizers that will absolutely harm and likely kill your Pinguicula. You must seek out a plain, all-purpose mix with no added fertilizers or wetting agents.
What type of sand should I use? Coarse horticultural sand or sharp sand is essential. Avoid "play sand" or fine sands, as they will compact into a concrete-like substance. The goal is to create air pockets, not fill them in.
Is this method safe for all Pinguicula species? While it worked for my P. moranensis, I would be extremely cautious with rare or highly sensitive species. For Mexican butterworts (a common group), this adapted method can work, but for temperate species or tiny gems, sticking to traditional peat/sand/perlite is the safer, recommended choice.
Caring for Pinguicula with store-bought soil is not about cutting corners, but about smart adaptation with easily accessible tools. It requires you to understand why the specialized mixes are recommended and then engineer a solution that meets those core needs—drainage and zero nutrients. My two-week experiment showed that with a heavily modified, gritty blend and meticulous watering discipline, it is possible to keep a butterwort healthy. The journey had its hiccup with fungus gnats, but a simple correction kept everything on track. For the curious plant lover willing to pay close attention, this approach can open the door to the captivating world of carnivorous plants without the initial hurdle of hunting down exotic soil components. Remember, the plant’s health is the ultimate indicator; watch it closely, and it will tell you what it needs.





