bluename
 How to Care for Pinguicula with Homemade Soil Mix: My 2-Week Experiment
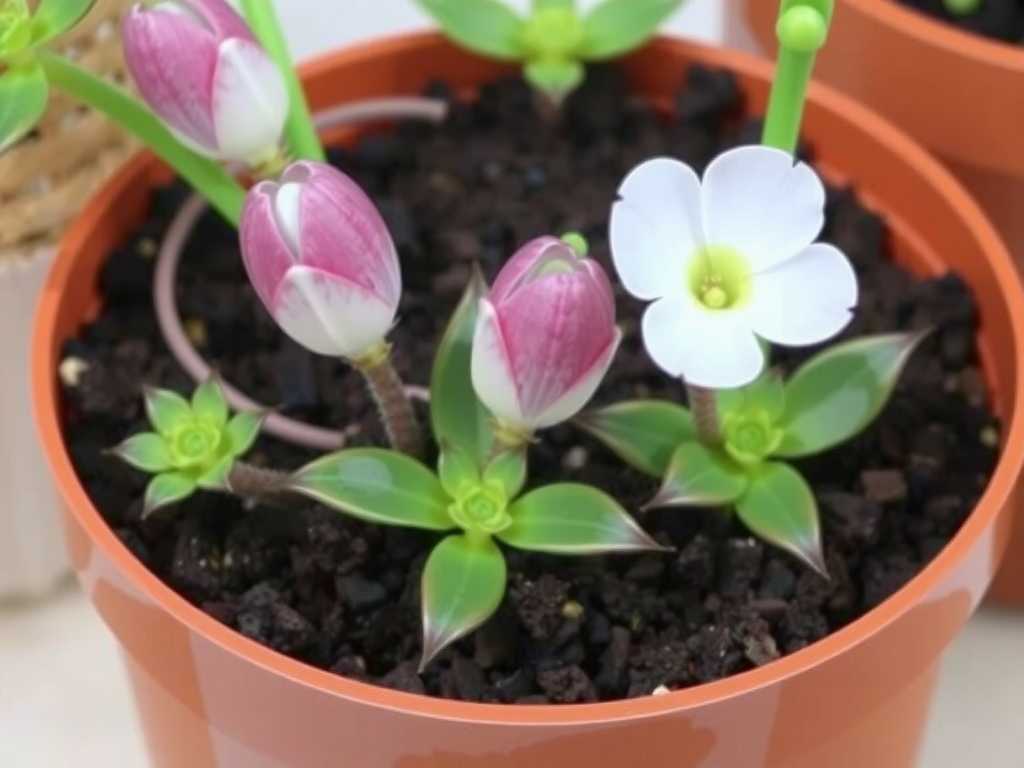
I’ve killed my fair share of butterworts. There, I said it. For years, I struggled with the most common issue facing Pinguicula growers: finding the perfect soil. Commercial mixes were either too dense, holding fatal moisture, or too barren, starving the roots. My plants would either rot quietly in their pots or fail to thrive, their sticky leaves a sad testament to my neglect. The turning point came when I realized that mimicking their natural, often mineral-rich, cliff-side or boggy habitats was the key. This is my journey of creating a homemade soil mix for Pinguicula and documenting its effects over a critical two-week period.
Why Your Pinguicula’s Life Depends on the Right Soil
Pinguicula, or butterworts, are fascinating carnivorous plants. Their succulent, sticky leaves trap insects, but their roots have a very different job. In the wild, they often cling to limestone cliffs or sit in fast-draining, nutrient-poor seeps. Their roots primarily serve for anchorage and water absorption, not for nutrient uptake. This is why a standard potting soil is a death sentence—it’s too rich, too water-retentive, and suffocates the delicate roots.
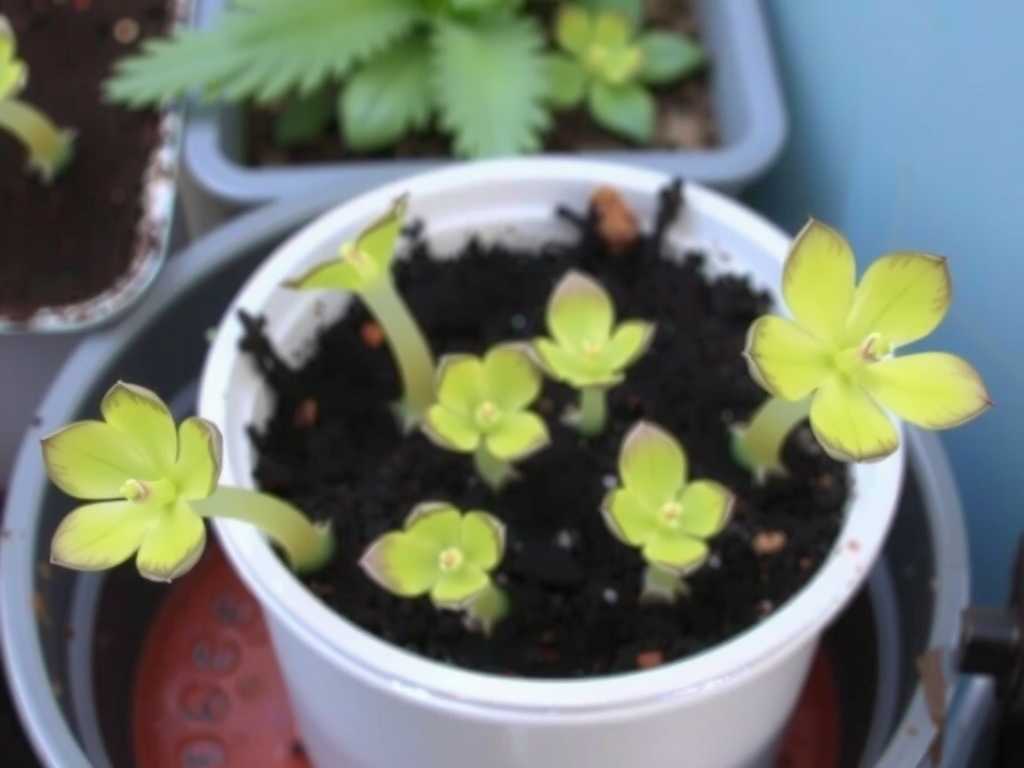
The Royal Horticultural Society (RHS) emphasizes the need for “sharp drainage” in carnivorous plant composts. Similarly, the Carnivorous Plant Society of America often recommends mixes high in inorganic, non-organic materials like perlite or silica sand for many Pinguicula species. My goal was to translate this expert advice into a simple, repeatable DIY soil recipe for butterworts.
My Homemade Pinguicula Soil Recipe: Ingredients and Rationale
After consulting resources and fellow enthusiasts, I settled on a simple three-ingredient mix. The philosophy was maximum drainage with slight moisture retention and perfect aeration.
- Ingredient 1: Horticultural Pumice (50%). This is the backbone. Pumice is a volcanic rock that is porous, lightweight, and sterile. It provides unparalleled drainage and air pockets for roots, preventing compaction. I chose it over perlite because it doesn’t float to the top with watering and is more durable.
- Ingredient 2: Calcined Clay (30%). Often sold as oil-dri or certain kitty litters (100% clay, unscented). This material is fired at high temperatures, making it sterile and highly absorbent. It wicks moisture evenly through the pot and provides excellent anchorage. For lime-loving Pinguicula species, using a calcined clay that contains calcium can be beneficial.
- Ingredient 3: Fine Orchid Bark (20%). This adds a slight organic component for minimal moisture retention and helps acidify the mix slightly as it breaks down slowly. The key is “fine”—large chunks create air gaps that are too big for Pinguicula roots.
I thoroughly mixed these components dry. The result was a gritty, loose, and fast-draining blend that looked nothing like traditional soil—exactly what I wanted.
Step-by-Step: Potting and the Initial Setup
I selected three Pinguicula for this trial: a common Pinguicula moranensis, a Pinguicula gigantea, and a smaller Pinguicula esseriana. All were previously in a peat-heavy mix that stayed damp for too long.
- Preparation: I soaked the pumice and calcined clay in distilled water for an hour to pre-moisten them. I always use distilled or rainwater, as tap water minerals can harm these plants.
- Unpotting: Gently, I removed each plant, carefully teasing away the old soil from the roots. I inspected the roots—thankfully, no rot was present, just some old, dead peat clinging on.
- Potting: Using plastic pots with ample drainage holes, I placed a small layer of the mix at the bottom. I positioned the plant so its crown (where leaves emerge) was right at the soil surface, never buried. I then filled around the roots, tapping the pot to settle the mix without pressing it down. The homemade carnivorous plant soil felt incredibly light.
- Initial Watering: I placed each pot in a shallow tray and filled the tray with about 0.5 inches of distilled water, allowing the mix to wick moisture up from the bottom—the tray method. This encourages deep root growth.
The 2-Week Observation Diary: Triumphs and Troubles
This is where the real test began. I kept the plants on a bright windowsill with about 4 hours of direct morning sun.
- Days 1-3: The plants looked slightly shocked, as expected after repotting. The P. esseriana leaves drooped a little. I maintained a shallow amount of water in the tray.
- Days 4-7: Here’s where I hit my first “坑” (pitfall). I noticed the surface of the mix, especially on the P. gigantea, was drying out extremely quickly, becoming bone dry by afternoon. I panicked, thinking I’d made it too well-draining. My mistake was only checking the surface. When I stuck my finger an inch into the pot, it was still cool and slightly moist. The expert advice from the Alpine Garden Society (AGS) on growing rock-dwelling plants clicked: “The surface should dry to prevent algae, while moisture is retained below.” I adjusted by ensuring the tray never fully dried out, refilling it every 2-3 days.
- Days 8-10: Positive signs! The P. moranensis pushed out a new, dewy leaf. The roots, visible through the plastic pot, showed tiny white tips exploring the new gritty medium. The DIY butterwort potting mix was working. The fast-draining nature meant I could water more frequently without fear of rot, mimicking the frequent, light moisture of a cliff face.
- Days 11-14: The P. esseriana perked up fully. All three plants exhibited vibrant leaf color and active dew production on their traps. The most telling sign? When I lifted a pot, the root ball was integrated with the mix—the roots had actively grown into their new home in just two weeks. The experiment was a success.
Key Lessons Learned and Adjustments for Next Time
My biggest takeaway is that Pinguicula soil preparation is less about constant wetness and more about perfect aeration with consistent available moisture. The homemade mix provided this brilliantly.
I will make one adjustment next time: for my Mexican species (moranensis, gigantea), I’ll try a 60% pumice, 40% calcined clay mix with zero orchid bark, as they prefer even more mineral conditions. For my temperate species, I might add 10% fine sphagnum peat to the original recipe for slightly higher moisture retention during their growth phase.
This hands-on experience taught me more than any guide could. Watching the plants respond in real-time to the custom Pinguicula growing medium confirmed that understanding the “why” behind each ingredient is crucial for adapting to different species and environments.
How often should I water Pinguicula in this homemade mix? With this fast-draining mix, the “tray method” is ideal. Keep a shallow tray (0.5 inches) of distilled water under the pot and let it dry out completely before refilling. This can be every 2-4 days depending on heat and humidity. Never let the pot sit in deep, constant water.
Can I use regular sand or garden soil in the mix? Absolutely not. Regular sand is too fine and compacts, defeating the purpose. Garden soil contains fertilizers, pathogens, and organic matter that will harm or kill your Pinguicula. Stick to sterile, inorganic components like pumice, calcined clay, or horticultural sand.
My Pinguicula isn’t producing dew after repotting. What’s wrong? Don’t panic. It’s common for dew production to decrease temporarily after the stress of repotting. Ensure it’s getting enough bright, indirect light (some direct sun is great) and that humidity isn’t extremely low. With proper light and the stable base provided by the right soil mix, the dew should return as the plant acclimates, usually within a few weeks.
Creating your own soil mix might seem daunting, but it’s the single most impactful thing you can do for your butterworts. It shifts you from a passive plant owner to an active cultivator, tuning into the specific needs of these remarkable carnivorous plants. By providing a foundation that mirrors their wild habitats, you give them the resilience to grow, catch bugs, and thrive on your windowsill for years to come.