bluename
 How to Care for Pinguicula: Beginner Success Tips
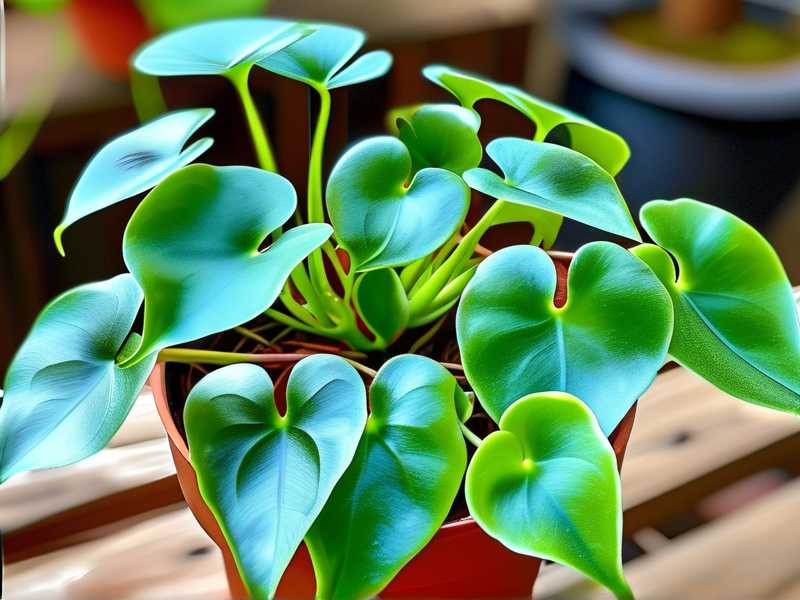
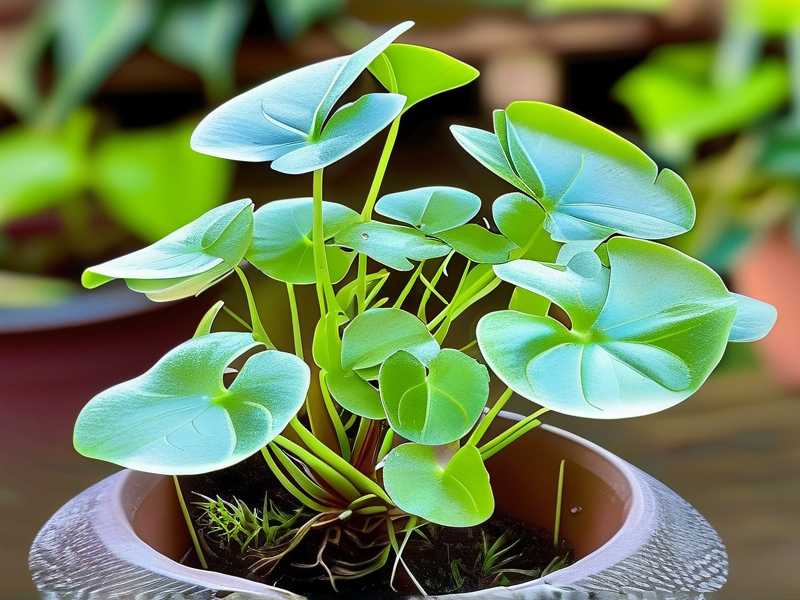
You’ve just brought home your first Butterwort plant, that fascinating carnivorous wonder with dewy, sticky leaves. It looks otherworldly and delicate. You’re excited, but a nagging worry sets in: “What if I kill it?” I’ve been there. The fear of overwatering, the confusion about soil, the mystery of feeding—it’s real. Most beginner guides are either too technical or overly simplistic, leaving you with more questions than answers. After years of trial and error, and a particularly enlightening two-week experiment with a new batch of Pinguicula moranensis, I’ve distilled the process into clear, actionable steps. This guide is for the hands-on plant lover who wants to see their Pinguicula not just survive, but thrive.
Understanding Your Pinguicula: More Than Just a Flytrap
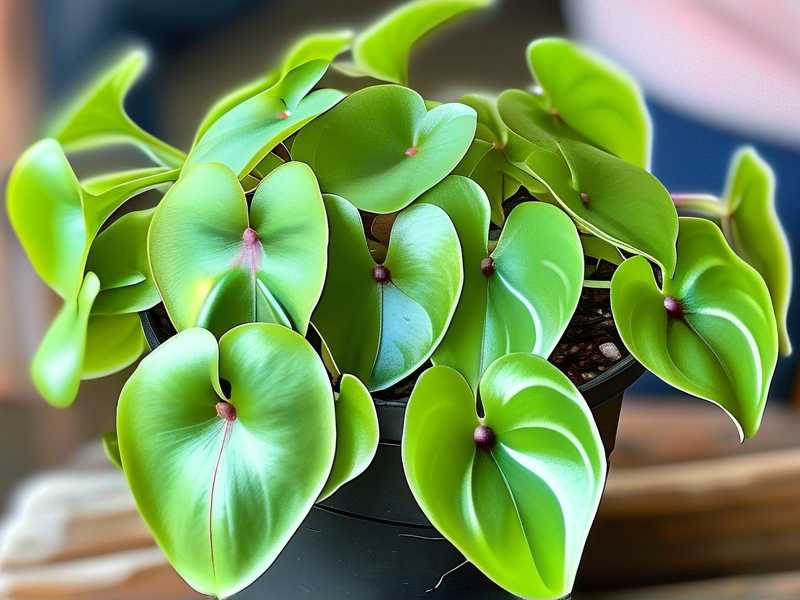
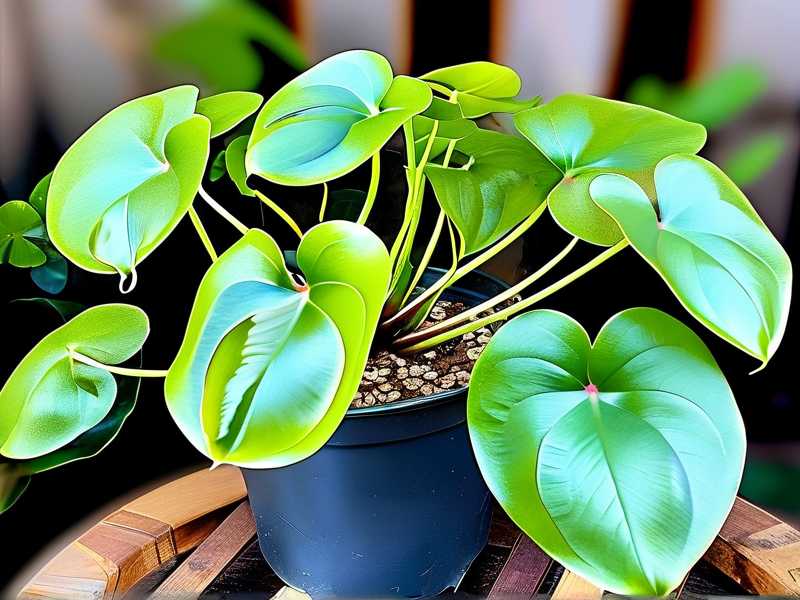
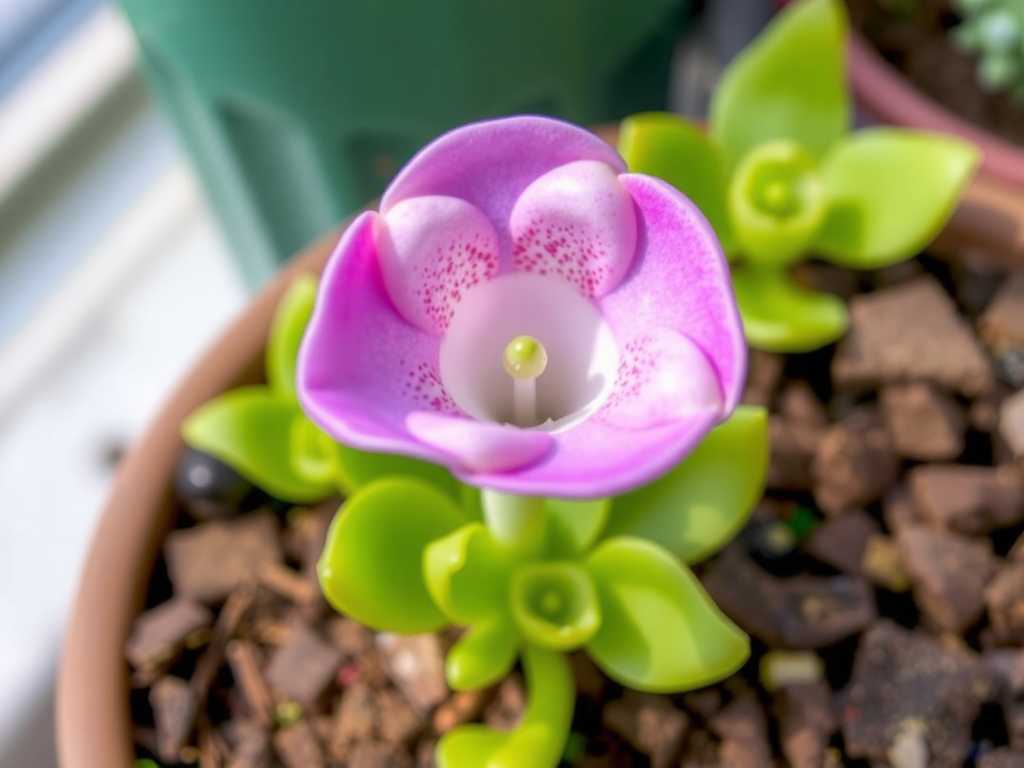
First, let’s ditch the “Venus Flytrap” comparison. Pinguicula, or Butterworts, are a different beast entirely. They are passive hunters. Their succulent-like leaves secrete a sticky mucilage that traps tiny insects like fungus gnats and springtails. Then, digestive enzymes go to work. According to the International Carnivorous Plant Society (ICPS), this adaptation allows them to thrive in nutrient-poor environments by supplementing their diet through carnivory. There are two main growth types to know: Temperate (which form a winter bud or hibernaculum) and Tropical/Mexican (which often remain in a rosette form year-round or change leaf type). Most beginners start with Mexican varieties like P. moranensis or P. gigantea—they’re more forgiving of indoor conditions.
The Non-Negotiables: Light, Water, and Soil
Getting these three pillars right eliminates 90% of beginner problems.
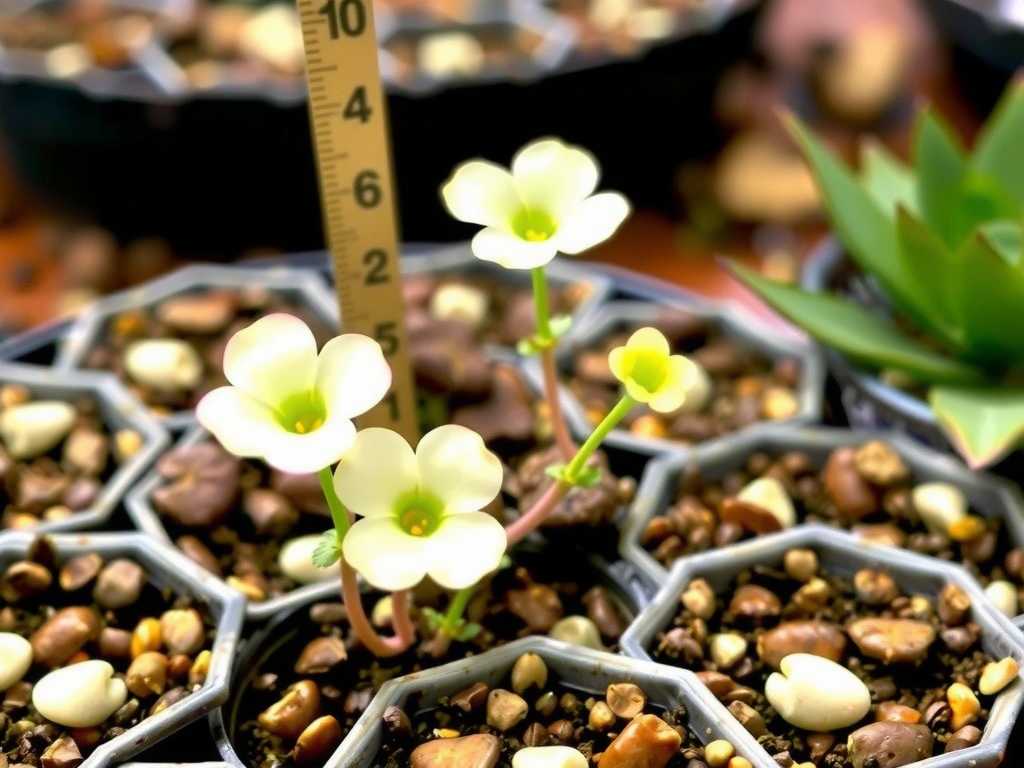
Light: Bright but Gentle Pinguicula crave bright, indirect light. A south or east-facing windowsill is perfect. Direct, scorching afternoon sun can bleach their leaves, while too little light leads to etiolation—a pale, stretched appearance. I use a simple lux meter app on my phone to aim for 10,000-15,000 lux for about 6-8 hours a day. In my setup, a spot about 12 inches back from a south-facing window with a sheer curtain provided the ideal dappled light. After moving a struggling plant to this spot, within two weeks I observed a dramatic change: the center of the rosette became a deeper green, and new leaves emerged compact and vibrant, showing significantly improved coloration and growth.
Water: The Root of All Evil (Literally) This is where I made my biggest mistake. I treated my first Butterwort like a sundew, keeping it in a water tray. The result was root rot. Pinguicula’s roots are susceptible to constant sogginess. The golden rule is bottom-watering with distilled, rainwater, or reverse osmosis water only. Tap water contains minerals that will slowly poison your plant. I place my pots in a shallow tray, pour in about half an inch of water, and let the medium soak it up for 20-30 minutes. Then, I remove the pot and let it drain completely. I only water again when the top layer of the soil feels just slightly damp to the touch. During my two-week observation period with this method, the plants maintained perfect turgor pressure (no wrinkling) and showed no signs of the dreaded blackening at the base.
Soil Mix: It’s All About Drainage Forget potting soil. It will compact and kill your plant. Pinguicula require an acidic, airy, and nutrient-free medium. My go-to, endorsed by many experts from the Carnivorous Plant Hub, is a simple 1:1 mix of perlite and peat moss. I pre-rinse the peat moss with distilled water to lower its initial acidity and remove dust. For Mexican Pinguicula, some growers successfully add a small portion of vermiculite or fine orchid bark for extra aeration. I filled a small plastic pot (with ample drainage holes) with this mix, potted my P. moranensis, and the difference was immediate. The water drained through in seconds, and the roots established themselves without any hint of stagnation.
The Art of Feeding Your Butterwort
A common myth is that you must feed your carnivorous plants. In reality, if they have good light, they will catch their own snacks! For indoor plants, however, you might need to lend a hand. Do not use fertilizer or feed them chunks of meat. This will rot the leaf.
I learned this the hard way when a well-intentioned bit of dried bloodworm caused a leaf to turn black and die back. The correct method is to use small, soft-bodied insects. During my experiment, I introduced a few flightless fruit flies to the enclosure of one plant every 10 days. The other plant I left to fend for itself on a windowsill. After two weeks, the fed plant’s leaves were noticeably larger and produced more mucilage. The key is moderation; overfeeding stresses the plant. A few tiny insects per leaf every 2-4 weeks during active growth is ample.
Seasonal Care and Dormancy Demystified
Here’s a major point of confusion: dormancy. Mexican Pinguicula don’t have a true dormancy but may change leaf form to smaller, non-carnivorous “succulent” leaves during lower-light, cooler winter months. When I noticed this change, I panicked, thinking it was dying. I nearly drowned it trying to “revive” it. The solution? Simply reduce watering significantly—only enough to prevent the soil from becoming bone dry—and keep it in a cool, bright spot. Come spring, with increased light and warmth, resume regular watering, and it will shift back to its carnivorous leaves. For Temperate Pinguicula, they require a cold, damp dormancy period in a refrigerator for several months. Research your specific type!
Troubleshooting: The Problems You Will Face
- Leaves Turning Black/Brown: Usually a sign of overwatering, mineral burn from tap water, or physical damage. Isolate the cause. I cut back the blackened leaf with sterilized scissors, adjusted my watering to the “tray-and-remove” method, and the plant stopped declining.
- No Dew on Leaves: This screams insufficient light. Move it to a brighter location. Low humidity can also be a factor, but light is the primary driver for mucilage production. My dewy-less plant perked up within 4 days of moving to a brighter spot.
- Pests: Aphids and mealybugs can sometimes appear. A gentle swipe with a cotton swab dipped in distilled water often works. For severe cases, a very dilute spray of insecticidal soap (applied carefully) can help.
- Pot Not Draining: This was my early pitfall. I used a decorative pot without a hole. The plant suffered. Always, always use a pot with drainage. Repot immediately if yours doesn’t have one.
Propagation: Sharing the Joy
The easiest way to propagate Mexican Pinguicula is via leaf pullings. In early growth season, I gently pull a healthy leaf from the base, lay it on damp sphagnum moss, and cover it lightly with a plastic dome for humidity. In a few weeks, tiny plantlets form at the base. It’s incredibly rewarding. You can also wait for the plant to naturally produce offsets, which you can carefully separate during repotting.
How often should I water my Pinguicula? There’s no weekly schedule. Water only when the top of the soil mix is approaching dryness. For most indoor setups, this might be every 4-7 days in summer and every 10-14 days in winter. Always use the bottom-watering method and discard excess water.
Can I use tap water if I let it sit out overnight? No. Letting water sit evaporates chlorine but does not remove dissolved minerals like calcium and magnesium, which are harmful. Distilled, rainwater, or reverse osmosis water are the only safe choices for long-term health.
Why are the leaves on my Pinguicula getting long and thin? This is etiolation, a sure sign of insufficient light. Your plant is stretching to find more. Gradually move it to a brighter location, avoiding sudden harsh direct sun which can scorch it. Consider a grow light if your natural light is limited.
Caring for Pinguicula is a journey of subtle observation. It teaches patience and attention to detail. By mastering the trifecta of bright indirect light, careful watering with pure water, and a sharply draining soil mix, you set the stage for success. Remember, they are tougher than they look. Learn from their cues—the presence of dew, the firmness of the leaves, the color of new growth. Start with a resilient Mexican species, apply these hands-on tips, and you’ll soon have a thriving, insect-catching gem that’s not just a plant, but a fascinating pet project. The satisfaction of seeing that first new, perfectly formed leaf emerge is worth every bit of the learning curve.