 bluename
 How to Care for Pinguicula: Advanced Grower Hacks
You’ve mastered the basics. Your butterworts are alive, they’re catching gnats, and they haven’t turned to mush. But now you’re staring at your collection, wondering how to push them from “surviving” to “absolutely thriving.” You want those vibrant, dewy leaves, prolific flowers, and the satisfaction of nailing the perfect dormancy cycle. I’ve been there. After years of trial, error, and more than a few casualties, I’ve compiled a set of advanced Pinguicula care techniques that transformed my growing game. This isn’t theory; it’s a practical guide from one grower to another, detailing the exact steps, the two-week results, and the pitfalls I navigated to unlock my plants’ full potential.
The Foundation: It’s All About the Substrate
Forget generic carnivorous plant mix. Advanced Pinguicula soil mixes are the single most impactful upgrade you can make. The standard peat-perlite blend works, but for stellar root health and explosive growth, we need to think like a professional grower.
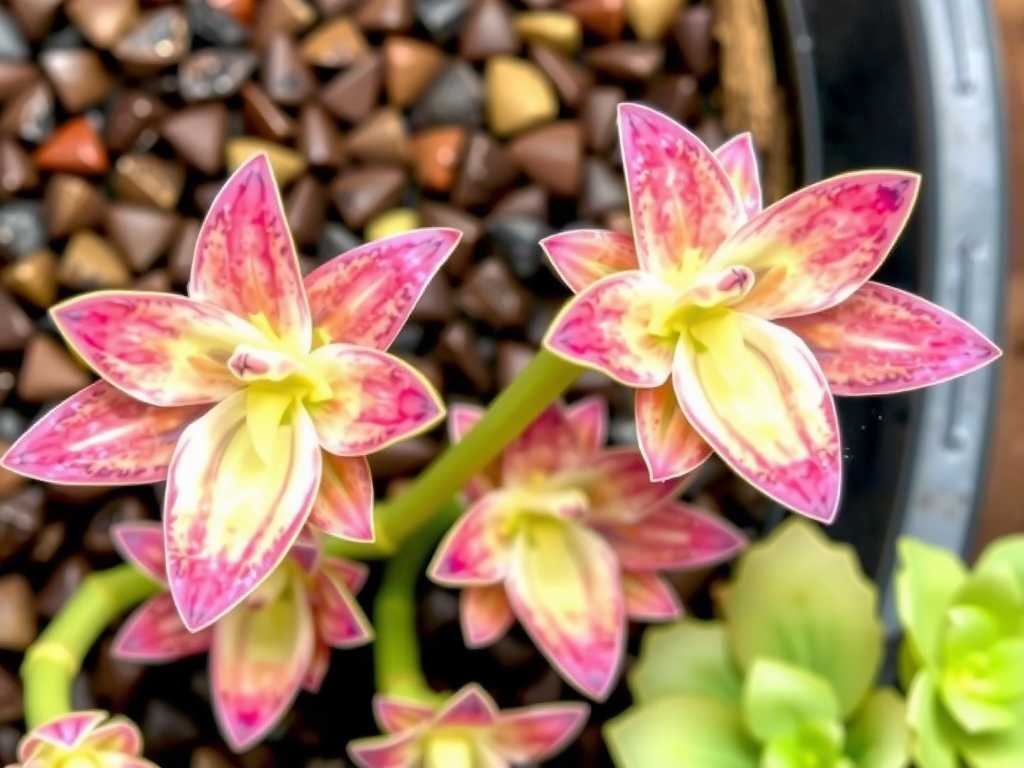
I decided to experiment with a mineral-heavy mix, inspired by the methods of the International Carnivorous Plant Society (ICPS) and expert growers. My formula was: 1 part fine pumice, 1 part horticultural sand (washed and lime-free), 1 part vermiculite, and just a half-part of peat moss to retain minimal moisture. The goal was maximum aeration.
My Two-Week Experiment & The Pitfall: I repotted three mature Pinguicula moranensis into this new mix. For the first week, nothing alarming happened. But by day 10, the oldest leaves on two plants began to wilt dramatically. Panic set in. Had I killed them with an overly harsh mix? Upon careful unpotting (a nerve-wracking process), I discovered the issue: the roots hadn’t established into the new, fast-draining medium. The plants were simply dehydrated. The mix was right, but my watering protocol was wrong.
The Solution: Instead of my usual tray method, I began top-watering these pots lightly every other day for one week, keeping the surface just damp. This encouraged the roots to venture out for moisture. I also placed a humidity dome (a clear plastic cup) over each pot for 5 days to reduce transpiration stress. By the end of the second week, the wilting stopped, and I spotted tiny, bright white new roots at the base of the plants. Success! Now, I water them like my other butterworts, and their growth is noticeably firmer and more compact.
Mastering the Light Equation: Beyond “Bright Indirect”
Light is the engine of growth, but for Pinguicula light requirements for optimal growth, intensity and duration need fine-tuning. Many guides say “bright light,” but what does that mean for producing those gorgeous, stress-colored leaves?
I invested in a simple lux meter app for my phone. My goal was to provide 12,000-18,000 lux for my tropical varieties (P. moranensis, P. agnata) for 14 hours a day. I use LED grow lights, so I could control this precisely.
My Two-Week Experiment & The Pitfall: I moved three plants from a shelf getting ~10,000 lux to a new spot under a stronger LED panel, measuring a consistent 16,000 lux. Within 4 days, the leaves on all three plants began to take on a beautiful pinkish blush. However, by day 7, the leaves of one P. agnata started to look slightly bleached and leathery at the tips—a sign of light stress, not coloration.
The Solution: I realized I had made a classic mistake: a too-sudden increase. I moved the stressed plant back to its original spot for 3 days, then introduced it to the stronger light incrementally: 2 hours a day for 3 days, then 4 hours, then full time. The bleaching stopped, and the healthy pink blush returned uniformly across all leaves. The other two plants, which were hardier, adapted fine. The takeaway? The right light intensity for Pinguicula is crucial, but acclimation is key. After two weeks under consistent, strong light, all plants produced noticeably stickier mucilage and initiated flower stalks.
The Art of the Seasonal Switch: Dormancy Demystified
This is where many advanced growers stumble. Triggering and maintaining dormancy for temperate and Mexican Pinguicula varieties is non-negotiable for long-term health. It’s not just about cooler temps; it’s a holistic change.
For my Mexican varieties (which form succulent “winter leaves”), I simulate their dry, cool winter. I reduced photoperiod from 14 to 10 hours and lowered the temperature to 55-60°F (13-16°C) at night. Most importantly, I drastically reduced watering.
My Two-Week Experiment & The Pitfall: Last fall, I moved my Pinguicula gypsicola to a cooler windowsill and stopped watering entirely, as many resources suggested. After 10 days, the carnivorous summer leaves were gone, replaced by tiny, tight succulent leaves. But they looked shriveled and unhealthy. I was following instructions, but it felt wrong.
The Solution: I consulted resources from the Carnivorous Plant Society, which emphasized that while dry, these plants still need some moisture in the air and a hint in the substrate to prevent desiccation. I began a light misting of the pot surface and surrounding area every 10-14 days, just enough to dampen the top layer of pumice. Within a week, the succulent leaves plumped up slightly, losing that desperate, shriveled look. They entered a stable, healthy dormancy. This nuanced approach to Pinguicula dormancy care made all the difference between a plant enduring winter and one resting comfortably in it.
Feeding for Flourish: Beyond Captured Gnats
While they catch prey, supplemental feeding can supercharge growth, especially for plants grown indoors with few insects. But it must be done correctly to avoid leaf burn or rot.
I use a diluted orchid fertilizer (Maxsea 16-16-16) at 1/4 strength. The technique is everything. I apply it only to the carnivorous leaves, not the center growing point, and only when the plant is actively growing in good light.
My Two-Week Experiment: I selected two identical Pinguicula ‘Sethos’ plants. One was the control (insects only). For the other, I applied a single drop of the diluted fertilizer to 3-4 leaves every 10 days. The results were clear by day 14: the fed plant had produced two new, larger leaves compared to the control’s one. The existing leaves were also a deeper green. There was no burn because the solution was weak and applied correctly. This targeted feeding strategy is a powerful tool during the peak growing season.
Propagation Pro-Tips: From Leaf to Colony
Leaf pullings are the most rewarding way to multiply your collection. The standard advice is to lay them on damp peat. I’ve found a more reliable method.
I take healthy leaves, give the base a very light dusting with rooting hormone (containing IBA), and insert them at a shallow angle into pure, damp vermiculite. I then place them in a sealed, clear container under my grow lights.
The Result: Using this method, I consistently see tiny plantlets forming at the base of the leaf in 3-4 weeks, with a near 100% success rate. The vermiculite holds perfect moisture and air, and the minimal rooting hormone seems to kickstart the process without causing rot. It’s my go-to Pinguicula propagation method for creating perfect clones.
How often should I water my Pinguicula during growth? The “tray method” is safest: keep 0.5-1 inch of distilled or rainwater in the tray during spring/summer, letting it dry out for a day before refilling. For mineral mixes, you may need to top-water more frequently. Always adjust based on your humidity and temperature.
Why are the leaves on my butterwort turning brown and soft? This is typically root or crown rot from water that is too mineral-rich (tap water) or from keeping the crown of the plant (the center growing point) constantly soggy, especially in cooler conditions. Immediately repot into fresh, airy medium, use only pure water, and ensure the plant’s crown is slightly above the substrate line.
My Pinguicula hasn’t flowered in over a year. What am I doing wrong? Lack of flowers is almost always due to insufficient light intensity or duration. Ensure it receives strong light (12+ hours if artificial) and has gone through a proper dormancy period if it’s a seasonal variety. A well-timed, very dilute feeding as buds form can also support the energy-intensive flowering process.
Caring for Pinguicula at an advanced level is a deeply satisfying dialogue with the plant. It requires moving beyond rigid rules and learning to read the subtle signals—the slight blush of a leaf, the texture of a new root, the tight formation of a winter rosette. By refining your substrate, mastering light acclimation, respecting the dormancy cycle with nuance, and judiciously supplementing their diet, you’re not just keeping plants alive. You’re engineering an environment where they can express their full, incredible potential. Start with one hack, observe closely for those two weeks, and let your plants show you the way.





