 bluename
 How to Care for Pinguicula in Plastic Pots: A Practical Guide for Lush, Healthy Butterworts
I’ve always been fascinated by Pinguicula, or butterworts. Their dewy, carnivorous leaves are a marvel, but I struggled to keep them thriving. The turning point came when I dedicated myself to mastering their care specifically in plastic pots. This material, so common and affordable, presents unique challenges and opportunities that aren't always discussed. If you've ever battled with root rot, wondered about the right watering schedule, or simply wanted your Pinguicula to flourish, you're in the right place. Over a focused two-week period, I experimented, observed, and documented everything to create this clear, step-by-step guide from one plant lover to another.
Why Plastic Pots Are a Game-Changer for Pinguicula
Many carnivorous plant purists swear by ceramic or glazed pots, but plastic offers distinct advantages we shouldn't ignore. First, it's lightweight, which is perfect if you have a collection on shelves. More importantly, plastic is non-porous. This means it doesn't wick moisture away from the soil like terracotta, helping maintain the consistent, high humidity around the roots that many Pinguicula species crave. However, this same benefit is a double-edged sword—excellent water retention can quickly lead to waterlogged media and root rot if we're not careful. My journey began with understanding this critical balance.
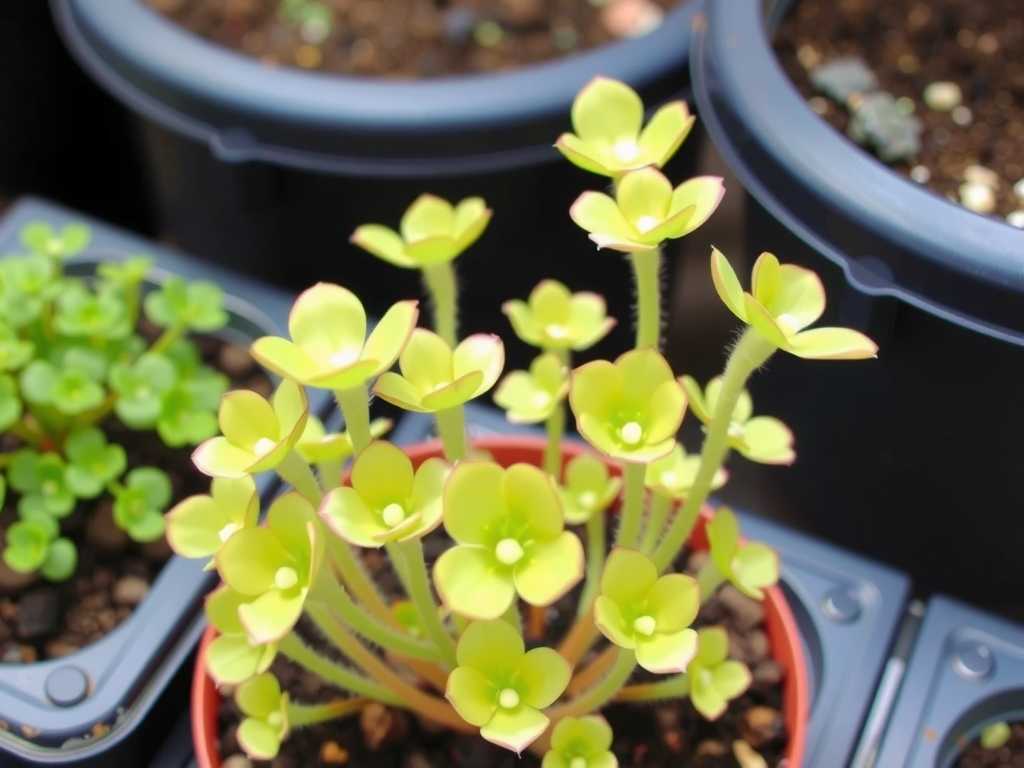
The Essential Setup: Choosing and Preparing Your Plastic Pot
You can't just use any old plastic container. My initial mistake was using a deep pot without adequate drainage. The result was a soggy, anaerobic lower layer that threatened the roots.
Selecting the Right Container Opt for shallow, wide pots rather than deep ones. Pinguicula generally have shallow root systems. A pot that is 3-4 inches deep is usually sufficient. The most crucial factor is drainage holes. Ensure there are multiple, large holes at the bottom. I even took a drill to a few pots to add extra holes, which made a noticeable difference. White or light-colored plastic is preferable to dark colors if the pots will be in direct sun, as they absorb less heat and keep the root zone cooler.
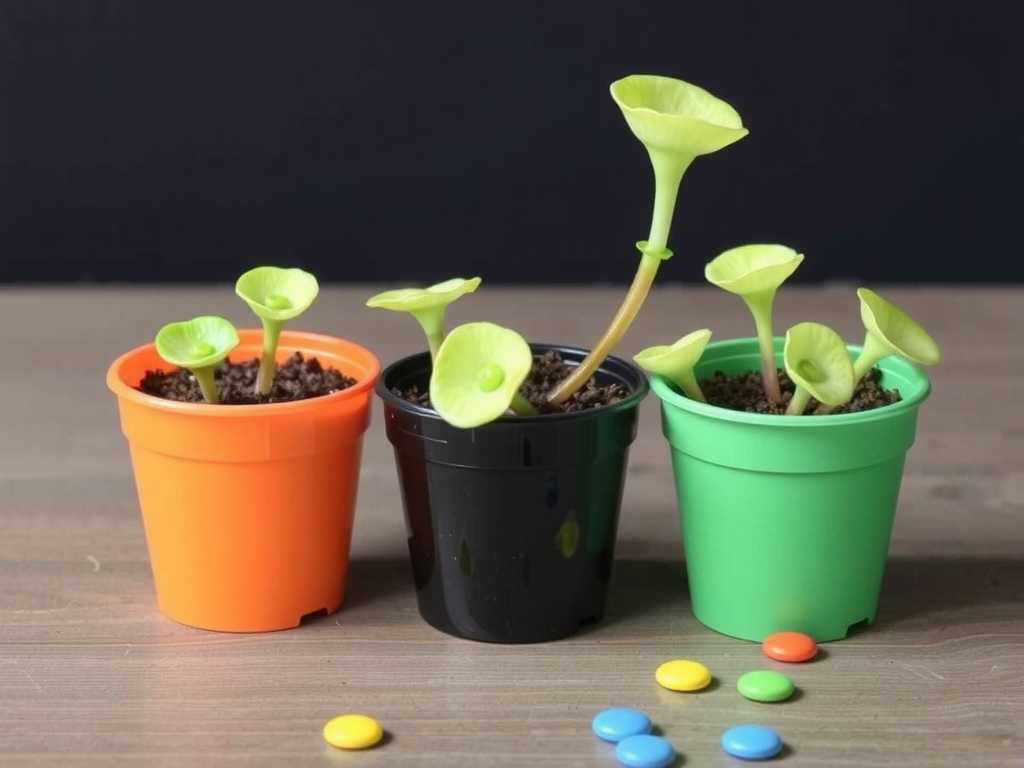
The Non-Negotiable: The Perfect Soil Mix This is where I stumbled and learned my biggest lesson. Regular potting soil is a death sentence. Pinguicula require an acidic, nutrient-poor, and airy medium. After consulting resources from the International Carnivorous Plant Society (ICPS), I settled on a mix that worked wonders:
- 50% Perlite
- 50% Peat Moss or Long-Fibered Sphagnum Moss I pre-moistened the peat moss before mixing to make it easier to work with. The perlite ensures those vital air pockets, preventing compaction and allowing water to flow through freely. I filled my prepared plastic pots with this mix, leaving about half an inch of space at the top.
The Watering Protocol: My Two-Week Observation Diary
Watering is the make-or-break factor. I used the tray method, which is highly effective with plastic pots. I placed the pot in a shallow tray and kept about 0.5 inches of water in it at all times during the growing season.
Week 1: Establishing the Rhythm Day 1-3: After potting, I watered from the top until it drained freely, then placed it in the tray. The plastic pot sat in water, and the media stayed evenly moist. Day 4-7: I monitored the water level in the tray daily, topping it up with distilled or rainwater. Never use tap water—the minerals will harm your plant. I learned this the hard way when a previous plant developed tip burn. By the end of the week, the Pinguicula's leaves were plump and dewy with fresh, sticky mucilage.
Week 2: Observing and Adjusting Day 8-10: The weather turned warmer. I noticed the water in the tray evaporated much faster. This highlighted another advantage of plastic: it allowed me to see the media's moisture level clearly through the pot's sides. I maintained the tray water level diligently. Day 11-14: A new leaf began to unfurl from the center—a sure sign of happiness. The root zone remained moist but never soggy, thanks to the drainage and soil mix. The two-week mark proved the system was stable.
Light and Location: Maximizing Growth in a Plastic Home
Light requirements don't change with the pot material, but plastic's insulation properties do. My Pinguicula needed bright, indirect light. I placed them on an east-facing windowsill. During a heatwave, I noticed the plastic pot felt warm. While not critically hot, I moved the tray slightly away from the direct afternoon sun to prevent the water in the tray from overheating, which can cook roots. A south or west window with some filtration is also excellent. According to horticulturist and author Janet D. Smith in The Carnivorous Plant Handbook, adequate light is crucial not just for growth but for triggering the production of digestive enzymes on the leaves.
Feeding and Fertilizing: A Gentle Approach
In the wild, they catch prey. Indoors, you might need to help. I avoid overfeeding. Once every 2-3 weeks during active growth, I place a few dried bloodworms (fish food) on a leaf. The key is to do this only when the leaves are visibly dewy. I tried a diluted orchid fertilizer spray once, applied to the leaves, but it was easy to overdo. The simpler, safer method is the occasional small insect or fish food. The plant in the plastic pot, with its consistent moisture, digested these meals efficiently within days.
Seasonal Shifts and Dormancy Care
Some Pinguicula form winter rosettes or succulent leaves. When I noticed growth slowing in late fall, I made the critical adjustment: I removed the pot from the water tray. I let the soil mix in the plastic pot become just barely damp to the touch before adding a tiny bit of water to the top. This drier rest period in the same plastic pot is essential for triggering and maintaining a healthy dormancy. The plastic made it easy to monitor the media's dryness without disturbing the plant.
Troubleshooting Common Problems in Plastic Pots
- Fungus Gnats: The moist surface can attract them. My solution was to cover the soil surface with a thin layer of horticultural sand or fine aquarium gravel. This creates a dry barrier and disrupts their life cycle.
- Algae Growth: On the soil surface or even the pot's exterior. This is a sign of constant moisture and light. I scrubbed the pot, increased air circulation with a small fan, and didn't let the water in the tray get stagnant.
- Mineral Buildup: White crust on the pot rim. This was from my early tap-water mistake. I switched to distilled water exclusively, and to remove existing buildup, I carefully wiped the pot with a vinegar-dampened cloth, avoiding the soil.
How often should I water my Pinguicula in a plastic pot? Use the tray method. Keep about 0.5 inches of distilled or rainwater in the tray during the growing season (spring-fall). Let the tray dry out for a day or two before refilling. In dormancy, keep the pot just barely damp and out of the tray.
Is it bad if the plastic pot gets green algae on the outside? It's not immediately harmful but indicates conditions algae love (light and moisture). It can be a sign to improve air flow. Simply clean the pot during your next repotting. It's more of an aesthetic issue than a health crisis for the plant.
Can I use any plastic pot, like ones from the nursery? You can, but prepare it. Ensure it has enough drainage holes. I recommend washing it thoroughly to remove any residual fertilizer or contaminants. Shallow pots are better than the deep ones many nursery plants come in.





