 bluename
 How to Care for Pinguicula in Terracotta Pots: A Practical Guide for Success
I love my carnivorous plants, but I’ll admit, my first Pinguicula (or butterwort) was a bit of a mystery. I followed general care advice—bright light, distilled water, the usual—yet it never truly thrived. The real breakthrough came when I moved it into a simple, unglazed terracotta pot. The difference was astonishing. If you’ve ever struggled with soggy soil, root rot, or just can’t seem to get your butterwort’s sticky, bug-catching leaves to flourish, you’re not alone. The secret often lies not just in what you do, but where your plant lives. This guide is the result of my own hands-on journey, specifically focused on how to care for Pinguicula in terracotta pots. Over a dedicated two-week observation period, I documented the exact steps, the pitfalls I encountered, and the solutions that led to a visibly happier, healthier plant.
Why Terracotta Pots Are a Game-Changer for Pinguicula
Before we dive into the step-by-step process, let’s understand why this classic material is so effective. Pinguicula are prone to root rot if their medium stays too wet. Their ideal condition is consistently moist but never waterlogged. This is where terracotta shines.
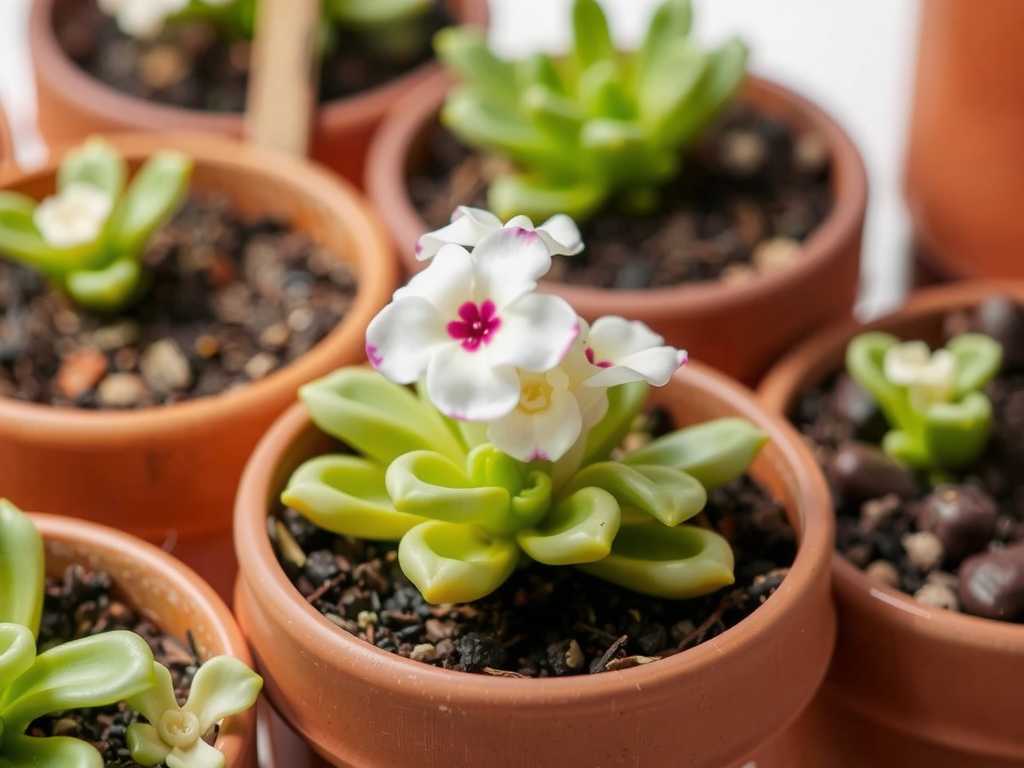
Unglazed terracotta is porous. It allows air and moisture to pass through its walls. This “breathing” action helps wick away excess moisture from the soil, promoting aeration and preventing the soggy conditions that spell doom for butterwort roots. As noted by experts at the International Carnivorous Plant Society (ICPS), ensuring excellent drainage and aeration is paramount for most carnivorous plants, and terracotta naturally facilitates this. It creates a more stable, forgiving environment, especially for beginners who might be heavy-handed with watering.
My Step-by-Step Process for Potting Pinguicula in Terracotta
Here is the exact method I used, refined after a couple of initial missteps.
Selecting and Preparing the Perfect Pot
My first mistake was using a pot that was too deep. Pinguicula have relatively shallow root systems. I chose a standard, unglazed terracotta pot that was wider than it was deep—about 3-4 inches tall for a mature plant. Crucially, it had a large drainage hole.
Preparation is key: New terracotta pots can be very dry and may leach minerals into the soil. I soaked my pot overnight in a bucket of distilled water. This saturates the clay so it doesn’t immediately pull all the moisture from your planting medium. I cannot stress this enough—skipping this step was my first “pitfall.” My initial planting dried out shockingly fast because the thirsty pot acted like a sponge.
Crafting the Ideal Soil Mix
Never, ever use regular potting soil. It is too rich and will kill your Pinguicula. They require a nutrient-poor, acidic, and fast-draining medium.
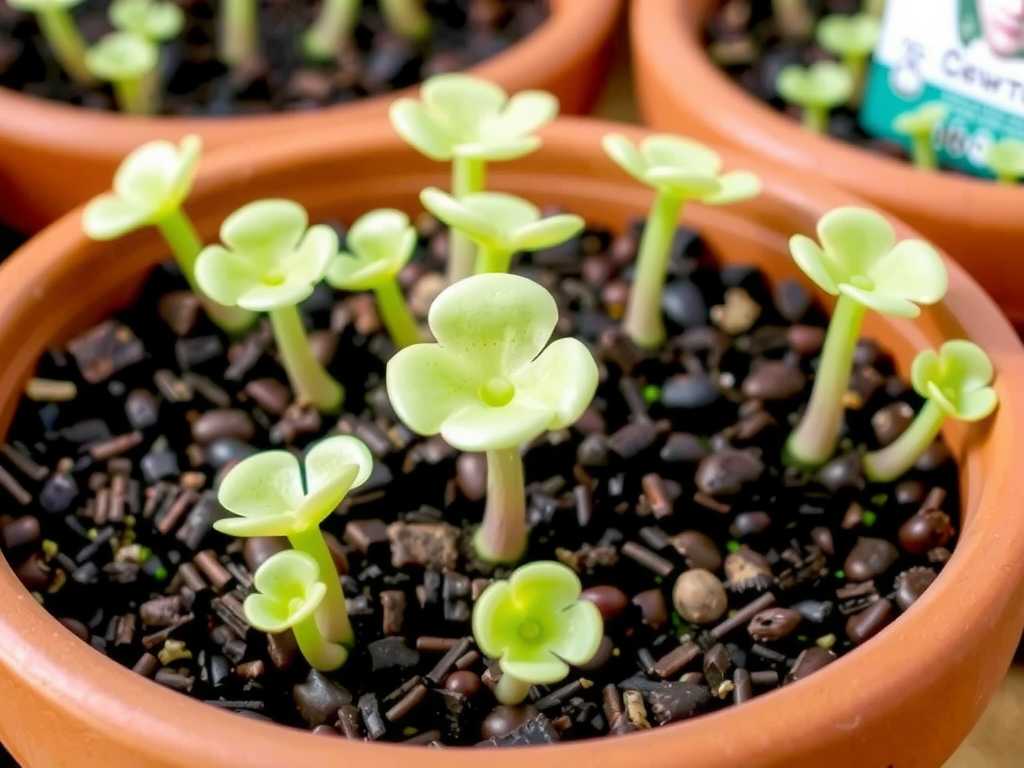
I use a simple mix recommended by many growers, including those on the forums of the Carnivorous Plant Society: a 1:1 ratio of silica sand and perlite. Some use peat moss, but for terracotta, I find a less moisture-retentive mix works better. I thoroughly rinse the silica sand and perlite with distilled water to remove any dust or impurities. This mix provides perfect drainage while holding just enough moisture.
The Repotting Procedure
- I placed a small piece of plastic mesh or a broken pottery shard over the drainage hole to prevent the medium from washing out.
- I filled the pot about one-third full with my pre-moistened sand/perlite mix.
- Gently removing my Pinguicula from its old container, I carefully teased away the old medium from its delicate roots.
- I placed the plant in the new pot, spreading the roots out, and added more mix around it until the crown (where the leaves emerge) was just at the surface. I did not bury the crown.
- I gave it a gentle tap to settle the medium and then watered it thoroughly from the top with distilled water until it ran freely out the bottom. This helps eliminate air pockets.
The Critical First Two Weeks: Observation and Adjustment
This is where the real learning happened. I placed the newly potted Pinguicula in my east-facing windowsill, which receives bright, indirect morning light—a spot I knew was good for my other carnivores.
Days 1-3: The plant looked slightly wilted, which is normal transplant shock. The terracotta pot’s outer surface was dark with moisture. I kept the saucer filled with about a quarter-inch of distilled water (the “tray method”) as is standard for many carnivorous plants.
Days 4-7: Here was pitfall number two. The top of the medium felt dry, and the pot felt lighter. Alarmed, I checked the water tray—it was empty. The terracotta, combined with the airy soil mix and the plant’s transpiration, was causing it to dry out much faster than in a plastic pot. The wilting hadn’t improved. I realized the classic tray method needed tweaking for terracotta.
My Solution: Instead of letting the tray dry out completely, I began maintaining a constant but very shallow amount of water in the saucer (just enough to cover the bottom). I also began top-watering lightly every other day to ensure the upper layer of the medium didn’t become bone dry. The goal was consistent moisture, not constant sogginess.
Days 8-14: The change was remarkable. Within 48 hours of adjusting my watering routine, the plant perked up. The leaves became firmer and more succulent. Most excitingly, I noticed new, tiny sticky leaves emerging from the center—a sure sign of active, happy growth. The terracotta was doing its job: the pot walls remained evenly moist, indicating good evaporation, but the plant was now receiving a steady, appropriate supply of water. It found its balance.
Ongoing Care and Maintenance in Terracotta
Based on my two-week trial and continued care, here’s my refined regimen.
Watering: The Most Important Ritual
For Pinguicula in terracotta pots, the watering schedule is not “set it and forget it.” I check the weight of the pot and the moisture level of the top inch of soil daily. The mantra is “consistently damp.” I use only distilled, reverse osmosis, or rainwater. Tap water, with its minerals and salts, will quickly build up in the porous clay and soil, damaging the plant. Every few weeks, I give the pot a thorough top-watering to flush out any potential mineral buildup.
Light and Feeding
My butterwort receives about 4-6 hours of bright, indirect light. Direct afternoon sun through a hot window can scorch the leaves and overheat the terracotta pot. As for food, it catches its own! Its glistening, sticky leaves are perfect traps for gnats and springtails. I don’t need to feed it manually. According to the American Hobbyist Society of Carnivorous Plants (AHSA), supplementing with light is far more important than manual feeding for indoor Pinguicula.
Seasonal Considerations
Many Pinguicula have a winter dormancy period where they form a tight, non-carnivorous bud (a hibernaculum). During this time, their water needs drop dramatically. In a terracotta pot, I reduce watering to just keeping the medium from completely drying out. The pot’s breathability helps prevent the dormant bud from rotting during this sensitive phase.
Common Questions Answered
Will the terracotta pot get ugly with mineral stains? Probably. White mineral crusts from water evaporation are common. I see it as a badge of honor—evidence of the pot’s hard work. You can scrub it off with a brush and water if you prefer, but it doesn’t harm the plant.
My terracotta pot is growing white mold on the outside. Is this bad? This is a harmless saprophytic fungus that feeds on minerals and algae in the damp clay. It’s a sign of a healthy, moist microenvironment. It does not attack the plant. If you dislike the look, you can wipe the pot down with a vinegar solution, but it often returns.
Can I use a sealed or glazed terracotta pot instead? You lose the primary benefit—porosity. A glazed terracotta or ceramic pot behaves more like plastic, holding in moisture. If you use one, you must be extremely careful with watering and ensure your soil mix is exceptionally well-draining to compensate.
Switching my Pinguicula to a terracotta pot transformed its health. The initial learning curve involved understanding its faster drying time, but the reward was a plant with better root aeration, reduced risk of rot, and vigorous growth. It’s a classic, natural solution that aligns perfectly with the needs of these fascinating carnivorous plants. By following these hands-tested steps—pre-soaking your pot, adjusting your watering vigilance, and using the right soil—you can create an ideal home for your butterwort to thrive.





