 bluename
 How to Care for Pinguicula in Clay Pots: Pros & Cons
If you're like me, captivated by the glistening, dewy leaves of Pinguicula but frustrated by mold, root rot, or simply not knowing the best way to pot these carnivorous gems, you've landed in the right place. I've killed my fair share of butterworts by treating them like ordinary houseplants. The turning point came when I decided to experiment with clay pots for Pinguicula. For two intensive weeks, I documented everything—from the initial transplant to daily observations, celebrating successes and scrambling to fix my mistakes. This guide is the result of that hands-on trial, designed to help you navigate the unique advantages and potential pitfalls of using terracotta for your butterworts.
Why Pot Choice Matters for Your Butterwort
Pinguicula have needs that directly contradict most common potting advice. They thrive in mineral-based, well-aerated media and demand a delicate balance of moisture. A standard plastic pot, while retaining water well, can easily create a soggy, anaerobic environment that spells doom for their delicate roots. This is the core dilemma: providing consistent humidity to the leaves and roots without waterlogging the crown. My journey into growing Pinguicula in terracotta began as a search for a solution to this very problem. I wanted a pot that could work with the plant's natural needs, offering breathability and helping to regulate soil moisture from all sides.
The Unmatched Advantages of Clay Pots for Pinguicula
Let's start with the good news. After my two-week test, the benefits of clay became overwhelmingly clear.
Superior Moisture Regulation and Aeration The porous nature of unglazed terracotta is its superpower. It acts as a passive moisture regulator. When the soil is wet, the clay wicks away excess moisture through its walls, promoting evaporation. When the soil starts to dry, the process slows. This creates a more stable moisture gradient within the pot, which is ideal for Pinguicula roots that appreciate moisture but abhor sitting in water. I observed that the surface of the soil mix dried slightly faster than in plastic, preventing the growth of algae and reducing the risk of fungal issues around the sensitive crown.
Enhanced Root Zone Health and Temperature Stability This breathability translates directly to root health. Oxygen can more readily reach the root zone, encouraging stronger growth. Furthermore, clay has excellent thermal mass. During my observation, the clay pots kept the root system noticeably cooler during the warm afternoon sun compared to thin black plastic pots, which can heat up rapidly. According to resources from the International Carnivorous Plant Society (ICPS), maintaining a cool root run is particularly beneficial for many temperate and highland Pinguicula species, mimicking their natural, often rocky, habitats.
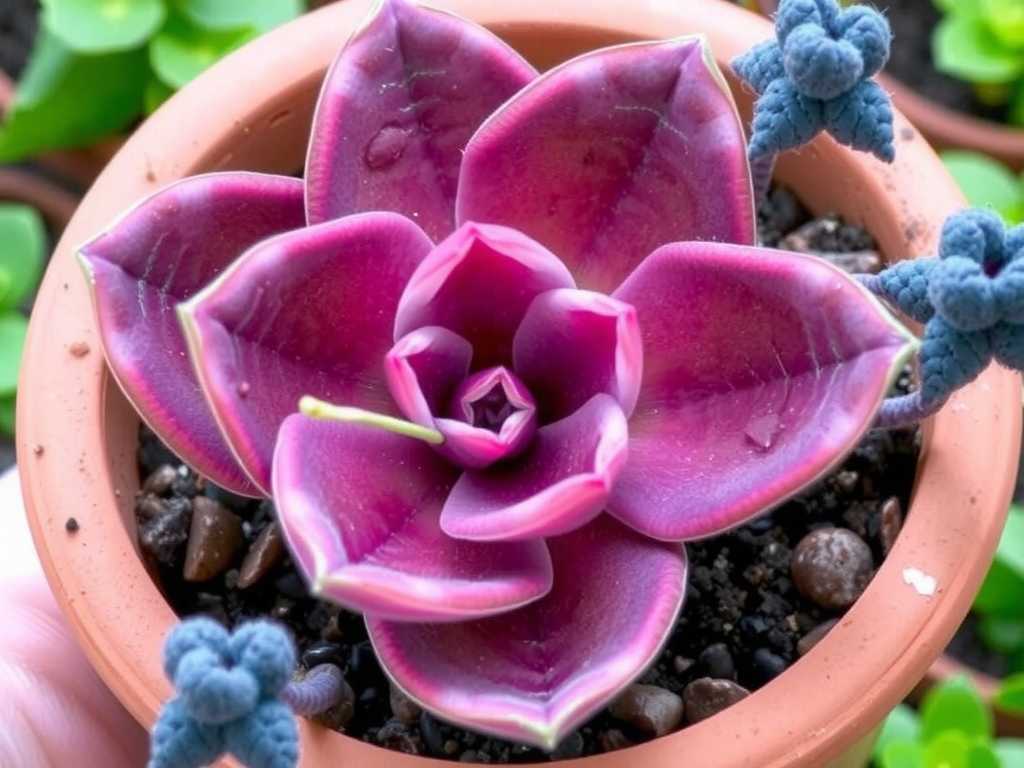
A Natural, Aesthetic Fit Beyond function, there's form. The earthy, rustic look of a clay pot complements the rosette shape and vibrant colors of a Pinguicula perfectly. It feels like a more natural pairing, connecting the plant to its often limestone-rich, well-drained native environments. My Pinguicula moranensis simply looked more "at home" in its terracotta home.
The Real Challenges and Drawbacks of Clay Pots
Now, for the honest truth I learned the hard way. Clay pots aren't a magic bullet, and they introduce new variables you must manage.
The Rapid Drying Dilemma This is the biggest challenge, especially in dry climates or indoors with low humidity. The very porosity that provides aeration also accelerates drying. In my first 48 hours post-transplant, I made a critical error. I used my standard "tray method" of watering, letting the pot sit in a shallow saucer of water. The clay wicked up water so aggressively that the media stayed too wet on the bottom. Yet, the top inch dried out completely by the second day, stressing the plant. I had to completely rethink my watering technique.
Mineral Buildup and Salt Accumulation As water evaporates through the clay walls, it leaves behind any dissolved minerals. Over time, this can lead to unsightly white salt crusts on the outside of the pot and, more worryingly, a buildup of salts in the potting mix. Pinguicula are extremely sensitive to minerals and fertilizers. The Royal Horticultural Society (RHS) explicitly warns against using hard tap water for carnivorous plants for this reason. In a clay pot, this problem is accelerated. I noticed a faint white ring forming after just one week of using filtered, but not distilled, water.
Weight and Fragility Considerations A clay pot filled with damp soil is significantly heavier than plastic. This is a practical concern for shelves or windowsills with weight limits. They are also, of course, more fragile. One clumsy moment during my daily observation nearly ended the experiment prematurely.
My Step-by-Step Guide: Transplanting and Caring for Pinguicula in Clay
Here is the exact process I followed, refined by the mistakes I made during my trial.
Selecting and Preparing the Right Clay Pot Don't just grab any terracotta pot. I chose a standard, unglazed pot with a large drainage hole. I cannot stress this enough: soak the pot overnight. Placing a dry clay pot into your media will act like a sponge, instantly pulling moisture from your carefully mixed soil and away from the plant's roots. I learned this after my first attempt left the media dust-dry within hours. A pre-soaked pot starts from a position of moisture equilibrium.
Crafting the Perfect Potting Mix The media is non-negotiable. I use a simple, well-draining mix endorsed by many expert growers: 50% fine silica sand (not builder's sand) and 50% perlite. Some add a small percentage of vermiculite for moisture retention. I filled the pre-soaked pot about one-third full with this mix.
The Transplanting Process I gently removed my Pinguicula gypsicola from its plastic nursery pot, teasing away the old peat-heavy media from its roots. I placed the plant in the new clay pot, spreading the roots gently, and filled around it with more of my sandy mix. I left about a half-inch of space from the rim to the soil surface. I did not water it in from the top. Instead, I placed the pot in a shallow tray with about 1/4 inch of distilled water for 30 minutes, allowing the moisture to be absorbed from the bottom into the pre-moistened clay and media. Then, I removed it from the tray. This was my key adjustment after the initial overwatering scare.
My Two-Week Watering and Observation Routine For the first week, I watered only from the bottom, using the "tray method" but limiting the soak to 30 minutes every other day. I monitored the pot's weight and the soil's surface moisture. By day 10, I established a rhythm: a thorough bottom-watering for 30 minutes when the pot felt light and the top surface was just barely damp. I never let the pot sit in water permanently. Humidity was maintained by placing the pot on a large pebble tray filled with water, keeping the local air moist without keeping the roots wet.
Troubleshooting Common Issues in Clay Pots
Combatting Excessive Dryness If your plant seems to be drying too fast, increase the humidity around it with a pebble tray or group it with other plants. You can also place the clay pot inside a slightly larger decorative ceramic cache pot. The air gap between them slows evaporation. I did this with my Pinguicula laueana, and it stabilized the moisture perfectly.
Preventing and Removing Mineral Deposits To combat salt buildup, I switched exclusively to distilled or reverse osmosis water. Once a month, I give the pot a thorough flush. I take it to the sink and run a generous amount of distilled water through the soil from the top, letting it drain freely, to leach out any accumulating salts. This simple step is crucial for long-term Pinguicula care in porous containers.
Managing Temperature Extremes In hot, direct sun, the clay pot can warm up. I found that using a light-colored saucer or placing the pot where its sides get some shade during the hottest part of the day helps. The thermal mass that keeps roots cool in the morning can work against you in intense afternoon heat if not managed.
What is the best watering method for Pinguicula in clay pots? Bottom-watering is generally best, but not as a constant soak. Place the pot in a tray of distilled water for 20-30 minutes, then remove it. This allows for thorough hydration without waterlogging. Always check the pot's weight and surface moisture between waterings.
Do I need to use a special soil mix with clay pots? Absolutely. A well-draining, mineral-based mix is essential. A blend of fine silica sand and perlite is ideal. Avoid moisture-retentive soils like standard potting mix or pure peat, as they will stay too wet in the center while the edges dry out, creating a harmful moisture imbalance.
How often should I repot my Pinguicula when using clay? I recommend repotting annually, ideally in early spring as new growth begins. This allows you to refresh the soil, check root health, and leach out any accumulated salts. The annual repot is a key part of maintaining a healthy environment in a terracotta pot for butterworts.
Choosing a clay pot for your Pinguicula is a commitment to active, attentive care. It won't forgive neglect like overwatering, but it will reward your diligence with a healthier root system and reduced risk of rot. My two-week experiment taught me that success lies in the partnership between the right pot, the right media, and a tailored watering routine. It’s not the easiest path, but for the enthusiast willing to monitor and adapt, it can be one of the most rewarding ways to grow these fascinating carnivorous plants. Start with a pre-soaked pot, commit to distilled water, and observe your plant closely—it will tell you what it needs.





