 bluename
 How to Care for Pinguicula: Space Management Tips for Thriving Butterworts
Let’s be honest. When you first fall in love with Pinguicula, or butterworts, it’s easy to get carried away. Their dewy, jewel-like leaves and charming flowers are irresistible. I started with one cute pot on a sunny windowsill. Fast forward a year, and I was facing a jungle of trays, domes, and pots, each plant demanding slightly different conditions. My collection was thriving, but my space—and my sanity—was not. I was dealing with etiolated plants stretching for light, inconsistent moisture levels, and a watering schedule that felt like a part-time job. The core problem wasn’t my care routine; it was my lack of a space management strategy. If you’re feeling squeezed, this guide is for you. I’ll share the exact system I developed, tested over a focused two-week period, that transformed my chaotic corner into an efficient, beautiful, and healthy Pinguicula display.
Understanding Your Pinguicula’s Natural Footprint
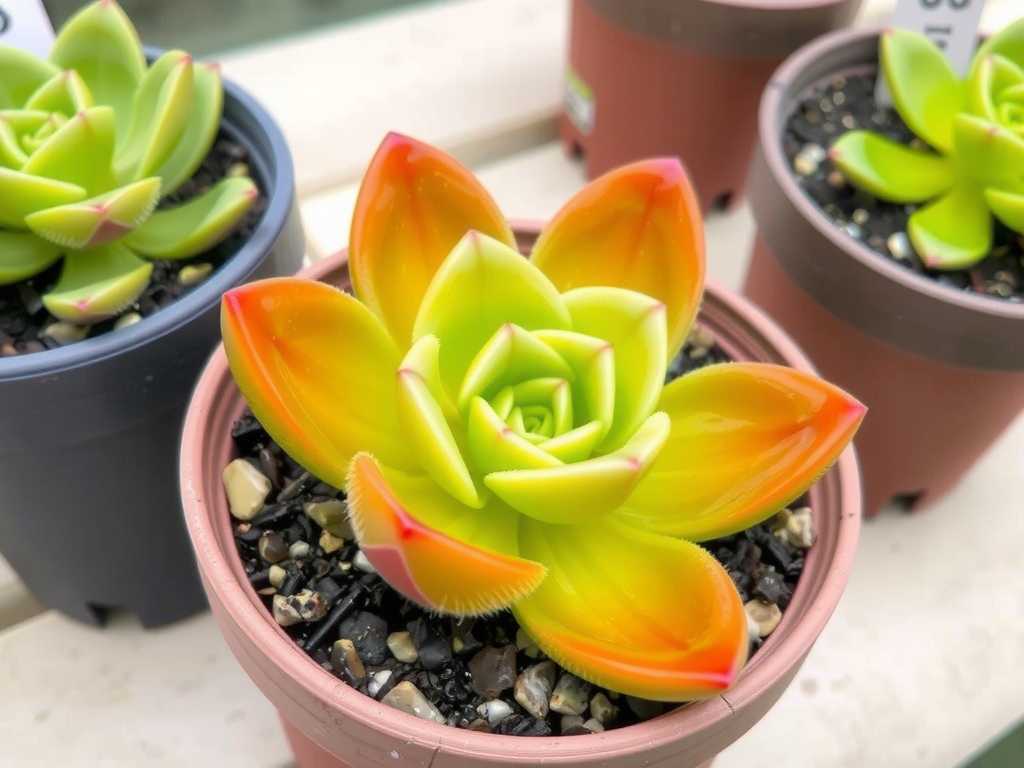
Before we rearrange a single pot, we need to think like the plant. Pinguicula care isn’t one-size-fits-all, and their space needs are directly tied to their growth cycle and type.
- The Carnivorous vs. Succulent Dilemma: Most of our beloved butterworts are seasonal. In their carnivorous phase (summer), they have flat, sticky leaves that need space to spread out and catch gnats. Their Mexican and tropical varieties then enter a succulent phase (winter), forming tight, non-carnivorous buds. This succulent phase is a huge space-saving opportunity, as they require less surface area and can be grouped more tightly.
- Light Access is Non-Negotiable: Every leaf needs light. Crowding leads to stretching, loss of vibrant color, and reduced dew production. My first big mistake was treating them like bookends, packing them close for aesthetics. The result was lanky, pale plants on the inside of the shelf.
- Airflow is Your Secret Weapon: Stagnant air is an invitation for fungal issues and botrytis, especially under high humidity. Proper spacing isn’t just about light; it’s about creating a miniature climate where air can gently circulate, keeping those precious leaves healthy.
My Two-Week Space Optimization Experiment: A Step-by-Step Log
I dedicated two weeks to completely overhaul my setup. Here’s what I did, the immediate effects I saw, and the hurdles I had to overcome.
Week 1: The Audit and Categorization
Day 1-2: The Great Inventory. I took every single plant off its shelf. I noted its type (e.g., Pinguicula moranensis, P. gigantea), its current growth phase (carnivorous or succulent), pot size, and health. This was eye-opening. I found three pots hiding in the back that were severely etiolated.
- The “Aha!” Moment: I realized about 60% of my collection were Mexican varieties starting to transition to their compact succulent form. They didn’t need prime, sprawling real estate anymore.
Day 3-4: Zoning My Space. Inspired by the RHS’s (Royal Horticultural Society) advice on alpine house management—where airflow and light are paramount—I created zones on my main shelf.
- Zone 1 (Prime Real Estate): The front and center of my brightest grow light and the sunniest part of the windowsill. Reserved for plants in active carnivorous growth or in flower.
- Zone 2 (Maintenance Row): The middle shelf, with good but slightly diffused light. For healthy plants in stable condition.
- Zone 3 (Succulent Dormancy & Recovery): The cooler, shadier end of the shelf. This became the new home for my transitioning Mexican Pinguicula and the etiolated plants needing a “reset” without intense light stress.
- The First Problem & Fix: My zones were too rigid. A Pinguicula ‘Tina’ in Zone 2 started reaching. I learned that zoning must be dynamic. I instituted a weekly “rotation,” moving plants slightly to ensure even light exposure, much like rotating seedlings.
Day 5-7: The Vertical Revolution. Floor and shelf space were maxed out. The solution? Go up. I installed two simple, narrow glass shelves across a south-east facing window, using suction cups. I moved all my smaller, lightweight potted butterworts here.
- Immediate Observation (48 hours later): The vertical plants showed a noticeable increase in dew on their leaf tips. The unobstructed overhead light was a game-changer. However, humidity dropped faster due to increased air exposure.
- The Second Problem & Fix: The top-shelf plants dried out too quickly. My fix was two-fold: I used slightly deeper saucers for these pots to create a minor water reservoir, and I grouped them closer together to create a communal microclimate of higher humidity, as suggested by many experienced growers on forums like the Carnivorous Plant Society.
Week 2: System Refinement and Observation
Day 8-10: Implementing the Tray System. To streamline watering and boost humidity for my carnivorous-phase plants, I consolidated Zone 1 and parts of Zone 2 into large, shallow plastic trays. I filled the trays with 1/2 inch of distilled water, allowing the pots to wick moisture from below.
- The Game-Changer: This single act saved me literal hours per week. Watering went from a meticulous pot-by-pot task to topping up a tray. The consistent bottom-watering also promoted stronger root growth. The American Horticultural Society (AHS) emphasizes that consistent moisture, not wetness, is key for most carnivorous plants, and this method delivered perfectly.
Day 11-14: Monitoring and Adjusting. The final phase was observation. I tracked growth, dew, and color daily.
- Results After 14 Days:
- Health Improvement: The previously etiolated plants in Zone 3 stopped stretching. New, compact growth emerged.
- Dew Production Skyrocketed: Plants in the vertical setup and Zone 1 were consistently glistening by mid-morning.
- Efficiency Achieved: My care routine was cut by more than half. The tray system was the ultimate efficiency hack.
- Aesthetic Clarity: My collection no longer looked like a lab experiment. Each zone had a purpose, and the vertical display added beautiful depth.
Advanced Space-Saving Strategies for the Enthusiast
Once the basics are down, you can level up.
- The “Pot-in-Pot” Method for Succulent Phase: For my dormant Mexican butterworts, I place their small 2-inch pots inside a larger, decorative pot filled with dry sphagnum moss. This creates a tidy, grouped look while keeping each plant’s root system isolated and easy to monitor. It’s a perfect space-saving solution for small succulent collections.
- Modular Shelving with Integrated Lighting: I eventually invested in a wire rack system with clip-on LED bars. Each shelf is a self-contained environment. I can adjust the light intensity and height per shelf, allowing me to customize conditions for different groups—maximizing my cubic footage, not just square footage.
- Prioritization and Rotation: Be ruthless. Give the best spots to your most prized or actively growing specimens. Rotate plants weekly to ensure even growth. Sometimes, the best space management for Pinguicula is knowing which plants to trade or gift to make room for new favorites.
Common Questions from Fellow Growers
I have very limited windowsill space. What’s my best option? Go vertical immediately. A window shelf or a narrow, multi-tiered plant stand directly in front of the window is your best friend. Focus on smaller species like Pinguicula esseriana or P. agnata that naturally have a compact form. A single, shallow tray to hold all your pots will simplify watering immensely.
How close together can I really place my Pinguicula? During their carnivorous growth phase, leaves should not touch. Allow at least a half-leaf’s width between plants for airflow. During their succulent dormancy, they can be placed much closer, even pot-rim to pot-rim, as their form is tight and they require less light and air circulation around individual leaves.
My plants are under a grow light. Does spacing still matter? Absolutely. In fact, it might matter more. Grow lights have a “sweet spot” of intensity that falls off quickly with distance. Crowding can shade lower leaves. Ensure each plant is directly under the light’s coverage area, and raise or lower the light bank to keep it an optimal 6-12 inches above the leaf tops, depending on the light’s power. Spacing ensures every plant gets its share of photons.
Mastering Pinguicula is as much about managing your environment as it is about watering correctly. By understanding their growth cycles, zoning your space, embracing verticality, and implementing efficient systems like tray watering, you can cultivate a spectacular collection without it taking over your home. The transformation in my own plants—from cramped and stressed to vibrant and dewy—was proof that a little strategic planning unlocks their true potential. Start with an audit, be willing to adjust, and watch your butterworts—and your enjoyment of them—flourish.





