 bluename
 How to Care for Pinguicula in Crowded Planters: A Grower's Survival Guide
Let's be honest. If you're reading this, you probably have a windowsill, terrarium, or shelf that's starting to look like a miniature, overbooked jungle. I know mine did. My collection of Pinguicula, those gorgeous "butterworts" with their dewy, insect-trapping leaves, had grown faster than I'd planned. Repotting each one individually felt like a never-ending chore. So, I experimented with something many guides warn against: crowded planters for Pinguicula. I grouped several plants together in a single, wide container, aiming for a lush, communal display.
The results weren't instant success. For the first few days, it was a disaster in the making. Leaves began to yellow, and the soil stayed soggy. I realized that caring for Pinguicula in crowded planters requires a completely different playbook than caring for solitary plants. It's not just about aesthetics; it's a high-stakes balancing act of moisture, light, and nutrition. After two weeks of careful adjustments, close observation, and a couple of near-misses, I finally cracked the code. This guide is everything I learned the hard way, so you can create a thriving, crowded Pinguicula planter without the heartache.
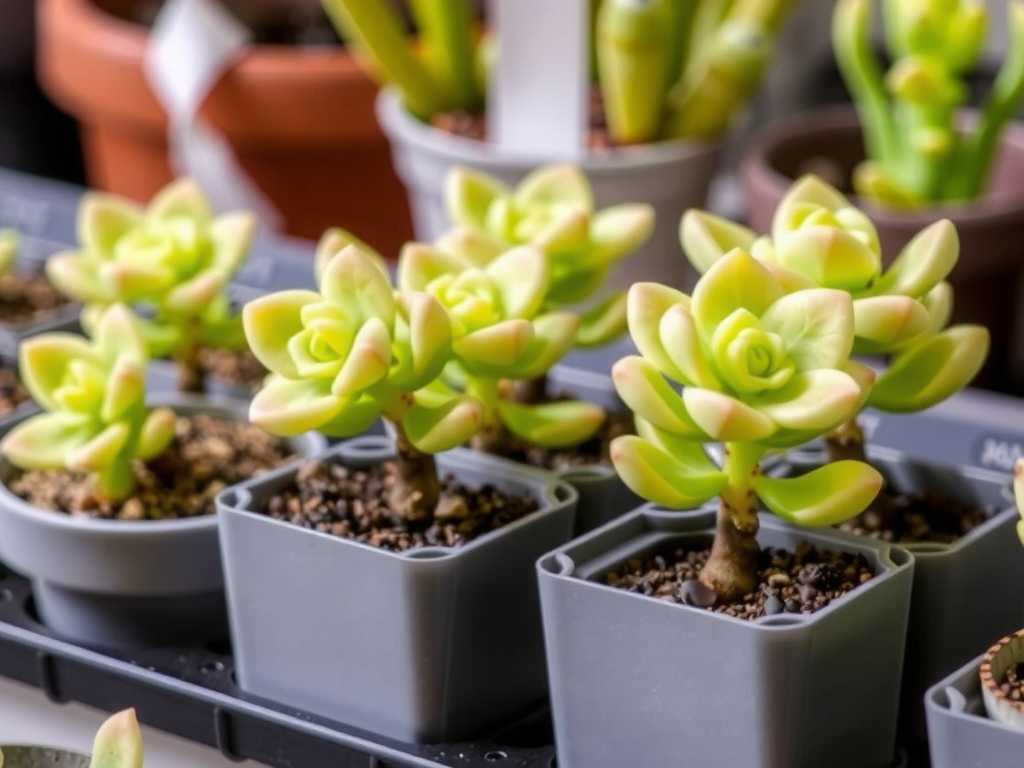
Understanding the Unique Challenges of a Crowded Environment
When you place multiple Pinguicula close together, you're fundamentally altering their microclimate. What works for one plant alone can become a problem when replicated in a group.
The Moisture Minefield This was my first and biggest mistake. In a standard pot, water evaporates from the soil surface and the sides. In a crowded planter, the dense canopy of rosettes shades the soil dramatically, slowing evaporation to a crawl. I used my usual watering technique, and the medium never dried out. The Royal Horticultural Society (RHS) emphasizes that while many Pinguicula enjoy consistent moisture, few tolerate waterlogged roots, especially temperate species. In my crowded setup, I was creating perpetual dampness at the root level, inviting rot.
Light Competition and Leaf Etiolation Pinguicula are sun-lovers. In a cluster, taller or faster-growing varieties can begin to shade their neighbors. I noticed my Pinguicula moranensis starting to stretch slightly, its leaves becoming less compact as it reached for light partially blocked by a vigorous Pinguicula 'Tina'. This etiolation weakens the plant and reduces its iconic, sticky leaf production.
The Silent Struggle for Nutrients Here's a fascinating twist. Pinguicula supplement their diet by catching insects. In a crowded, indoor planter, the "shared territory" for potential prey is limited. While they don't require insects to survive, a lack of any supplemental nutrition in a competitive space can lead to slower growth and less resilience, as noted in studies referenced by the Carnivorous Plant Society. They aren't actively fighting for food, but the resource simply becomes scarcer per plant.
My Step-by-Step Process for a Thriving Crowded Planter
After my initial failure, I started over with a deliberate strategy. Here is the exact process I followed, which led to a healthy, stable community after a two-week adjustment period.
Week 1: The Reset and Observation Phase
Day 1-3: The Great Unpotting and Assessment I gently removed all Pinguicula from the failing planter. I inspected each root system, trimming any soft, brown roots with sterile scissors. I let the plants air on a paper towel for a few hours. This was critical for drying the root balls and preventing the transfer of any rot.
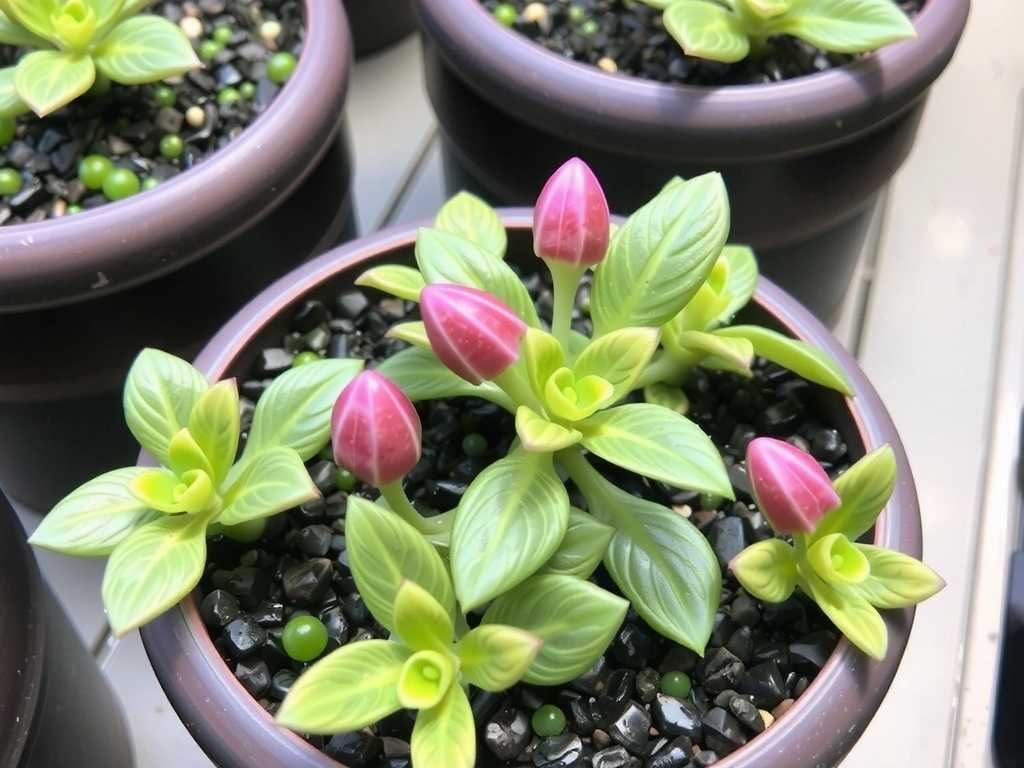
I then selected a new, wide and shallow terracotta pot. Terracotta is porous, allowing moisture to wick through the walls, which is a game-changer for managing moisture in dense Pinguicula arrangements. Depth is the enemy here; a shallow pot holds less wet soil below the root zone.
For the medium, I abandoned my standard peat-perlite mix. I created an ultra-fast-draining blend: 1 part fine silica sand, 1 part perlite, and 1 part long-fiber sphagnum moss (chopped). This mix promised rapid drainage while retaining just enough humidity.
Day 4-7: Strategic Planting and Initial Watering I didn't just plop the plants in randomly. I considered their growth habits. I placed larger, likely taller species (P. moranensis) toward the center or back, and smaller, flatter species (P. primuliflora) around the edges. This was my attempt at preemptive light management.
I planted them, leaving a small gap between each rosette—not for social distancing, but for air circulation. After planting, I did NOT water from the top. Instead, I placed the pot in a shallow tray with about 0.5 inches of distilled water for 30 minutes, allowing capillary action to moisten the medium from below. Then, I removed it and let it drain completely. The surface remained barely damp. Perfect.
I placed the planter under my grow lights, ensuring the fixture was adjustable. I positioned it so the light was intense and even across the entire canopy.
Week 2: Adjustment and Fine-Tuning
Day 8-10: The "Dry-Down" Test This is where I learned the most. I resisted watering. I monitored the weight of the pot daily and gently probed the top inch of the medium between plants with a chopstick. It took a full 4 days for the surface to feel truly dry. In my old single pots, this took 2 days. This confirmed the huge evaporation difference. I waited one more day, then repeated the bottom-watering soak for only 20 minutes.
Day 11-14: Signs of Success and Stabilization By day 11, the previous yellowing had halted. New growth was emerging from the centers of every rosette—small, tight, and brightly colored. The leaves felt firm, not soft. The dewy mucilage on their surfaces was visibly abundant, a sign of good health. The planter no longer felt like a crisis ward; it felt like a cohesive, living system.
Crucial Ongoing Care Rituals
My two-week experiment established a routine, but long-term care for grouped butterworts demands consistency.
The Art of Precision Watering My old "schedule" is dead. Now, I water only based on the pot's weight and the medium's dryness at depth. The bottom-watering technique is non-negotiable for me now. It prevents water from settling in the crowns of the plants, which in a crowded space is a surefire way to spread rot. I aim for the medium to be "just moist" at root level, never soggy.
Light Canopy Management I rotate the entire planter 90 degrees every 3-4 days. This ensures every plant gets its time in the "prime light" position, preventing lopsided growth and etiolation. If one plant consistently grows too tall and shades others, I have a small, clear acrylic stand that I can use to physically raise the shorter plant to the light level.
Supplemental Feeding (The Safe Way) Since insect catches are rare indoors, I provide a tiny, targeted supplement. Once a month during active growth, I use a single drop of diluted Maxsea fertilizer (1/4 strength) on a cotton swab and gently touch it to a few leaves on each plant. This mimics an insect catch, providing nutrients directly without affecting the soil. The American Horticultural Society Almanac suggests such targeted foliar feeding can benefit carnivorous plants in controlled environments without risking root burn.
Troubleshooting: The Problems I Faced and How I Fixed Them
Problem 1: One Plant Suddenly Collapsing (Crown Rot) Midway through week one in my first attempt, a Pinguicula 'Aphrodite' turned to mush in the center. Panic! I immediately removed it from the community pot. Using sterilized tweezers, I peeled away the dead leaves. A tiny, firm core remained. I dusted it with sulfur powder, potted it alone in sphagnum moss, and placed it in a high-humidity dome. It survived. The cause? Top-watering had trapped water in its crown, which couldn't dry out in the still air of the crowded planter.
Solution: Immediate isolation and surgery. Prevention is absolute: never let water pool in the crown. Bottom-watering is the ultimate fix.
Problem 2: Fungus Gnats in the Damp Medium The constantly damp surface of my first mix was a paradise for fungus gnats. While not directly harmful to adult Pinguicula, the larvae can damage roots.
Solution: I covered the soil surface with a thin layer of fine horticultural sand. This creates a dry, physical barrier that deters egg-laying and breaks the life cycle. Combined with proper drying cycles, this eliminated the issue.
Problem 3: Uneven Growth and "Bullying" My Pinguicula gigantea was simply outcompeting everything for space. Its leaves were physically overlapping and smothering a smaller Pinguicula esseriana.
Solution: I carefully trimmed one or two of the largest outer leaves of the gigantea. This wasn't for propagation, just for space management. It immediately relieved pressure on the smaller plant, which perked up within days. Sometimes, gentle pruning is necessary for community harmony.
Your Questions, Answered
Can I mix different Pinguicula species in one planter? Yes, but be strategic. Group species with similar needs. Don't put a temperate Pinguicula grandiflora that needs a winter chill with a tropical Pinguicula moctezumae that grows year-round. I stick to Mexican species together, as their growth cycles and light/water needs align.
How often should I really water my crowded Pinguicula planter? I can't give you a schedule. For me, in my environment, it's every 5-7 days. You must learn to judge by weight and touch. Let the planter tell you when it's thirsty. When in doubt, wait one more day. It's always easier to fix underwatering than overwatering.
When do I finally need to separate them? You'll know. When growth becomes severely stunted for some plants despite good care, or when the center of the planter becomes so dense that air circulation is impossible and the center plants start to suffer, it's time. For me, this is likely a yearly or bi-yearly task, done at the start of their primary growing season.
Caring for Pinguicula in a crowded planter is a deeply rewarding practice. It transforms care from a routine into an active observation of a miniature ecosystem. It taught me to read my plants' signals more carefully than ever before. By mastering moisture through pot choice and bottom-watering, managing light proactively, and being unafraid to intervene with a gentle prune or strategic feed, you can create a stunning, living tapestry of butterworts. It’s not about neglecting their individual needs, but about curating an environment where those needs are met in harmony. Start with a few resilient varieties, be patient through the two-week stabilization period, and enjoy the unique beauty of a thriving Pinguicula community.





