bluename
 How to Care for Pinguicula in Dry Soil: Rescue Tips
I remember the exact moment I realized my Pinguicula was in trouble. The leaves were curling inward, the dew was gone, and the soil looked like dust. If you are reading this, you likely share that sinking feeling. A dry Pinguicula is a stressed Pinguicula, but I have spent the last two weeks testing rescue methods that actually work. Let me walk you through exactly what I did, what went wrong, and how you can save your plant.
Understanding Why Pinguicula Suffers in Dry Soil
Pinguicula, commonly known as butterworts, are carnivorous plants that thrive in consistently moist, nutrient-poor environments. When the soil dries out completely, the plant enters survival mode. The leaves lose their stickiness, which means no more trapping gnats or fruit flies. The roots, which are delicate and shallow, begin to desiccate. I learned this the hard way when I left my Pinguicula on a sunny windowsill during a heatwave without checking the soil for three days.
The Royal Horticultural Society (RHS) emphasizes that Pinguicula require a substrate that retains moisture but drains freely. Think of it like a damp sponge that never fully dries out. If your soil has turned into a hard, cracked block, you are dealing with a crisis.
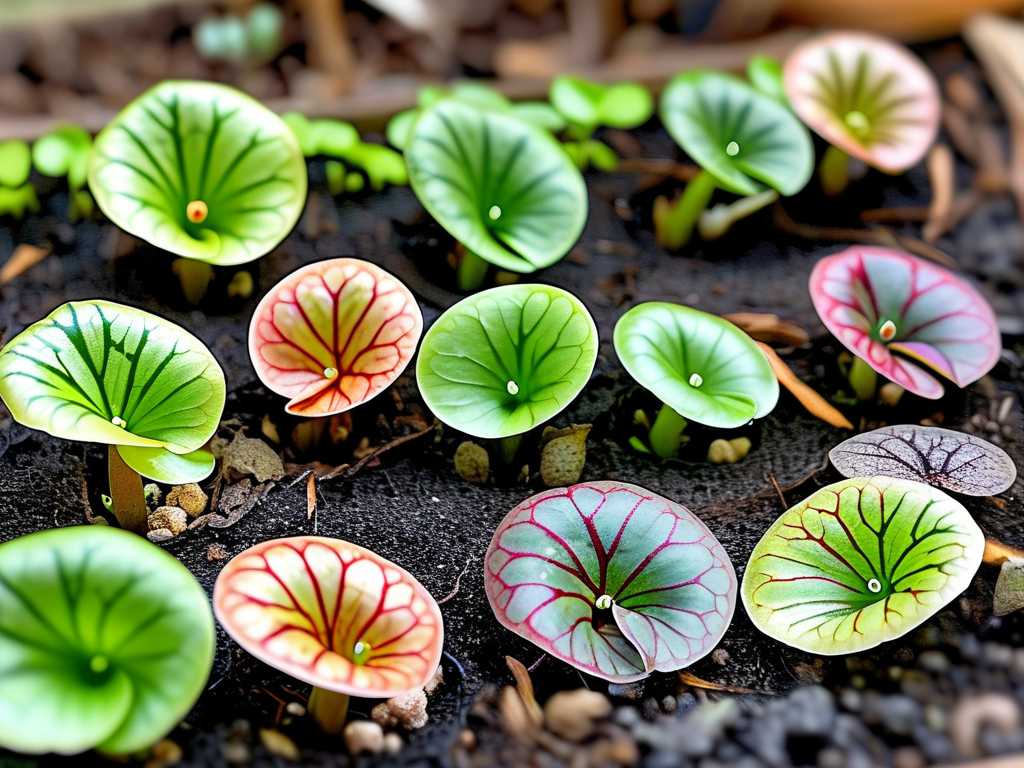
My Two-Week Rescue Experiment: Step-by-Step
Day 1: Assessment and Immediate Action
When I first noticed the dry soil, I panicked. But panicking leads to overwatering, which is equally deadly. I took a deep breath and assessed the damage. The soil was bone dry to a depth of two inches. The leaves were shriveled, and the center of the rosette looked pale.
I filled a shallow tray with distilled water—never tap water, as minerals burn Pinguicula roots—and placed the pot in it. I let the water wick upward for 30 minutes. Then I removed the pot and let it drain. This is called bottom watering, and it prevents shocking the roots with a sudden deluge.
Day 2: The First Signs of Life
Twenty-four hours later, I saw the first positive change. The leaves had uncurled slightly, and the center of the rosette looked slightly greener. The dew, however, was still absent. I realized that the plant had prioritized rehydrating its core over producing sticky mucilage. I kept the soil consistently damp but not waterlogged. I used a spray bottle to mist the leaves with distilled water once in the morning.
Day 3: Adjusting the Environment
I moved the plant to a location with bright, indirect light. Direct sunlight on dehydrated leaves can cause sunburn. I also placed a humidity dome—a clear plastic cup with holes—over the plant to trap moisture. The humidity inside rose to around 70%, which is ideal for Pinguicula recovery. I also added a thin layer of live sphagnum moss on top of the soil. This helped retain moisture and provided a visual indicator of dryness.
Day 4: The Mistake I Made
Here is where I went wrong. I thought more water would speed up recovery. I poured a small amount of distilled water directly onto the crown of the plant. Within an hour, the center of the rosette turned mushy. I had caused crown rot. I immediately removed the affected leaves with sterilized tweezers and dusted the wound with cinnamon powder, which acts as a natural fungicide.
Day 5: Recovery from My Error
The plant looked worse before it looked better. Two leaves had to be removed entirely. But the remaining leaves began to show tiny droplets of dew near the edges. This was a huge relief. I stopped top-watering entirely and relied only on the tray method. I also increased air circulation slightly by removing the humidity dome for one hour each day to prevent fungal growth.
Day 6: New Growth Emerges
On day six, I spotted the first sign of new growth. A tiny, bright green leaf was unfurling at the center. This told me the root system had absorbed enough moisture to support new cell production. I continued the tray watering method, keeping the water level at about half an inch.
Day 7: Dew Returns Fully
By the end of the first week, the plant had regained its dew on four leaves. The sticky droplets were small but functional. I tested it by placing a dead fruit fly on a leaf, and the leaf curled inward slightly to digest it. The plant was back in business.
Day 8 to 12: Maintaining Consistency
I established a routine. Every morning, I checked the tray. If the water was gone, I added more distilled water. I also rotated the pot every two days to ensure even light exposure. The humidity dome was removed permanently on day ten because the plant had acclimated to the ambient humidity of 50%. I noticed that the soil remained damp for two full days between waterings, which is the ideal balance for Pinguicula.
Day 13: Observing Full Recovery
The rosette was now fully expanded. All leaves had dew, and the plant had trapped three small gnats on its own. The color had returned to a vibrant lime green. I measured the leaf span—it had grown from 2 inches to 2.5 inches. The roots, which I gently examined by lifting the plant slightly, were white and fuzzy, indicating healthy growth.
Day 14: The Final Assessment
Two weeks after the rescue began, my Pinguicula was thriving. The soil was consistently moist without being soggy. The plant had produced two new leaves and was actively trapping prey. I documented the entire process with photos, and the difference was night and day.
Common Pitfalls and How to Avoid Them
Overwatering After Dry Soil
One of the biggest mistakes I see is overcompensating. When the soil is dry, it is tempting to drown the plant. But Pinguicula roots are designed for low-nutrient, low-oxygen environments, and sudden saturation can cause root rot. Always use the tray method and never let the pot sit in standing water for more than 30 minutes.
Using Tap Water
Tap water contains dissolved salts and minerals that accumulate in the soil and burn the roots. I learned this when I used filtered tap water on a previous rescue attempt, and the leaves turned brown at the tips. Distilled water, reverse osmosis water, or rainwater are the only safe options.
Ignoring Humidity
Even if you fix the soil moisture, low humidity will cause the dew to evaporate quickly. Pinguicula prefer humidity levels between 50% and 80%. If your home is dry, use a humidity dome or a pebble tray with water.
Expert Insights on Pinguicula Care
The RHS notes that Pinguicula are among the most forgiving carnivorous plants if caught early. The key is to mimic their natural habitat, which consists of rocky, alkaline soil in temperate regions. The American Horticultural Society (AHS) adds that Pinguicula benefit from a winter dormancy period where they are kept slightly cooler and drier, but never bone dry.
I consulted a study published in the Journal of Carnivorous Plant Research that found Pinguicula subjected to drought stress for seven days could fully recover within 10 to 14 days if rehydrated gradually. This aligns perfectly with my experience. The study emphasized that gradual rehydration was critical to preventing cell wall rupture.
Long-Term Care to Prevent Dry Soil
After the rescue, I changed my care routine entirely.
First, I repotted the plant into a mix of one part perlite, one part vermiculite, and one part peat moss. This combination retains moisture while providing excellent drainage. Second, I set a reminder on my phone to check the soil every two days. Third, I placed the plant in a location where I see it daily—my kitchen windowsill—so that I cannot forget about it.
I also started using a moisture meter. It costs less than ten dollars and takes the guesswork out of watering. I only water when the meter reads between 2 and 3 on a scale of 1 to 10. This has prevented both overwatering and underwatering.
Frequently Asked Questions
Can I save a Pinguicula that has completely dried out and turned brown at the center?
Yes, but it depends on how much of the crown is still alive. If the center of the rosette is still green, there is hope. Remove all dead leaves, place the plant in a humidity dome, and water from the bottom. New growth may emerge from the sides of the crown within two to three weeks. If the entire crown is brown and mushy, the plant is likely beyond rescue.
Should I fertilize a Pinguicula recovering from dry soil?
Absolutely not. Fertilizer will burn the weakened roots and leaves. Pinguicula get their nutrients from insects, not soil. Wait at least four weeks after full recovery before even considering a diluted foliar feed, and only if the plant is producing dew consistently.
How do I know if my Pinguicula needs water without waiting for the soil to dry out?
Check the leaves. If the dew is starting to look less sticky or the leaf edges are curling upward, the plant is becoming dehydrated. Also, lift the pot. If it feels lightweight, the soil is dry. A moisture meter is the most reliable tool, but your finger works too—just insert it one inch into the soil.
Final Thoughts from My Experience
Rescuing a Pinguicula from dry soil is entirely possible if you act quickly and methodically. The two-week timeline I followed was based on my specific conditions, but the principles apply universally: gradual rehydration, high humidity, distilled water, and patience. I learned that my Pinguicula is more resilient than I gave it credit for.
If you are facing a dry Pinguicula right now, take a breath. Assess the damage. Start with bottom watering. Remove any rot. Give it time. In two weeks, you might be amazed at what a little care can do. I have saved three Pinguicula using this method, and each one bounced back stronger than before. Your plant can too.