 bluename
 How to Care for Pinguicula with Damaged Leaves: A Practical Recovery Guide
There’s a special kind of panic that sets in when you notice your beloved Pinguicula, or butterwort, sporting damaged leaves. Maybe it’s unsightly brown spots, a torn leaf from a curious pet, or the dreaded mushiness from a watering misstep. As a fellow carnivorous plant enthusiast, I’ve been there. You’ve nurtured this fascinating, sticky-leaved predator, and seeing it hurt feels personal. The immediate questions flood in: Will it die? Can I cut the bad leaves off? What did I do wrong? This guide is born from that exact frustration and my subsequent, hands-on journey to nurse several of my own butterworts back to health. I’ll walk you through a clear, step-by-step process for caring for a Pinguicula with damaged leaves, sharing not just textbook advice but my real-world observations, mistakes, and the solutions that actually worked over a critical two-week recovery period.
Understanding the "Why": Diagnosing Leaf Damage in Butterworts
Before you act, you must diagnose. Treating physical trauma is different from addressing a fungal issue. Here are the common culprits I’ve encountered:
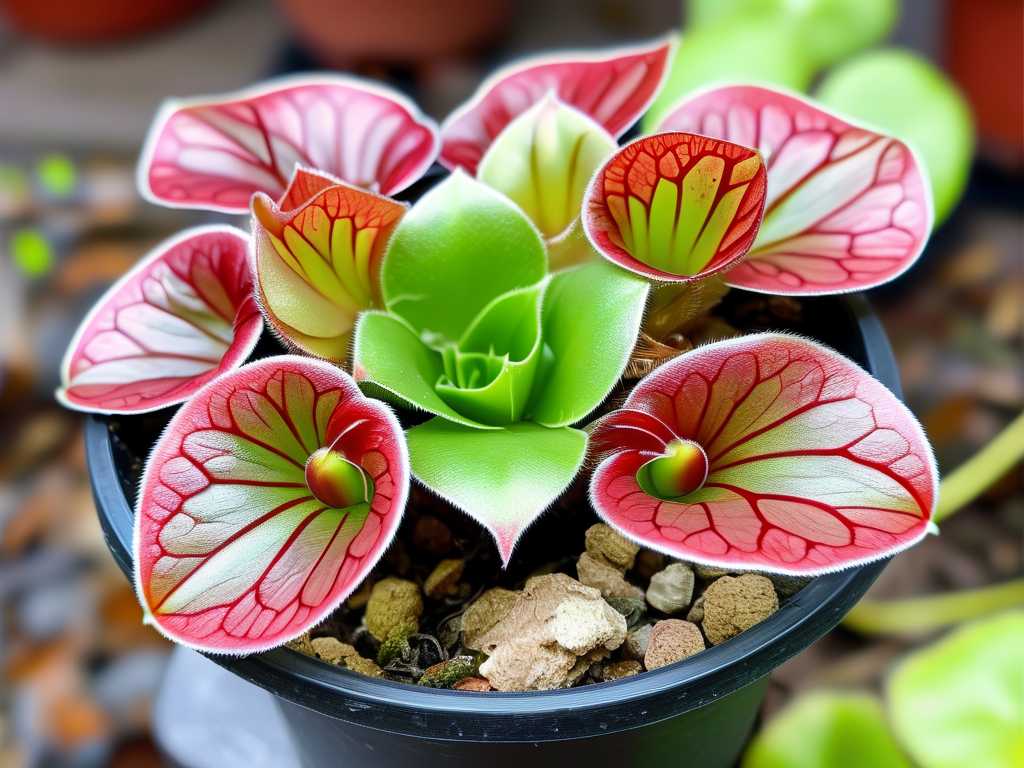
- Physical Damage: Accidental bumps, pet interference, or mishandling during repotting. The damage is localized, often a clean tear or break.
- Sunburn: Yes, even sun-loving Pinguicula can burn! This typically appears as bleached, white, or crispy brown patches, usually on the leaf tips or areas most exposed to intense, direct midday sun. My Pinguicula moranensis taught me this lesson after a sudden heatwave.
- Rot (Fungal/Bacterial): Often the most serious. Caused by prolonged moisture on the crown or in the resting rosette (for temperate species), poor air circulation, or contaminated media. Leaves turn soft, translucent, and black or dark brown, often starting at the base. This was my first major "pitfall" with a Mexican species I over-loved with water.
- Nutrient Burn: While they get nutrients from insects, chemical fertilizers are a hard no. Damage from fertilizer salts can cause sudden, widespread browning or distortion.
- Natural Senescence: Older leaves, especially at the outer base of the rosette, will naturally yellow and wither as the plant grows new ones from the center. This is normal and not a cause for alarm.
Step-by-Step: Your Action Plan for a Damaged Pinguicula
Armed with a diagnosis, here is the precise recovery protocol I follow. Remember, patience is your most important tool.
Step 1: Immediate Assessment and Isolation
First, gently remove your Pinguicula from its growing tray or saucer. Examine the roots if possible—are they firm and white, or brown and mushy? Check the crown (the central growing point). If the crown is firm and green, the plant has an excellent chance of survival, even if many leaves are damaged. I isolate any sick plant on a separate windowsill or shelf. This isn’t just about pests; it prevents potential fungal spores from spreading and allows you to monitor it closely without disturbing your collection.
Step 2: The Delicate Art of Leaf Removal
This is where many, including my past self, get nervous. Should you remove damaged leaves from Pinguicula? The answer is a careful "yes, but only when necessary."
- Do NOT Remove: Slightly sunburned tips, small physical tears, or leaves that are merely yellowing from age. The plant can still photosynthesize with these imperfect leaves, and premature removal creates an open wound.
- DO Remove: Any leaf that is more than 50% mushy, black, or clearly rotting. These leaves are a liability, harboring pathogens that can spread. Also, remove any completely desiccated, crispy leaves.
My Method: I use fine-tip, sterilized tweezers or small, sharp scissors wiped with isopropyl alcohol. For a rotting leaf, I gently grasp it at the very base where it attaches to the crown and give a soft, sideways tug. It often detaches cleanly at the abscission layer. If it resists, I use the scissors to cut as close to the base as possible without nicking the healthy crown tissue. I learned the hard way that pulling too hard on a resistant leaf can damage the crown itself. After removal, I place a tiny dusting of powdered cinnamon (a natural antifungal) on the exposed area at the base—a trick recommended by veteran growers on forums like the International Carnivorous Plant Society (ICPS).
Step 3: Optimizing the Recovery Environment
Healing happens from the inside out, driven by perfect environmental conditions. For the next two weeks, think "stable and stress-free."
- Water: This is critical. Switch to the tray method exclusively if you haven’t already. Use only distilled, reverse osmosis, or rainwater. Fill the tray with about 0.5 cm (1/4 inch) of water and let the pot absorb it. Allow the tray to dry out completely for a day or two before refilling. This provides consistent moisture to the roots while keeping the vulnerable crown and leaf bases much drier. The Royal Horticultural Society (RHS) emphasizes this "wet feet, dry shoulders" approach for preventing rot in many alpine and carnivorous plants.
- Light: Provide bright, indirect light. If your plant was sunburned, move it to a spot with strong but filtered light (e.g., behind a sheer curtain). For other damage, maintain its usual bright light but consider shielding it from the most intense afternoon rays during recovery. Direct morning sun is usually gentle and beneficial.
- Humidity & Airflow: Good air circulation is non-negotiable to discourage fungal growth. I use a small, oscillating fan in the room set on low, ensuring it doesn’t blow directly on the plants. Avoid enclosing the plant in a terrarium or dome unless it is a high-humidity species and you have active fungal issues; even then, airflow is key.
My 2-Week Recovery Journal: A Case Study
To make this real, let me share the timeline of my Pinguicula 'Sethos' that suffered from early-stage crown rot due to a clogged drainage hole.
- Day 1 (Action): Noticed two lower leaves were soft and translucent. Immediately isolated the plant. Removed the two compromised leaves with sterilized tweezers. Discovered soggy, peaty media at the bottom of the pot. Performed an emergency repot into a fresh, airy mix of 50% perlite and 50% peat moss. Placed it in a clean pot with ample drainage. Watered from below with distilled water and set it in a bright, east-facing window with a fan nearby.
- Days 2-5 (Vigilance): The plant looked sad and smaller. No new damage appeared—a good sign. The media surface stayed dry while the tray provided moisture. I resisted the urge to mist or "do more."
- Days 6-10 (First Signs of Hope): The center of the rosette, the crown, remained a vibrant green. I observed the tiniest, stickier new leaf beginning to form in the very center. This was the confirmation I needed—the plant had stopped declining and was redirecting energy to new growth.
- Days 11-14 (Stabilization): The new central leaf grew more pronounced. The remaining older leaves, while still bearing some scars, firmed up and didn't deteriorate further. The plant was clearly on a recovery path.
Common Pitfalls I Encountered (And How to Avoid Them)
- The Overwatering Reflex: My biggest mistake was seeing damage and thinking "it needs a drink!" Adding top water to a stressed plant, especially one with potential rot, is a death sentence. Stick to the dry-tray cycle.
- Over-Surgery: In my anxiety, I once removed every slightly blemished leaf, leaving the plant almost bare. This shocked it severely. Be conservative with leaf removal on Pinguicula. Only take what is actively harmful.
- Ignoring the Medium: Damage often starts below the surface. If your medium is old, decomposed, or waterlogged, recovery is nearly impossible without addressing it. Don’t be afraid to do a gentle repot if root health is in question.
- Impatience: Plants operate on their own schedule. You won't see dramatic improvement in days. The two-week mark is when you should expect to see the cessation of decline and the first hints of new growth.
FAQ: Your Pressing Questions Answered
Can a Pinguicula regrow from just the roots if the crown is dead? Unfortunately, no. The crown is the sole growing point for most common butterworts. If the crown is completely mushy and brown, the plant cannot recover. However, some Mexican species can produce plantlets from leaf pullings, so all is not lost if you act before total collapse.
What is the best soil mix to prevent future leaf and root damage? An airy, nutrient-free mix is paramount. I swear by a simple 1:1 ratio of peat moss and perlite. For Mexican Pinguicula, many experts, including those cited in the Carnivorous Plant Newsletter, recommend adding even more inorganic material like pumice or coarse sand to ensure perfect drainage and prevent the soggy conditions that lead to rot.
How long does it take for a recovering butterwort to start catching insects again? A healthy sign is the production of new, sticky mucilage. Once your plant puts out a few new leaves (which could take 3-6 weeks after stabilization), it will begin secreting dew again. Don't try to feed it during the initial recovery period; its energy needs to go to root and leaf repair, not digesting prey.
Caring for a Pinguicula with damaged leaves is a test of your patience and observation skills. Success lies not in dramatic interventions, but in providing a stable, stress-free environment and making minimal, precise corrections. By accurately diagnosing the cause, carefully removing only truly hazardous tissue, and mastering the balance of water and light, you give your plant the fundamental tools it needs to heal itself. Remember, the goal isn't a perfect plant overnight, but a resilient one that emerges from its setback stronger. Watch for that first tiny, dewy leaf in the center—it’s the most rewarding sign that your careful stewardship has paid off.





