 bluename
 How to Care for Pinguicula in Self-Watering Pots: My 2-Week Experiment
I’ve always been fascinated by Pinguicula, or butterworts. Their dewy, carnivorous leaves are mesmerizing, but their care can feel like a tightrope walk—especially when it comes to watering. Give them too much, and their delicate roots rot; too little, and they desiccate. For years, I juggled trays, wicks, and constant moisture checks. Then, I wondered: could the solution be self-watering pots? The idea seemed almost heretical for a plant notorious for disliking “wet feet.” But I decided to run a real-world experiment. For two weeks, I moved several of my Pinguicula into self-watering planters, meticulously documenting every step and change. This guide is the result of that hands-on trial, covering everything from setup to troubleshooting, specifically for how to care for Pinguicula in self-watering pots.
Understanding the Unique Needs of Pinguicula
Before we dive into the self-watering pot method, it’s crucial to understand what makes these plants tick. Pinguicula are not your average houseplants. They are carnivorous, primarily using their sticky leaves to trap fungus gnats and other small insects. Their root systems are fine and shallow, adapted to nutrient-poor, yet consistently moist, environments like cliff faces or bogs. The key phrase is “consistently moist,” not “soggy.” This is the fundamental challenge traditional watering presents.
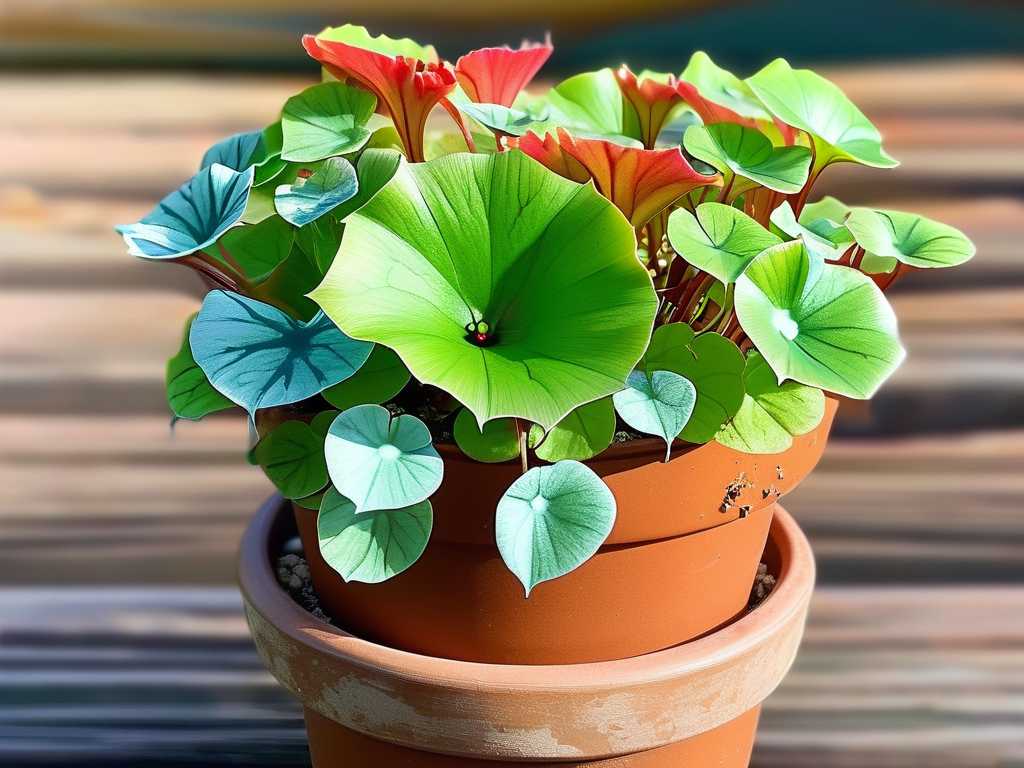
According to the International Carnivorous Plant Society (ICPS), the biggest killer of cultivated butterworts is root rot caused by poorly draining, waterlogged media. This is why the choice of growing medium and pot is so critical. My experiment aimed to see if a self-watering system could provide that ideal, consistent moisture level without crossing into dangerous, saturated territory.
Why I Chose Self-Watering Pots for This Experiment
The appeal was clear: consistency. A quality self-watering pot uses a wicking system or a water reservoir that allows the plant to draw up moisture as needed. For a plant that hates drying out completely, this promised a buffer against my own forgetfulness or variable home humidity. I hypothesized that if I could perfectly calibrate the medium and the reservoir, I could mimic the constant, gentle moisture of their natural habitat more reliably than with daily top-watering.
My Step-by-Step Setup Process
Here’s exactly what I did, from plant selection to final placement.
Selecting the Right Plants and Pots I didn’t risk my rarest hybrids. I chose two robust, mature Pinguicula ‘Sethos’ and one Pinguicula moranensis for the trial. For pots, I selected small, clear plastic self-watering pots designed for orchids or African violets. The clear sides were a bonus, allowing me to monitor root health and moisture distribution visually. Crucially, these pots had a deep reservoir separated from the soil by a raised grid and a wick.
Preparing the Perfect Growing Medium This is the most important step. Standard potting soil is a death sentence. I mixed my own medium, following a blend often recommended by experts from the Carnivorous Plant Society:
- 50% Perlite (for aeration and drainage)
- 30% Horticultural Sand (coarse, not play sand)
- 20% Sphagnum Peat Moss (acidic and moisture-retentive) I moistened this mix with distilled water before potting. Never use tap water; the minerals can burn the roots and leave damaging deposits on the leaves.
The Transplanting Procedure
- I gently removed each Pinguicula from its old pot, carefully teasing away the old medium from its delicate roots.
- I placed the provided wick (a nylon cord) so it would dangle into the reservoir below.
- I positioned the plant on top of the grid inside the upper pot, carefully spreading its roots.
- I filled in around the roots with my pre-moistened medium, tamping it lightly. I left the crown of the plant slightly above the medium surface to prevent rot.
- Finally, I filled the outer reservoir with distilled water, ensuring the wick was in contact with the water.
The 2-Week Observation Log: Triumphs and Troubles
This is where the real learning happened. I checked on my plants twice daily, noting leaf condition, soil surface moisture, and reservoir levels.
Days 1-3: The Adjustment Period Initially, the plants looked a bit shocked—a typical response to repotting. The older leaves on one ‘Sethos’ seemed slightly limp. I worried immediately about overwatering. I checked the medium by touch through the clear pot; it felt evenly damp but not wet, and I could see condensation on the inner walls. I resisted the urge to interfere and decided to let the wicking system do its job.
Days 4-10: Stabilization and Growth By day four, the limpness was gone. The plants perked up noticeably. The P. moranensis even began producing a new, sticky leaf. The reservoir water level dropped slowly, indicating the plants were drinking. The surface of the medium remained visually moist but never developed that soggy, waterlogged look I feared. This was a promising sign that the wick was regulating moisture effectively.
Days 11-14: The First “Pitfall” and Solution Here’s where I hit my first snag. On day 11, I noticed a very slight yellowing on the outermost leaf of my second ‘Sethos’. Alarm bells rang—was this the beginning of rot? Upon closer inspection, the yellowing was localized and the crown looked healthy. I realized my mistake: I had kept the reservoir topped up constantly. While the medium wasn’t soggy, it was too consistently wet for this particular plant, which preferred a slight dry-back. My solution was immediate and simple: I let the reservoir run completely dry for two days. I allowed the top layer of the medium to become just barely damp to the touch before refilling the reservoir with only a half-inch of distilled water instead of filling it. Within two days, the yellowing halted, and the plant stabilized. This taught me a vital lesson: “self-watering” doesn’t mean “set and forget.” You must tailor the reservoir level to your plant’s specific needs and the ambient humidity.
Key Learnings and Best Practices for Success
Based on my experiment, here are the non-negotiable rules for caring for butterworts in self-watering containers.
1. Medium is King: The wicking system is only as good as the medium it’s drawing through. A dense, peat-heavy mix will stay too wet. A gritty, well-aerated mix like the one I used is essential to prevent root rot while allowing capillary action.
2. Water Quality is Non-Negotiable: Always, without exception, use distilled water, reverse osmosis water, or rainwater. Mineral buildup from tap water will clog the wick, alter soil pH, and harm the plant. I refilled my reservoirs only with distilled water.
3. Light and Feeding Remain Critical: Self-watering pots manage moisture, not everything else. My Pinguicula thrived under their usual bright, indirect light (about 6 hours daily). Since they were indoors and catching fewer insects, I occasionally supplemented with a very diluted foliar feed specifically for carnivorous plants, applied lightly to the leaves. The American Horticultural Society (AHS) notes that healthy carnivorous plants primarily get nutrients from insects, so supplemental feeding should be minimal and cautious.
4. Active Reservoir Management: This was my biggest takeaway. Don’t just keep the reservoir full. Monitor your plant. In my drier indoor climate, a fuller reservoir worked for one plant, but the other needed a wet-dry cycle. Let the reservoir empty periodically to allow the medium to breathe. This mimics natural rainfall patterns better than constant saturation.
Troubleshooting Common Problems
Even with the best setup, issues can arise. Here’s what to watch for based on my experience.
- Leaves Turning Yellow or Mushy: This is the classic sign of too much moisture. Immediately empty the reservoir. Let the pot dry out significantly. Check that your medium is airy enough. You may need to repot into a grittier mix.
- Leaves Wrinkling or Drying: This indicates dehydration. Check that the wick is intact and reaching the water. The reservoir may be empty, or the wick may have become clogged with mineral deposits (if you used the wrong water). Soak the wick in distilled water to clear it, or replace it.
- Algae or Mold on Medium Surface: This is caused by excessive moisture and light on the surface. It’s more of an aesthetic issue but can indicate poor airflow. Let the surface dry out more between refills. You can add a thin top dressing of pure sand or perlite to block light.
Can all types of Pinguicula use self-watering pots? My experiment was with Mexican and hybrid Pinguicula, which have similar care needs. I would be more cautious with temperate species that require a distinct winter dormancy (a dry period). For those, traditional pots where you can control drought cycles are likely safer.
How often do I refill the water reservoir? There is no fixed schedule. It depends on pot size, plant size, medium, temperature, and humidity. In my two-week test, with small pots in a 70°F room, I needed to add a few ounces of water every 5-7 days after the initial adjustment period. Always check the reservoir level visually or by weight before refilling.
Do I still need to water from the top? Generally, no. The whole point is to allow bottom-up wicking. However, when you first pot the plant, water from the top to settle the medium and ensure the wick is primed. After that, let the reservoir system work. If you need to flush minerals (even from distilled water, over very long periods), an occasional thorough top-watering with plenty of drainage can be beneficial.
My two-week journey into using self-watering pots for Pinguicula was ultimately a success. The plants adapted well and showed steady growth once I learned to manage the reservoir actively. The system provided the consistent moisture they crave without the daily guesswork. The critical factors for success are an exceptionally well-draining medium, pure water, and—most importantly—your ongoing observation. It’s a tool, not a replacement for a grower’s attention. If you’re struggling with the watering balance for your butterworts, a carefully managed self-watering pot might just be the innovative solution you’ve been looking for.





