 bluename
 How to Care for Pinguicula Seed Pods Properly: A Grower's Step-by-Step Guide
I’ve been fascinated by carnivorous plants for years, but when I first successfully pollinated my Pinguicula and saw those tiny seed pods forming, a new wave of anxiety hit me. I had nurtured the plant to flowering, managed the delicate pollination, but now I was staring at the promise of new life with no clear roadmap. Sound familiar? If you’re holding a butterwort with developing seed pods, you’ve likely felt the same worry. The most common pain point isn’t getting the seeds—it’s the agonizing uncertainty of what comes next. How do you harvest them without losing microscopic seeds to the wind? How do you sow them to avoid mold, the number one killer of butterwort seedlings? I’ve been there, made the mistakes, and lost precious batches. After extensive trial, error, and consultation with expert communities like the International Carnivorous Plant Society (ICPS), I’ve developed a reliable process. In this guide, I’ll walk you through my exact method for caring for Pinguicula seed pods, from maturation to sowing, including my own two-week observation journal and the pitfalls I learned to avoid.
Understanding the Pinguicula Seed Pod Lifecycle
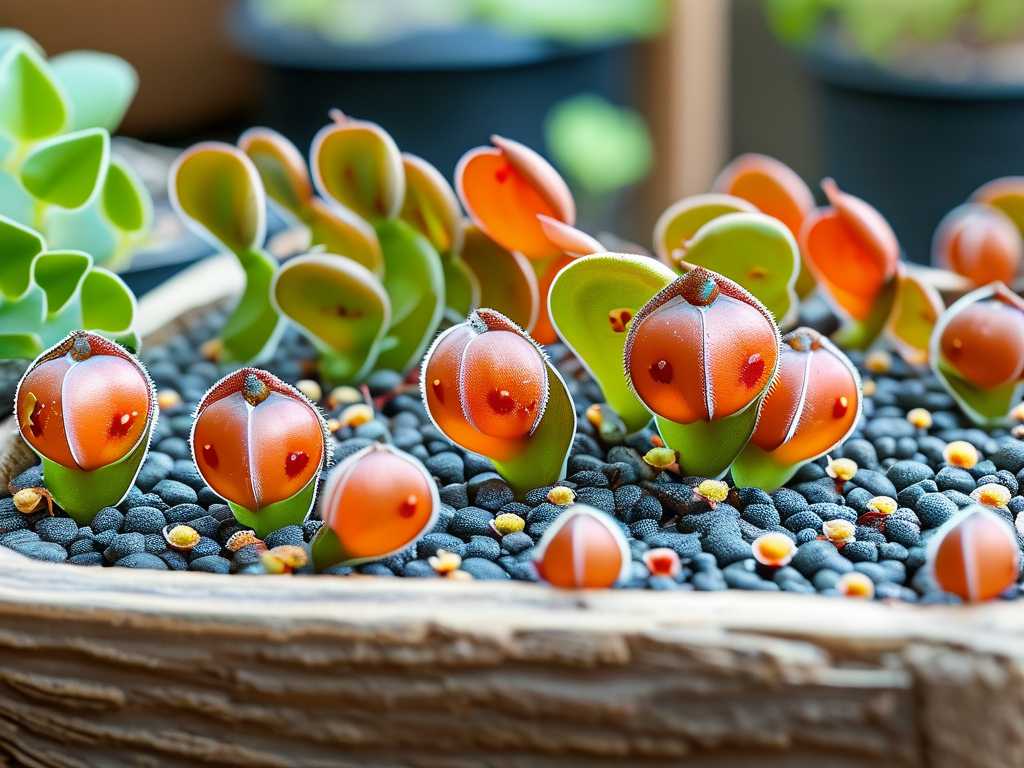
Before you touch a single pod, it’s crucial to understand what you’re observing. Pinguicula seed pods are deceptively simple. After successful pollination, the flower wilts, and the ovary at its base begins to swell. This is your future seed pod. Depending on the species and your growing conditions, this maturation process can take anywhere from three to eight weeks. Patience here is your first test.
I learned this the hard way with my Pinguicula moranensis. Eager to collect seeds, I harvested a pod that looked dry and brown at the tip. When I opened it, the seeds inside were still pale and soft, utterly unviable. I had confused surface drying with complete maturation. According to resources from the Carnivorous Plant Society (UK), a reliable indicator is not just color, but the pod’s texture. A truly ready pod will be completely dry, brittle to the touch, and will often begin to split open at the top along natural seams. This is the plant’s way of telling you it’s time. Rushing this stage is the first major mistake in Pinguicula seed propagation.
My Step-by-Step Process for Harvesting and Sowing
This is the hands-on method I now use religiously, refined over several generations of plants.
Stage 1: The Harvest I wait until the pod is fully dry and just starting to crack. To prevent losing seeds, I employ a simple “bagging” technique. I carefully place a small, lightweight paper envelope (like a coin envelope) over the pod and secure it loosely with a twist tie or string below the pod. Then, I use fine-tip scissors to snip the stem, capturing the entire pod inside the envelope. This method ensures that if the pod shatters during cutting, every single seed is safely caught. I then label the envelope immediately with the species and date—trust me, you will forget otherwise.
Stage 2: Sowing the Seeds Pinguicula seeds are dust-like and require surface sowing. My medium of choice is a 50/50 mix of fine milled sphagnum peat moss and perlite, moistened with distilled or rainwater. I never use tap water, as minerals can harm the seeds and seedlings. I fill a clean, shallow pot or plastic container with drainage holes, level the medium, and gently tap the seeds from the envelope directly onto the surface. I do not cover them with soil; they need light to germinate.
Here’s my critical tweak for humidity control: instead of sealing the pot in a bag, which often led to explosive mold growth in my early attempts, I now use a clear plastic propagation dome. I leave the vents fully open or crack the lid slightly. This maintains elevated humidity without creating the stagnant, soggy environment that mold spores love. The goal is consistently damp, not wet, medium.
Stage 3: The Crucial First Two Weeks – My Observation Log This is where most guides stop, but it’s where the real work begins. I documented my last sow (Pinguicula agnata) day-by-day.
- Days 1-3: No visible change. The medium remains moist under the dome. I place the container under bright, indirect artificial lights (T5 fluorescents) for a 14-hour photoperiod. No direct sun at this stage, as it can cook the seeds.
- Days 4-7: Still no signs of life on the surface. The temptation to water or fuss is strong, but I resist. I check daily for any white, fuzzy mold. None appears, confirming my vented-dome strategy is working.
- Day 8: Under a magnifying glass, I spot the first signs! Tiny, almost translucent green specks are visible. These are the first germinations. They are impossibly small.
- Days 9-12: More green specks appear. They are not yet recognizable as butterworts, just prothalli (the initial germination stage). The medium surface is starting to dry slightly at the edges. I use a spray bottle with a very fine mist setting to lightly remoisten the surface with distilled water, avoiding direct pounding on the seedlings.
- Day 14: A milestone. The larger specks are now showing the first distinct, miniature butterwort leaves—tiny, succulent, and green. The colony is established. At this point, I remove the propagation dome entirely to encourage air circulation and prevent damping-off disease. The seedlings now live in the same tray as my adult carnivorous plants, enjoying the same high humidity tray environment.
Common Pitfalls and How I Solved Them
My journey wasn’t smooth. Here are the key problems I encountered and how I fixed them.
The Mold Catastrophe: My first sowing turned into a white, fuzzy disaster within a week. I had sealed the pot in a ziplock bag. The solution was two-fold: better air flow (the vented dome) and ensuring my sowing medium was pasteurized. I now lightly microwave the moist peat/perlite mix in a microwave-safe container for a few minutes and let it cool completely before sowing. This kills mold spores and weed seeds without harming the medium’s structure, a practice supported by many expert growers in forums like TerraForums.
The Disappearing Act: I once had great germination, only to see seedlings vanish. Using a stronger magnifier, I saw fungus gnat larvae feasting on the roots. These pests are a major threat to healthy Pinguicula seedling development. My fix was preventative: I started using a thin top dressing of fine sand or crushed quartz over the medium after sowing. This creates a dry, physical barrier that deters gnats from laying eggs. For existing infestations, mosquito bit tea (soaked in your distilled water) is a safe, biological larvicide.
Damping-Off Despair: Even without mold, seedlings would sometimes collapse at the base and die. This “damping-off” is caused by soil-borne fungi thriving in cool, wet conditions. I combat this by providing gentle bottom heat using a standard seedling heat mat set to a very low temperature (around 70°F / 21°C). This warms the root zone, promoting growth and making the environment less hospitable to the pathogens. Combined with the improved air circulation from removing the dome at the right time, this virtually eliminated the issue.
Nurturing Your Seedlings to Adulthood
Once past the two-week mark, your focus shifts from germination to steady growth. They still need bright light, consistent moisture via the tray method (keeping the pot in 1/4 inch of distilled water), and pure water. I wait until they have several leaves and are clearly crowding each other—often several months later—before attempting the delicate process of pricking them out and transplanting. Their growth will be slow but incredibly rewarding.
Frequently Asked Questions
How long do Pinguicula seeds remain viable? If stored correctly in a dry, cool, and dark place inside a paper envelope (never a plastic bag, which traps moisture), most Pinguicula seeds can remain viable for a year or two, sometimes longer. However, I always recommend sowing them as soon as possible after harvest for the highest germination rates. Fresh is best.
Can I stratify Pinguicula seeds to improve germination? For most common tropical and subtropical Pinguicula (like P. moranensis, P. agnata), cold stratification is not necessary and can be harmful. These seeds are adapted to germinate in warm, humid conditions. However, some temperate species (like P. vulgaris) that experience winter dormancy may benefit from a cold, damp stratification period. Always research the specific needs of your species.
Why haven’t my seeds germinated after a month? Assuming they were fresh and sown correctly, the most likely culprits are temperature and light. The medium needs to be consistently warm (not hot). Try providing gentle bottom heat. Secondly, ensure they are getting enough bright, indirect light. Patience is also key; some species are slower than others. If you see no signs after 6-8 weeks under ideal conditions, the seeds may have been non-viable.
Successfully raising Pinguicula from seed is one of the most satisfying experiences in carnivorous plant cultivation. It transforms you from a caretaker into a creator. The process demands patience, attention to detail, and a willingness to learn from setbacks. By following these steps—respecting the pod’s natural timing, mastering the harvest, creating a balanced germination environment, and vigilantly protecting the seedlings—you turn the anxiety of the unknown into the confident rhythm of a grower. Your windowsill or grow rack will soon be home to a new generation of these incredible sticky-leaved hunters, all from those carefully tended, dust-like seeds.





