 bluename
 How to Care for Pinguicula: Germination Care Tips for Sticky Success
I remember the excitement of receiving my first packet of Pinguicula seeds, those tiny specks of potential that promised a windowsill full of beautiful, insect-catching butterworts. And I remember the crushing disappointment when, after weeks of hopeful waiting, nothing happened. Sound familiar? If you’ve ever struggled to coax these fascinating carnivorous plants from seed, you’re not alone. The journey from dust-like seed to a dewy, rosetted plant is fraught with specific challenges. But after years of trial, error, and meticulous note-taking, I’ve refined a process that consistently works. This guide isn’t just theory; it’s the exact, step-by-step method I use, complete with the mistakes I made so you don’t have to.
My goal is to demystify Pinguicula germination care and set you up for success from the very first day. We’ll move beyond generic advice into the actionable, observed details that make all the difference.
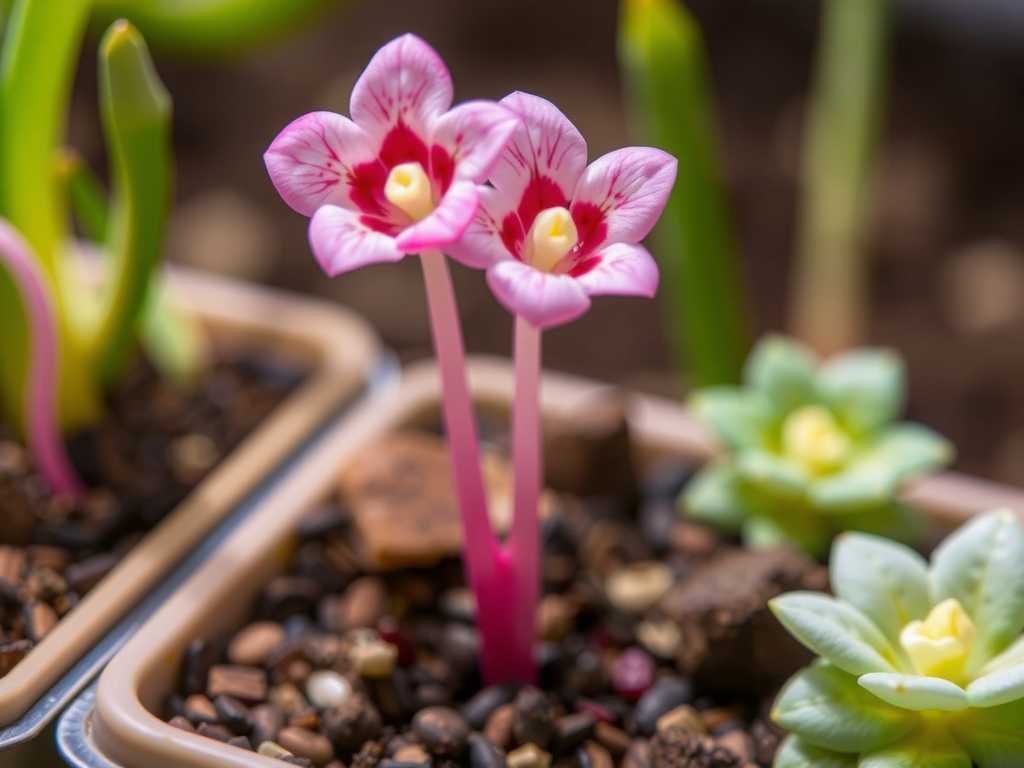
Understanding Your Tiny Seeds: The Pinguicula Starting Point
Before we even touch soil, it’s crucial to understand what we’re working with. Pinguicula seeds are incredibly fine, almost like pepper dust. This small size means they have very limited energy reserves. They cannot be buried and require specific conditions to break dormancy. Many beginners fail at this first hurdle by using standard potting mix or treating them like tomato seeds.
According to the International Carnivorous Plant Society (ICPS), successful germination for many Pinguicula species relies on a combination of consistent moisture, high humidity, and appropriate temperature cycles. Ignoring any one of these pillars is often the root cause of failure. My early attempts failed because I treated humidity as an afterthought. Let’s build a foundation that addresses all three.
My Step-by-Step Germination Setup: A Two-Week Diary
Here is the exact protocol I follow now, born from past failures. I’ll walk you through my most recent sowing of Pinguicula moranensis, tracking the first critical two weeks.
Week 1: Sowing and The Waiting Game
- Day 1 – Preparation is Everything: I use a simple, clear plastic food container with a lid. For media, I’ve had the best results with a 50/50 mix of fine milled sphagnum moss and perlite, rinsed thoroughly with distilled water. Rainwater or reverse osmosis water is mandatory; tap water contains minerals that will harm or kill the seeds and seedlings. I moisten the mix so it’s damp like a wrung-out sponge, not soggy. I gently press it into the container, leaving about an inch of headspace.
- Day 1 – Sowing the Seeds: This is a delicate operation. I fold a small piece of white paper, pour the seeds onto the crease, and then, holding it over the media, tap gently to disperse the seeds as evenly as possible. Do not cover them with soil. I lightly mist the surface with distilled water from a spray bottle to settle the seeds, place the lid on, and label it with the date and species.
- Day 1 – Location, Location, Location: I place the container under my grow lights, providing a consistent 14-hour photoperiod. The lights are about 12 inches above the container, providing bright but not scorching intensity. Ambient room temperature is maintained at a steady 68-72°F (20-22°C). The sealed lid creates the 100% humidity microenvironment the seeds crave.
- Days 2-7 – The Discipline of Patience: Here’s my first old mistake: constantly opening the lid to “check for growth.” This destroys the stable humidity and introduces contaminants. I do not open it. I observe condensation on the lid and sides—this is good. If no condensation appears after a day, I might give one very light external mist through a small air hole, but this is rarely needed if the media was properly pre-moistened.
Week 2: The First Signs of Life and Critical Adjustments
- Day 8 – The Green Pinpricks: On the morning of the eighth day, under a magnifying glass, I see them—dozens of tiny, vibrant green specks. They are not true leaves yet, just the initial germination. Success! This is the most rewarding moment. They are incredibly delicate at this stage.
- Day 10 – Managing the Microclimate: Now that germination has started, I begin a crucial transition. My past error was leaving the lid sealed indefinitely, which often led to fungal growth (a white, fuzzy mold) that can wipe out seedlings overnight. To prevent this, I now introduce slight air exchange. I slide the lid open a quarter of an inch and leave it slightly ajar. This reduces humidity from 100% to about 80-90%, which is still high but discourages mold.
- Day 12-14 – Observation and Vigilance: The green specks are slowly enlarging. I check daily for any signs of mold. If I see a tiny spot (and I did in one corner this time), I don’t panic. Using tweezers sterilized with isopropyl alcohol, I carefully place a single grain of dry, fine milled sphagnum moss directly on the affected spot. This often absorbs excess moisture and halts the mold’s spread without harming nearby seedlings. No fungicides are used.
The Pitfalls I Encountered and How You Can Avoid Them
My journey wasn’t always smooth. Here are the key lessons from my failures:
- The Wrong Water: Using filtered pitcher water once (thinking it was “good enough”) resulted in a white mineral crust on the media surface and zero germination. Solution: Commit to distilled, rainwater, or RO water from day one. It’s non-negotiable.
- Buried Seeds: Sowing on a windy day led to me “tapping” too hard, effectively burying some seeds. They never sprouted. Solution: Sow in a completely still room and mist gently to settle them.
- The Fungus Gnats Disaster: One batch was ruined by fungus gnats whose larvae ate the tender roots. This came from using a non-sterile potting component. Solution: I now microwave my damp media mix for 2-3 minutes in a microwave-safe bowl (let it cool completely before use!) or bake it in the oven to kill any pests or eggs.
- Impatience with Growth: I once transplanted seedlings the moment I saw their first carnivorous leaves. The shock killed them. Solution: Wait until they have at least 3-4 true leaves and are clearly crowding each other (often 3-4 months old) before considering transplantation.
Nurturing Your Seedlings Into Mature Butterworts
Post-Germination Care is where your long-term success is defined. After the first month, with the lid mostly off, I ensure the media surface never dries out, using the tray method: I place the container (now with drainage holes poked in the bottom) in a shallow tray of distilled water, letting it wick up moisture. I keep them under strong, consistent light; weak light leads to etiolated, weak plants.
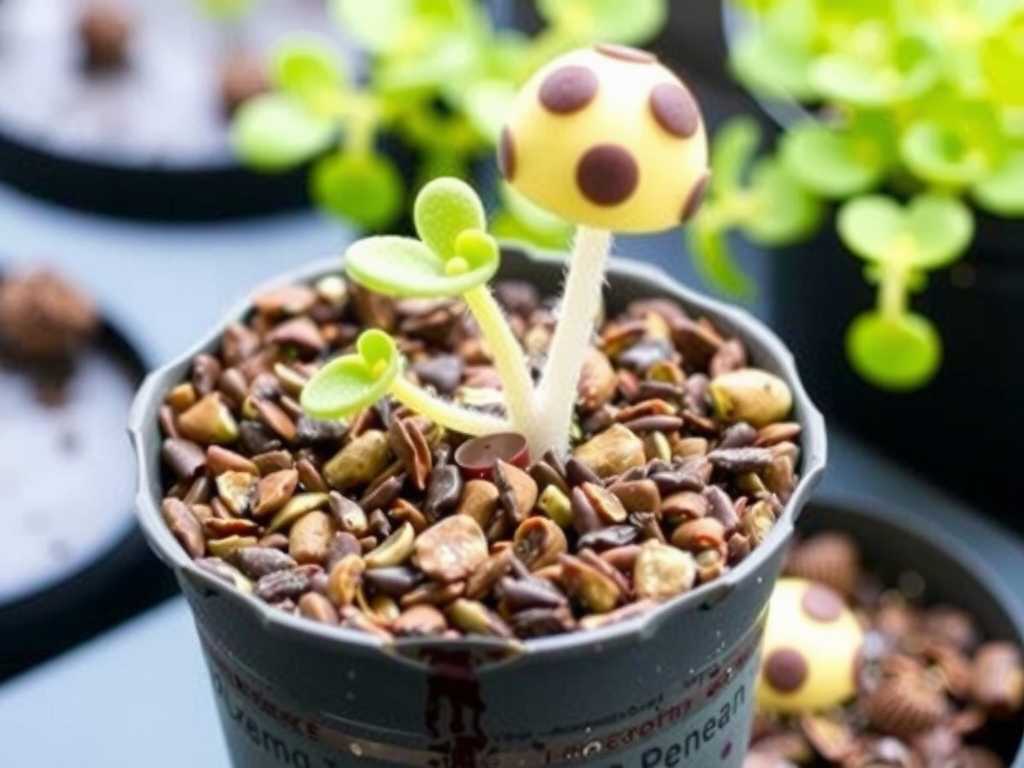
As they grow, their carnivorous nature becomes apparent. I don’t feed them manually; they will catch minute springtails and gnats on their own in a indoor setting. The American Horticultural Society’s carnivorous plant guide emphasizes that butterwort seedling maintenance is more about perfecting their environment than active feeding. Their sticky leaves are their own ingenious feeding mechanism.
When and How to Transplant Your Pinguicula Babies
Wait until they are robust, perhaps the size of a pencil eraser. I use a damp toothpick to gently loosen and lift each seedling, holding it by a leaf if necessary (never the root). I transplant it into its own small pot with the same airy, mineral-free media. I then place this pot in a clear, loosely covered container for a week or two to maintain high humidity as it establishes, slowly acclimating it to lower humidity thereafter.
How long does it take for Pinguicula seeds to germinate? It varies by species and conditions. For common tropical species like P. moranensis, I typically see germination in 7-14 days. Some temperate species may require a cold stratification period and can take several weeks to months. Patience and stable conditions are key.
Why are my Pinguicula seedlings turning red or purple? This is usually a sign of very strong, optimal light. Many Pinguicula develop beautiful red or pink tints under high light intensity. As long as the leaves are not crisping or shrinking, it’s a sign of health, not a problem. If growth seems stunted, consider moving them slightly further from the light source.
Can I skip the humidity dome or container? In my experience, for germination and the early seedling stage, I do not recommend it. The ambient humidity in most homes is far too low for these moisture-loving seeds. The controlled microenvironment of a container dramatically increases your success rate. You can wean them off high humidity once they are well-established juveniles.
Starting Pinguicula from seed is a test of patience and attention to detail, but the reward—watching those microscopic seeds transform into glistening, predatory rosettes—is unparalleled in plant cultivation. By providing sterile media, pure water, consistent brightness, and managing that critical humidity transition, you transform the challenge into a reliable, deeply satisfying process. Remember, your role is to craft and maintain their perfect miniature world; they will handle the rest, growing into stunning testaments to your care.





