 bluename
 How to Care for Pinguicula: The Ultimate Leaf Trimming Guide
I’ve been fascinated by carnivorous plants for years, but my Pinguicula, or butterworts, always held a special place. Their dewy, sticky leaves are a marvel of nature. Yet, for the longest time, I struggled with one aspect of their care: knowing when and how to trim their leaves. I watched leaves turn brown, wondered if I was harming the plant, and hesitated, fearing I’d ruin its beautiful rosette. If you’ve ever felt that uncertainty, staring at a less-than-perfect leaf and questioning what to do, this guide is for you. I’ve spent years, and specifically a detailed two-week observation period, to figure out the exact steps for how to care for Pinguicula through proper leaf trimming. It’s not just about aesthetics; it’s about plant health and vigor.
Understanding the “Why” Behind Trimming Your Butterwort
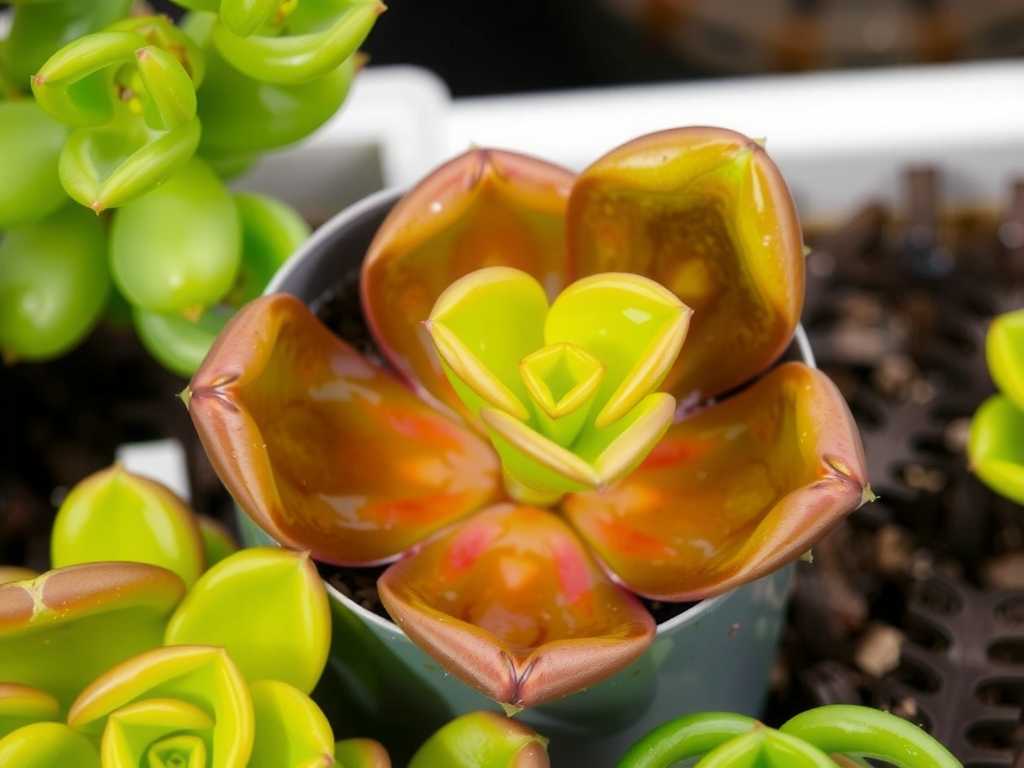
Before we make the first cut, it’s crucial to understand why we trim. Unlike pruning a shrub, we’re not shaping the plant for size. For Pinguicula, leaf trimming is primarily a hygiene and energy management practice. As the International Carnivorous Plant Society (ICPS) notes, removing dead or dying foliage helps prevent fungal pathogens like Botrytis from taking hold in the damp conditions these plants love. A decaying leaf is an open invitation for trouble.
Furthermore, a leaf that is more than 50% brown or yellow is no longer efficiently contributing to the plant’s photosynthesis. The plant may already be reclaiming nutrients from it. By carefully removing it, you reduce the plant’s burden to maintain non-functional tissue, allowing it to redirect energy into producing fresh, healthy, carnivorous leaves. This process is a key component of long-term Pinguicula plant maintenance.
My Essential Toolkit for Safe and Precise Trimming
Gathering the right tools is step one. Using your fingers can crush and damage delicate plant tissue. Here’s what I always have ready:
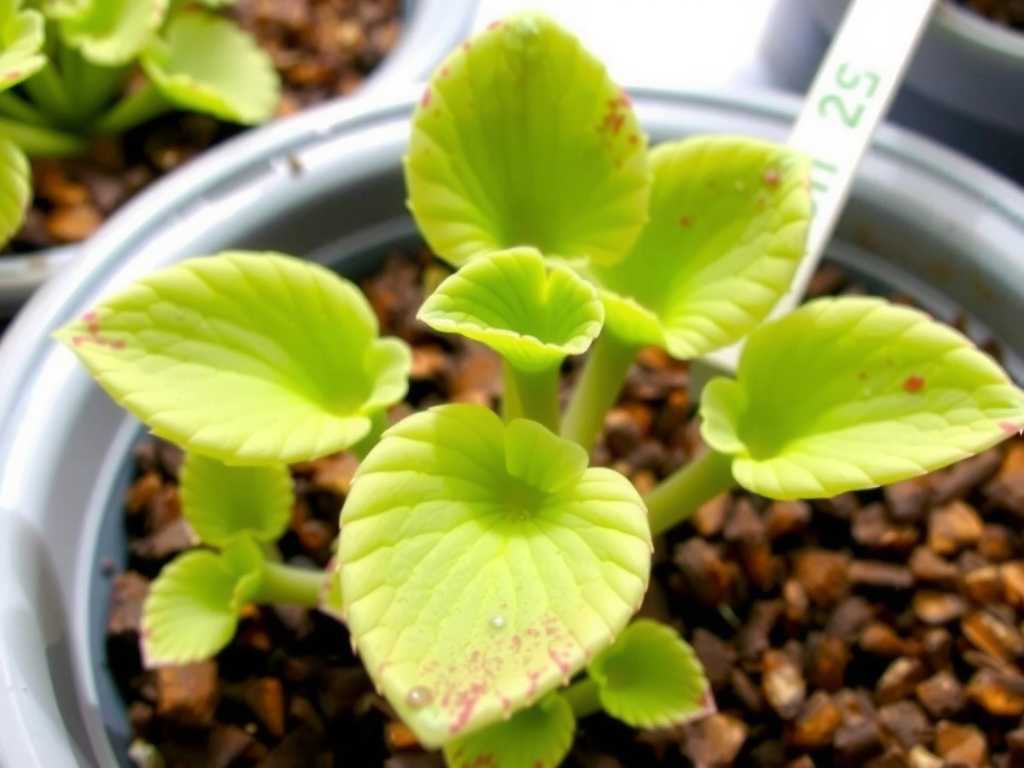
- Fine-Point Tweezers: Absolutely non-negotiable. They provide surgical precision. I prefer angled tweezers for better control in tight rosettes.
- Micro-Tip Scissors or Nail Clippers: Sterilized, sharp scissors are perfect for thicker leaf bases. A small pair of clean nail clippers works surprisingly well.
- Isopropyl Alcohol (70%+): For sterilizing your tools before and between cuts on different plants. This is critical to avoid spreading any potential disease.
- Magnifying Glass or Headlamp: Good lighting and magnification help you see exactly where healthy tissue ends and damaged tissue begins.
The Step-by-Step Guide to Trimming Pinguicula Leaves
This is the exact methodology I follow, born from both research and plenty of hands-on trial and error.
Step 1: The Assessment & Diagnosis Don’t trim on a schedule; trim on condition. I examine my plant every few days during watering. I look for leaves that are:
- Completely Brown and Crisp: These are often old, seasonal leaves that have naturally died back.
- Mostly Yellow/Brown with Only a Green Tip: The die-back is progressive.
- Showing Dark, Mushy Spots: A sign of potential rot or physical damage. I ask: Is this leaf contributing to the plant’s health? If the answer is clearly “no,” it’s a candidate for removal.
Step 2: The Sterilization Ritual I wipe down my tweezers and scissors with an isopropyl-soaked cotton pad. I let them air dry for a minute. This takes seconds but is the best insurance policy against infection.
Step 3: The Precision Cut This is where technique matters. My golden rule: Never cut into healthy, green tissue.
- For leaves that are brown all the way to the base, I use my tweezers to grip the dead leaf as close to the soil line as possible. With a gentle sideways tug, it often detaches cleanly. If it resists, I use the sterilized micro-scissors to snip the last connecting thread.
- For leaves that are partially dead, I use the scissors. I find the point where the brown/yellow damaged tissue meets the green, healthy tissue. I then make my cut about 1-2 millimeters into the damaged/brown section. This ensures I don’t leave a dying edge on the healthy part, which could continue to decay inward.
Step 4: Post-Trim Care and Observation After trimming, I leave the plant alone. I don’t water directly onto the cut points for a day or two. I simply return it to its usual bright, humid environment and observe.
My 2-Week Trimming Experiment: What Actually Happens
To move beyond theory, I selected a mature Pinguicula moranensis with several aging leaves. I documented its state before any trimming with photos. Over two days, I carefully removed three fully brown outer leaves and one leaf that was 70% yellowed.
Days 1-3: Immediately, the plant looked tidier. The small, cut ends on the partially trimmed leaf dried and calloused over within 48 hours, forming a tiny, neat brown scab. No oozing, no mushiness. Days 4-7: This was the most exciting phase. From the very center of the rosette, I noticed two tiny, new green nubs emerging. The plant’s energy was visibly shifting. The remaining leaves appeared perkier, possibly because airflow and light penetration to the center had improved. Days 8-14: The new leaves grew rapidly, unfurling into perfect, sticky traps. The cut site on the partially trimmed leaf remained stable—the die-back did not progress into the healthy green tissue I had left behind. The plant’s overall growth rate seemed accelerated compared to its state before the trim.
The Pitfalls I Encountered (And How to Fix Them)
My journey wasn’t without mistakes. Here’s what I learned the hard way:
- The Temptation to Over-Trim: Early on, I’d see a tiny brown spot and remove the entire leaf. This was overzealous and set the plant back. Solution: Be patient. If damage is minimal (less than 20% of the leaf tip), monitor it. Often, the plant can compartmentalize the damage, and the rest of the leaf remains functional for weeks.
- Using Dull or Dirty Tools: I once used unsanitized tweezers and later saw a suspicious dark spot develop on a neighboring leaf. Solution: Sterilize every time, without fail. It’s the single most important habit.
- Watering Immediately After Trimming: I watered from above right after trimming, and water pooled in the center where I had made cuts. This created a risk for crown rot. Solution: Trim when the plant’s soil surface is slightly dry, or water from below (the tray method) for the next few waterings.
- Trimming During Dormancy: For temperate Pinguicula that form a tight, non-carnivorous winter bud (hibernaculum), I mistakenly tried to trim it. Solution: As experts from the Carnivorous Plant Hub advise, avoid any trimming or disturbance during dormancy. Wait until the plant actively resumes growth in spring.
Integrating Trimming into Your Overall Care Routine
Trimming isn’t a standalone task. It’s part of a holistic care system. Healthy plants recover faster. Ensure your Pinguicula gets plenty of bright, indirect light, sits in mineral-free water (rain, distilled, or reverse osmosis), and is potted in a well-draining, nutrient-poor mix like a peat-perlite blend. A strong plant will respond to a trim with vigorous new growth, which is the ultimate goal of any butterwort leaf care practice.
How often should I trim my Pinguicula? There’s no set frequency. Trim as needed, which for a healthy plant might only be every few months to remove old, naturally dying leaves. Regular inspection is more important than a schedule.
Is it okay to trim the sticky, carnivorous leaves if they get dirty or have too many dead insects? Generally, no. The plant will digest its prey and the leaf will eventually be reabsorbed. Trying to clean a functional, sticky leaf can damage its delicate glands. Only trim it if it shows signs of irreversible damage or disease.
What if I accidentally cut into the healthy green part of the leaf? Don’t panic. The plant is resilient. Simply ensure your tools were clean. The cut edge may brown back a little, but it will likely callous and the rest of the leaf will continue to function. Use it as a learning point for your next, more precise cut.
Mastering the subtle art of leaf trimming transformed my relationship with my butterworts. It shifted me from a passive observer to an active, informed caretaker. The process, when done correctly and minimally, is a conversation with the plant—a way to support its natural cycles. By removing what no longer serves it, you make space for vibrant new growth. The sight of fresh, dewy leaves emerging just days after a careful trim is the most rewarding confirmation that you’re providing the right care. Remember, the goal is a thriving plant, not a perfect one. With clean tools, a patient eye, and the confidence to make precise cuts, you can ensure your Pinguicula remains healthy and captivating for years to come.





