 bluename
 How to Care for Pinguicula: The Ultimate Light Intensity Guide
I’ve killed my fair share of butterworts. There, I said it. For years, I struggled with the most fundamental aspect of Pinguicula care: light. My plants would either stretch pathetically, their vibrant rosettes turning into weak, green threads, or they’d crisp up at the edges, their beautiful, sticky leaves bleaching to a sickly yellow. I was stuck in a cycle of guesswork, and my plants paid the price. If you’ve ever wondered why your Pinguicula isn’t thriving, isn’t producing its signature dewy leaves, or just looks… off, chances are the issue is light intensity. Getting this right isn’t just a detail; it’s the cornerstone of cultivating healthy, carnivorous, and even flowering butterworts.
My journey to understanding how to care for Pinguicula light needs was one of trial, error, and finally, revelation. This guide is the result of that hands-on experience. I’ll walk you through exactly what I did, what I observed over a focused two-week period, and the simple, actionable steps you can take to master Pinguicula light requirements.
Understanding Pinguicula’s Natural Habitat and Light Cues
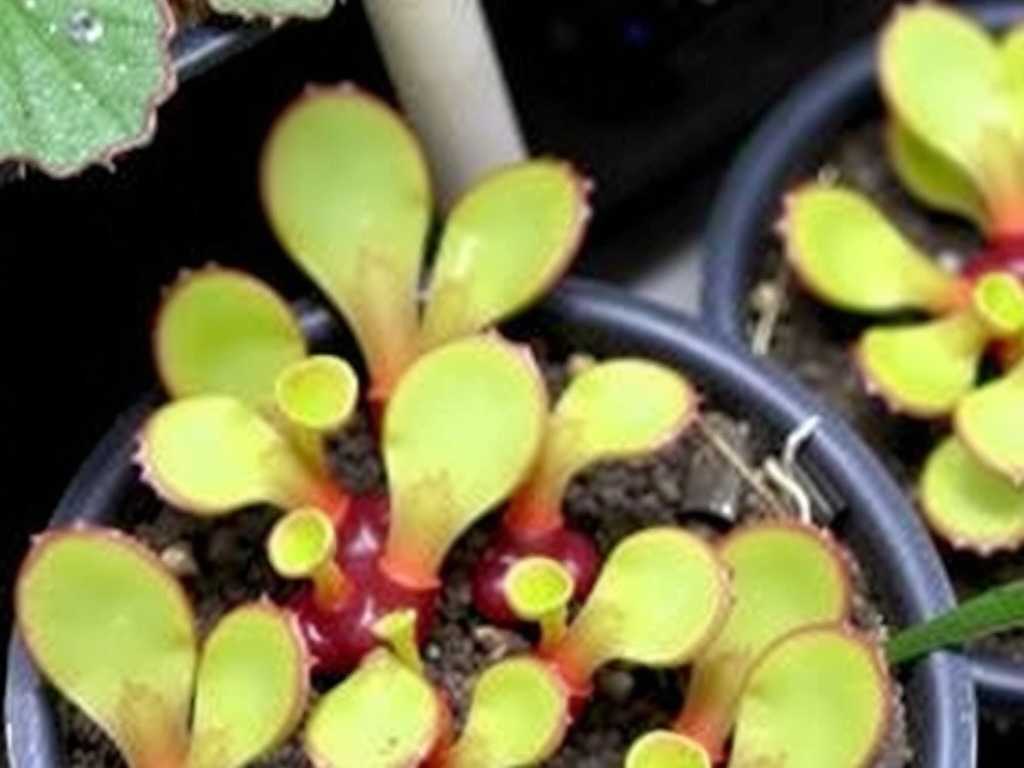
Before we adjust a single grow light, we need to think like a butterwort. Most commonly kept Pinguicula species, like Pinguicula moranensis or Pinguicula gigantea, are native to regions like Mexico. They often grow on rocky, limestone outcrops or in mossy areas that receive bright, dappled light. They are not deep forest dwellers, nor are they full-desert sunbathers. They thrive in bright, indirect light.
The plant communicates its light satisfaction through clear signals:
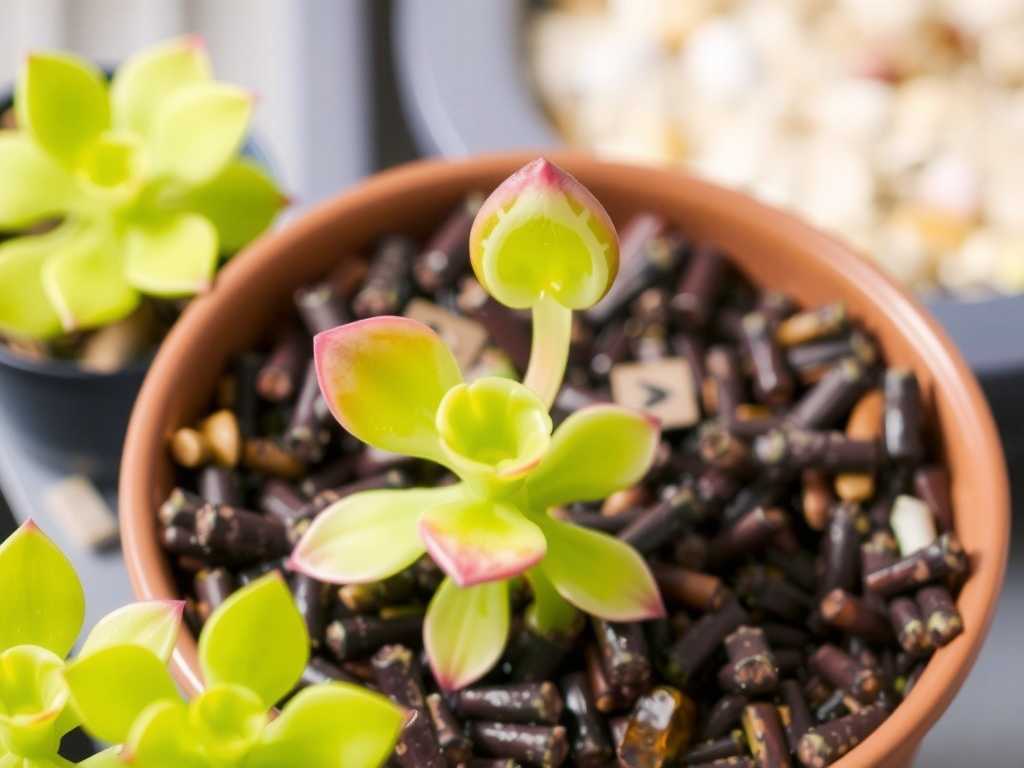
- Perfect Light: A compact, tight rosette. Leaves are firm, broad, and coated in a glistening layer of mucilage (the “dew” that traps insects). Colors can range from vibrant green to beautiful pinks and reds on the leaf edges, especially in certain hybrids.
- Too Little Light (Etiolation): The plant stretches. New leaves grow farther apart on a lengthening center, the rosette becomes loose, and the leaves lose their stickiness. The plant appears to be reaching desperately for more photons.
- Too Much Light (Bleaching/Sunburn): Leaves turn pale yellow or white, lose their dew, and the edges may brown and crisp. Growth can stall completely. This is acute stress.
My 2-Week Light Experiment: From Guesswork to Precision
Frustrated with anecdotal advice, I decided to run a controlled experiment. I took three healthy Pinguicula ‘Sethos’ plants, all from the same source and size. For two weeks, I placed them in three distinct light environments, tracking changes daily.
Setup 1: The “Bright Indirect” Benchmark (North-East Facing Windowsill) This location received about 2-3 hours of gentle morning sun, followed by bright ambient light for the rest of the day. I used a simple lux meter app on my phone (knowing it’s not lab-grade, but excellent for relative comparison) to get a baseline. Readings peaked at around 15,000 lux in the direct morning sun and averaged 5,000-8,000 lux for the bright indirect period.
Setup 2: The “Low Light” Test (Room Interior, 4+ feet from a West Window) Here, the plant received no direct sun, only ambient room light. My lux meter consistently showed readings between 500 and 1,500 lux—typical for many household spaces where we might think a plant looks “fine.”
Setup 3: The “Direct Light” Challenge (Under a Full-Spectrum LED Grow Light) I used a reputable, adjustable LED panel. Initially, I made my old mistake: I placed the plant too close, simulating the “more light must be better” fallacy. The light intensity at leaf level was a harsh 25,000+ lux for 12 hours a day.
The Observations and “Aha!” Moments
Week 1 Observations:
- Benchmark Plant: No dramatic change, but it looked content. Dew production was excellent each morning.
- Low Light Plant: By day 5, I noticed the slightest elongation. The central new leaves were not as tightly packed. Dew production was minimal.
- Direct Light Plant: Disaster. By day 3, the leaf tips showed a slight yellow tinge. By day 7, the entire plant had bleached to a pale yellow-green, and the dew had completely evaporated. I had sunburned it.
Here’s where I corrected my mistake. Following guidance from resources like the Carnivorous Plant Society (CPS) and the International Carnivorous Plant Society (ICPS), which emphasize acclimation, I immediately moved the stressed plant out of direct LED beam. I placed it at the periphery of the light’s coverage, where intensity dropped to a more manageable 12,000-15,000 lux.
Week 2 Observations:
- Benchmark Plant: It began showing a beautiful pink blush on the edges of its top leaves—a sign of happy, acclimated light exposure.
- Low Light Plant: The etiolation was undeniable. The plant was visibly taller and lankier compared to its compact sibling. It was clearly light-starved.
- Recovering Direct Light Plant: The bleaching stopped. While the sunburned leaves wouldn’t recover, the central growth point remained green. By the end of week two, a tiny, healthy green leaf had begun to emerge from the center. It was recovering.
This experiment was a microcosm of my years of learning. The optimal light intensity for Pinguicula isn’t a single number, but a range—and acclimation is everything.
Your Practical Guide to Providing Perfect Light
So, how do you translate this into success at home? Let’s break it down by setup.
For Windowsill Growers: Reading the Sun’s Signals
- Best Windows: East-facing is often ideal (gentle morning sun). South or West-facing can work, but you must use a sheer curtain to diffuse the intense afternoon rays. A north window may be too weak for most species.
- The Hand Shadow Test: This is my go-to, tool-free method. On a sunny day, place your hand between the light source and the plant’s leaves. Look at the shadow on the leaves.
- A soft, fuzzy-edged shadow indicates perfect bright, indirect light.
- A sharp, well-defined shadow means direct, potentially damaging sun. Time to diffuse.
- Rotate Your Plant: Rotate the pot a quarter turn every time you water to ensure even growth and prevent leaning.
For Artificial Grow Lights: Taking Control
This is where you can achieve incredible results year-round. My failed start under the LED taught me a crucial lesson.
- Choosing a Light: A basic, white full-spectrum LED panel or bulb is perfect. You don’t need fancy “blurple” lights.
- The Golden Rules of Distance and Duration:
- Start High: Always hang lights higher than you think. For a standard LED panel, 12-18 inches above the plant is a safe starting point.
- Observe and Descend: If the plant shows no signs of stress (good color, compact growth, dew) after 7-10 days, you can lower the light slightly, by just an inch or two. This gradual acclimation process is key to achieving vibrant color without burn.
- Duration: Aim for a consistent 12-14 hours of light per day. A simple timer is your best friend for providing a consistent light cycle for carnivorous plants.
- Measuring Light (The Helpful Tool): While not mandatory, a $20-30 lux meter from an online retailer removes all guesswork. For robust growth and good color, target 10,000 to 15,000 lux at the leaf level for most common Mexican Pinguicula. Use the meter to map your space and position your plant correctly.
Seasonal Adjustments and Special Cases
- Winter Dormancy (Temperate Pinguicula): Species like Pinguicula vulgaris form a tight, non-carnivorous “hibernacula” bud in winter. During this period, they require significantly less light. Move them to a cooler, bright but not sunny spot.
- Summer vs. Winter Sun: The sun’s angle changes. A spot that was perfect in spring might become a scorching hotspot in July. Be prepared to move plants or add shading.
- Boosting Color: If you desire more intense pink or red hues, you can slowly and carefully increase light intensity to the upper end of the recommended range. Remember, color should come from healthy acclimation, not stress.
Common Problems and Their Light-Related Solutions
- “My Pinguicula is tall and skinny.” This is etiolation. It needs more light intensity. Move it to a brighter location or bring a grow light closer (gradually!).
- “The leaves are pale yellow or have brown crispy tips.” This is light burn. It needs less intense light. Move it further from the window or light source immediately. Provide bright, indirect light only while it recovers.
- “My plant isn’t producing dew.” Insufficient light is the most common cause. Dew production is metabolically expensive; the plant only invests in it when it has enough light energy to justify the trap. Increase light levels.
Can I use a regular desk lamp for my butterwort? Yes, but with caveats. A standard incandescent bulb is useless—it’s the wrong spectrum and gets too hot. A cool-white LED bulb in a desk lamp can work if the bulb is bright enough and placed very close (4-6 inches) from the plant. You must check for etiolation. A dedicated grow bulb is a more reliable, energy-efficient solution.
How quickly will I see changes after correcting the light? Plants react surprisingly fast. You may see improved dew production within a few days. Halting etiolation or sunburn is immediate, but visible new, healthy growth will take 1-2 weeks. Patience is key.
Is natural light always better than artificial light? Not necessarily. A well-positioned grow light provides perfect, consistent, and controllable conditions year-round, unaffected by cloudy days or weak winter sun. Many expert growers, including those contributing to the International Carnivorous Plant Society (ICPS) forums, rely on artificial lights to produce stunning, museum-quality specimens. The best light is the one you can provide consistently and correctly.
Mastering light for your Pinguicula transforms it from a mere survivor into a thriving, dewy jewel. It’s the difference between a plant that simply exists and one that actively hunts, displays stunning colors, and rewards you with graceful flowers. Forget complex fertilizers or tricky watering schedules for a moment. Start with light. Observe your plant, learn its language, and adjust. Take it from someone who learned the hard way: when you provide that sweet spot of bright, indirect intensity, everything else about how to care for Pinguicula falls beautifully into place.





