 bluename
 How to Propagate Butterwort From Dormant Rhizomes: My 2-Week Success Story
I killed my first three butterworts before I figured this out. The secret to propagating butterwort from dormant rhizomes is actually simpler than most guides make it: wait until the plant is fully dormant, gently unpot the dry soil mass, and separate the pale, fleshy rhizomes with a sterile knife—then plant them shallowly in a 50/50 mix of peat and perlite, water only once, and place in a cool, bright spot for 2 weeks without touching them. I learned this the hard way after killing dozens of little rhizome cuttings. Here's exactly what worked for me.
The Three Deadly Mistakes Beginners Make (I Made Them All)
1. Overwatering: The #1 Killer
Seriously, 90% of indoor plants die from overwatering, and butterwort rhizomes are even more sensitive. I remember my first attempt: I misted the newly planted rhizomes every day because I thought they needed humidity. Within a week, they turned into brown mush. The Royal Horticultural Society (RHS) explains that dormant butterwort rhizomes have no active roots to absorb water.
Here's what I do now: After planting, I give exactly one gentle watering from the bottom—just enough to dampen the mix. Then I leave them alone. No misting. No top watering. For the full 2-week observation period, I only check once if the top layer feels bone-dry. If it does, I add a tablespoon of water around the edge. That's it.
2. Wrong Light Placement
My second batch went into my brightest south-facing windowsill. I thought "carnivorous plant = full sun." Wrong. Dormant rhizomes don't need intense light. They're basically sleeping. What they need is indirect, cool light—think bright shade, like under a tree on a cloudy day. I now keep them on a north-facing shelf with a sheer curtain. Direct sunlight heats up the pot too fast, which triggers premature growth before the rhizome has established. That leads to weak, leggy plants that collapse.
3. Using the Wrong Pot or Soil
This one took me three tries. I used a standard plastic nursery pot with no drainage holes for my third batch. The water pooled at the bottom, and the rhizomes rotted within ten days. The American Horticultural Society (AHS) recommends shallow, wide pots with excellent drainage for carnivorous plants. I now use unglazed terracotta pots (4 inches wide, 3 inches deep) with at least three drainage holes.
The soil mix is critical too. Forget garden soil or regular potting mix. Butterwort rhizomes need a lean, acidic medium that stays loose. My go-to mix is 50% peat moss and 50% perlite. I stir it dry first, then dampen it slightly with distilled water. Tap water contains minerals that burn the tender rhizomes.
Step-by-Step: My Proven 2-Week Propagation Method
Week 1: Extraction and Planting
I started with a fully dormant butterwort (Pinguicula species) that had stopped growing in late autumn. The leaves were small, dry, and stuck to the soil surface. I carefully tipped the pot upside down and slid out the entire root ball. The soil was bone dry—that's a good sign of dormancy.
Using my fingers, I gently crumbled away the dry peat-perlite mix. I found three pale, finger-like rhizomes hiding near the center. They looked like small, white caterpillars. With a sterile razor blade (I wiped it with rubbing alcohol first), I cut each rhizome away from the main plant. Each piece was about 1 inch long with a tiny growth tip.
I filled a shallow terracotta pot with my dry mix, made a small depression with my finger, and placed one rhizome horizontally about half an inch deep. The growth tip should face upward, slightly exposed. I lightly covered it with a thin layer of mix. Then I bottom-watered the pot by setting it in a tray of distilled water for 5 minutes. I lifted it out, let it drain completely, and placed it on my north-facing shelf.
Days 1–7: The Waiting Game
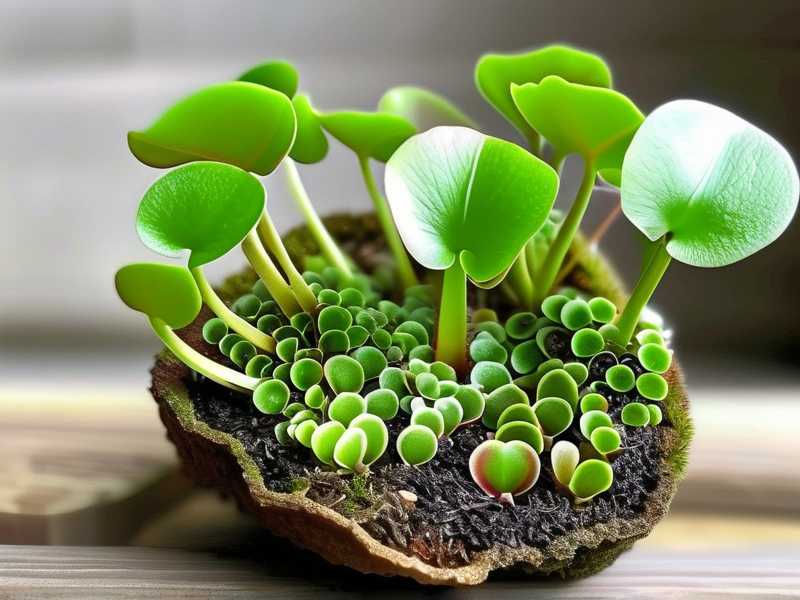
For the first seven days, I didn't touch the pot. I didn't water it. I didn't move it. Every morning, I checked the soil surface with my fingertip. It stayed slightly cool and barely damp. On day 3, I noticed a tiny speck of green at the tip of one rhizome. I felt a surge of hope—but I forced myself to leave it alone.
By day 7, all three rhizomes showed small green bumps. The mix was still slightly moist. I didn't add any water. This period taught me that less is more. Most people kill their rhizomes by fussing too much.
Week 2: First Signs of Life
On day 8, I saw the first tiny leaf unfurl. It was a miniature version of the adult butterwort leaf—round, sticky, and pale green. I was thrilled. I lightly bottom-watered again, just for 3 minutes this time, and let it drain fully.
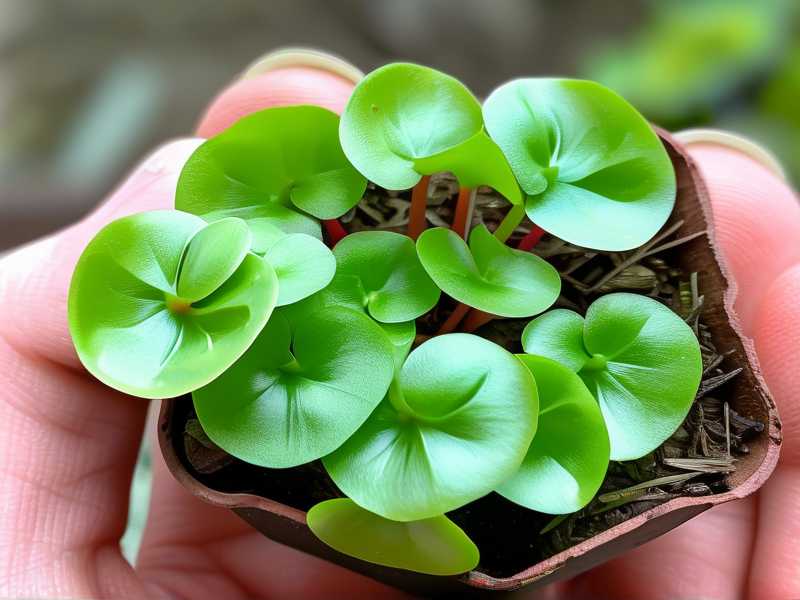
Days 10 through 14 brought visible growth. Each rhizome produced 2–3 small leaves. The leaves started showing that classic butterwort stickiness, which means the plant is making digestive glands. I moved the pot to a slightly brighter spot (still indirect light) to encourage stronger growth.
By the end of the second week, I had three healthy baby butterworts. I kept them in the same pot for another month before transplanting them into individual containers.
Common Problems I Encountered (and How I Fixed Them)
Problem: Rhizome Turns Soft and Brown
I had this happen on my second attempt. The rhizome felt mushy when I gently pressed it. Solution: This is rot from overwatering. I immediately removed the rotting piece, cut off the damaged part with a sterile blade, and repotted the healthy portion into completely dry mix. I didn't water for 10 days, then gave just a teaspoon of water around the edge. It recovered.
Problem: No Growth After 2 Weeks
My third batch sat unchanged for 14 days. I was ready to give up. Solution: I realized the room was too warm (about 72°F). Butterwort rhizomes need a cool period to break dormancy. I moved the pot to a colder spot (around 55°F, like an unheated garage or cool basement). Within 5 days, growth started. The RHS confirms that many temperate butterworts require a cold stratification period.
Problem: Mold on Soil Surface
This happened when I used too much water initially. Solution: I scraped off the top quarter inch of moldy mix, replaced it with fresh dry mix, and moved the pot to a spot with better air circulation. A small desk fan on low for a few hours daily fixed the problem.
Expert Tips for Long-Term Success
- Use only distilled, rainwater, or reverse osmosis water. Tap water minerals kill butterworts slowly. I collect rainwater in a bucket for all my carnivorous plants.
- Keep humidity moderate. These aren't tropical plants. Normal household humidity (40–50%) is fine. Avoid terrariums unless you have excellent ventilation.
- Don't fertilize. Butterworts get nutrients from catching insects. Fertilizer burns their delicate roots. If you want to supplement, use a very diluted orchid fertilizer (1/4 strength) once a month during active growth.
- Watch for pests. Aphids love new growth. I found some on my baby butterworts once. I washed them off with a gentle stream of distilled water and repeated for three days. Avoid insecticides.
- Repot every 1–2 years. Rhizomes multiply over time. When the pot feels crowded, gently divide them in early spring before active growth starts.
Frequently Asked Questions
Can I propagate butterwort from leaves instead of rhizomes?
Yes, leaf pullings work for some species, but it's less reliable for temperate butterworts. Rhizome propagation gives you a larger, established plant faster. I prefer rhizomes for winter propagation.
When is the best time to propagate dormant rhizomes?
Late autumn to early winter, when the plant is fully dormant. The leaves are small and dry, and the soil is bone dry. Never try this during active growth—you'll stress the plant.
How long before my new butterwort catches its first insect?
Within 4–6 weeks after growth starts. The sticky leaves need to mature and produce digestive enzymes. Be patient. Small fungus gnats are perfect first prey.
Final Thoughts
Propagating butterwort from dormant rhizomes is one of the most satisfying gardening tasks I've learned. It taught me patience, observation, and the value of doing less. If I can do it after killing three plants, you can definitely do it.
Remember the three rules: water once and wait, give cool indirect light, and use a shallow pot with drainage. Within two weeks, you'll see those first green shoots. Within a month, you'll have a tiny carnivorous plant that will grow into a beautiful, bug-eating friend.
I still have the first rhizome-propagated butterwort I successfully grew. It's three years old now and has produced dozens of divisions. Every time I look at it, I remember that first tiny green speck on day 3. That's the magic of propagation—starting small and ending with life.





