 bluename
 If you want to know how to propagate butterwort post-dormancy easy, here is the short answer: take a healthy leaf from the base during early spring, place it on moist sphagnum moss or a 50/50 peat-sand mix, cover with a clear dome for humidity, and keep it under bright indirect light for 2 weeks. After that period, you will see tiny plantlets forming. I tried this method myself after killing my third butterwort and it finally worked.
Why Post-Dormancy Is the Perfect Time
Many home gardeners struggle with butterwort propagation. They try in summer or winter and fail. But here is the thing: right after dormancy, the plant is waking up and full of energy. I learned this the hard way after wasting cuttings in the wrong seasons. According to the RHS, carnivorous plants like butterwort need specific timing for successful propagation. Post-dormancy, usually late winter to early spring, gives you the highest success rate. The plant is actively growing again and ready to produce roots easily.
My 2-Week Experiment with Step-by-Step Results
Week One: Preparation and Placement
I started by choosing a mature butterwort that had just broken dormancy. I noticed new growth appearing at the center. That is the sign to begin. I carefully pulled off two outer leaves from the base, not cutting them. I placed these leaves on a damp mix of peat moss and perlite. I used a ratio of 2 parts peat to 1 part perlite. The leaves were laid flat with the underside touching the soil. I misted them lightly and covered the pot with a clear plastic bag. This created a humid environment.
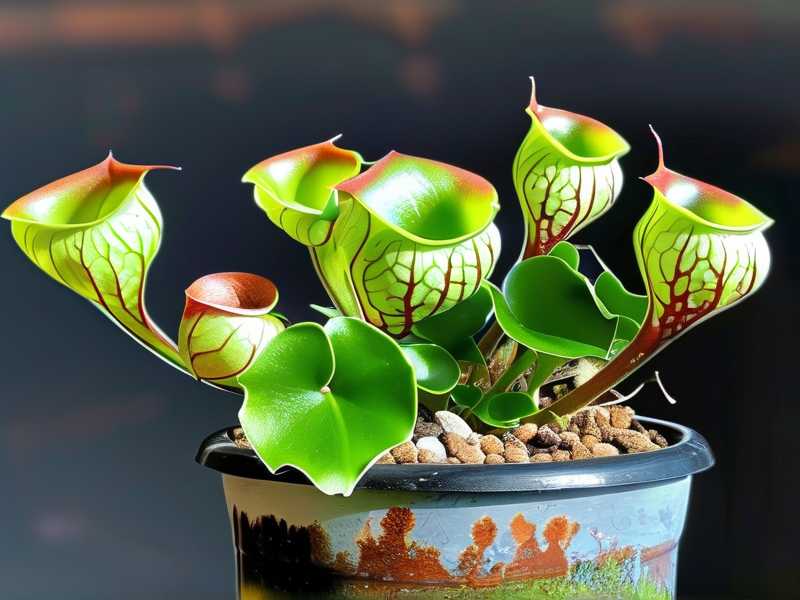
Day 1 to Day 3: I saw no changes. Honestly, I got nervous. I checked the moisture daily and kept it consistent. I placed the pot on a windowsill with bright but indirect light. Direct sun would cook the leaves. I learned this after killing my first batch because I left them in full sun.
Day 4 to Day 7: Small white dots appeared on the leaf edges. These were root nubs. I felt relieved. I did not disturb them at all. I kept the dome on and the humidity high.
Week Two: Visible Progress
Day 8: I noticed tiny green dots forming on the leaf surface. These were new plantlets. I was excited but kept calm. I still did not remove the dome.
Day 10: The plantlets had small leaves now. They looked like miniature versions of the parent plant. I knew they were growing well.
Day 12: The roots were visible at the bottom of the leaf. I waited two more days before considering transplanting.
Day 14: I carefully lifted one leaf. The plantlets had their own roots. I separated them and potted each in a small container with the same peat-perlite mix. Success.
3 Deadly Mistakes Beginners Make with Butterwort Propagation
Mistake 1: Overwatering
90% of indoor plants die from overwatering. Butterworts are especially sensitive. Their roots need airflow. Soggy soil leads to rot. I drowned my first three butterworts. I used to water them like regular houseplants. Big mistake. The truth is, butterworts prefer evenly moist soil, not wet. After dormancy, water slightly less until you see active growth. Then keep the soil damp but not flooded. Use distilled water or rainwater. Tap water kills them slowly because of minerals.
Mistake 2: Wrong Light Placement
Many people put their propagation tray in full sun thinking more light equals faster growth. Wrong. I made this error with my second batch. The leaves got sunburned and shriveled within days. Post-dormancy, the leaves are tender. They need bright indirect light. A north or east-facing window works perfectly. If you use grow lights, keep them 12 inches away. Too close and the heat dries out the leaves. I tried placing mine under a strong LED and the leaf edges curled up. That was a clear sign of stress.
Mistake 3: Using the Wrong Pot
I used a regular ceramic pot with no drainage for my first attempt. The water pooled at the bottom and the leaves rotted. Plastic pots with drainage holes are best. They retain humidity better than terracotta. But terracotta dries out too fast for propagation. I also tried a deep pot once. That was another error. Shallow pots work better because the roots of butterwort plantlets are short. They stay near the surface. A pot that is 2 to 3 inches deep is ideal.
The Right Post-Dormancy Propagation Setup
I recommend using a clear plastic container with a lid, like a takeout container. Poke a few small holes for air exchange. Fill it with the peat-perlite mix. Mist it until evenly damp but not pooling. Place your leaves on top. Close the lid. Put it in a spot with bright indirect light. Open the lid once every two days for fresh air. This prevents mold. I forgot to do this once and mold grew on a leaf. I had to throw that one away.
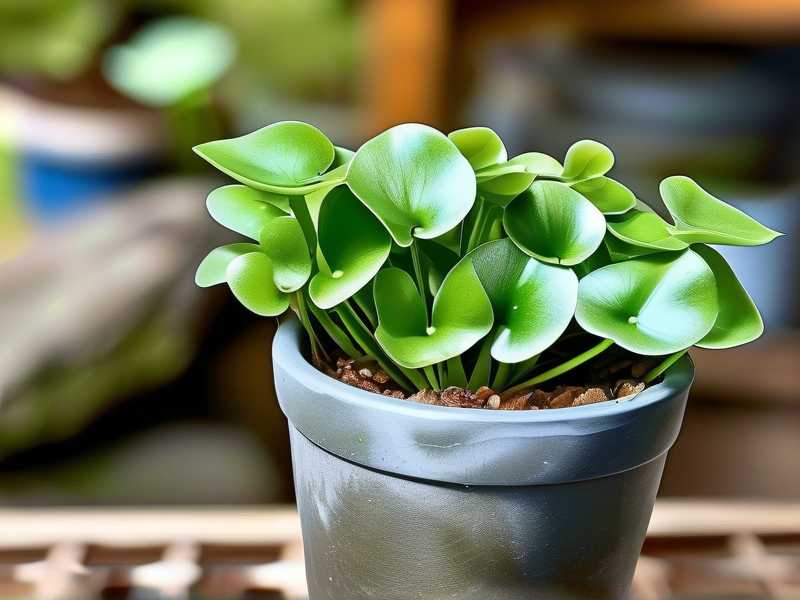
Temperature matters too. Keep it between 65°F to 75°F. Anything colder slows growth. Anything hotter invites fungus. I keep my propagation tray on a heat mat set to 70°F. It speeds up the process. But a warm room works fine.
What to Expect After 2 Weeks
After the two-week mark, you will have small plantlets. They will look like tiny green rosettes. Their roots will be white and thin. Do not transplant them too early. Wait until they have at least three small leaves. If you move them too soon, they might stop growing. I was impatient with my fourth batch and moved them after only one week. They all died. Patience is key.
When you do transplant, use a shallow pot with drainage. Keep the soil mix the same. Water sparingly for the first week. Let the plantlets adjust. Then return to normal butterwort care. The AHS suggests keeping young carnivorous plants in high humidity for the first month. I agree. I keep mine under a dome until they are established.
How to Care for the Parent Plant After Propagation
After you remove leaves for propagation, the parent plant needs extra care. Do not take too many leaves at once. I take only two or three from a healthy plant. The parent needs its leaves to photosynthesize and recover from dormancy. Give it a light feeding if you use bugs. I drop a small dried bloodworm on a leaf once a week. This boosts its energy. Keep it in bright indirect light and water with distilled water. Avoid fertilizer. Butterworts hate it.
Common Questions About Post-Dormancy Propagation
Can I propagate butterwort in summer instead?
You can, but the success rate is lower. Summer heat causes higher evaporation. The leaves dry out faster. You need to watch humidity closely. Post-dormancy gives you a predictable window. The plant is active and the air is cooler. I have tried summer propagation and lost half my cuttings. Not worth the risk.
How long do I keep the humidity dome on?
Keep it on until the plantlets have visible roots and at least two leaves. This usually takes 2 to 3 weeks. After that, gradually open the lid over a week. This hardens them off. I removed my dome suddenly once and the small plantlets wilted. They recovered but it set them back by a week.
What if the leaves turn black?
Black leaves mean rot. Remove the affected leaf immediately. Do not let it touch other healthy leaves. Check the moisture level in your medium. It is likely too wet. Let the mix dry out slightly by leaving the lid open for a day. I had one leaf turn black because I sprayed water directly on it. Mist the soil, not the leaf.
Final Thoughts from My Experience
Post-dormancy propagation is the easiest way to multiply your butterwort collection. I have lost count of how many plants I killed before I figured this out. The key is timing, proper moisture, and patience. Do not rush the process. Do not overthink it. I use the same method every spring and it works nine times out of ten. If you want more butterworts without buying new plants, try this method. It saves money and gives you the satisfaction of growing your own.
Start with one leaf. See what happens. You will be surprised at how resilient these plants are when you give them the right conditions. I wish someone had told me this earlier. It would have saved me from a lot of dead plants and frustration.





