 bluename
 I killed my first three butterworts before I figured out propagation. Honestly, it was frustrating. But here's what I learned: to propagate butterwort, you need sharp scissors, distilled water, sphagnum moss, a humidity dome, and patience for about 2 weeks. Simple as that. No fancy gear required.
Many people think carnivorous plants are hard to grow. Actually, butterworts (Pinguicula) are among the easiest. I've been growing them for years now. They thrive on neglect more than attention. But propagation trips up almost everyone at first.
Let me walk you through exactly what tools you need today. I'll also share my real mistakes. That way you don't repeat them.

Why Butterwort Propagation Matters
Butterworts are unique houseplants. They catch gnats and fruit flies with sticky leaves. Unlike Venus flytraps, they're low-maintenance once established. Propagating them lets you expand your collection or share with friends.
According to the RHS, butterworts are ideal for beginners in carnivorous plant care. The Royal Horticultural Society recommends them for bright windowsills. I agree completely.
But propagation requires specific tools. Get these wrong, and your cuttings rot. I learned this the hard way.
The Essential Tools You Need Today
1. Sharp, Clean Scissors or a Sterile Blade
This is non-negotiable. You need a clean cut. Dirty tools introduce bacteria.
I use surgical scissors I bought online. You can also use a razor blade. Just sterilize with rubbing alcohol first.
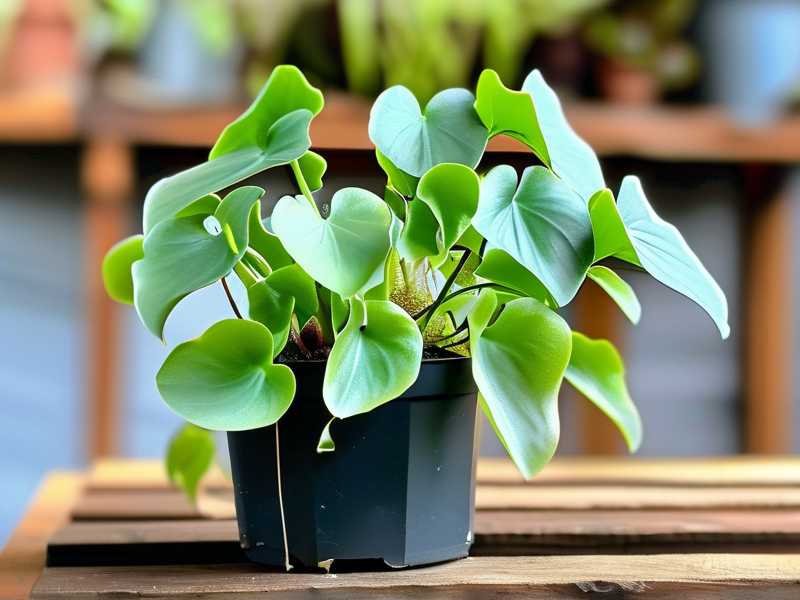
Why? Because crushed or torn leaf tissue invites rot. A sharp blade makes a clean break. The leaf heals faster that way.
Pro tip: Wipe the blade between each cut. I learned this after losing a whole batch to mold.
2. Distilled Water Only
Tap water kills butterworts. Simple as that.
Butterworts are sensitive to minerals. Tap water contains calcium and chlorine. These salts burn the roots.
I made this mistake with my first plant. Within days, the leaves turned brown. It looked terrible.
What I use now: A gallon of distilled water from the grocery store. Costs around $1.50. Lasts me two months.
Never use bottled spring water. It still has minerals. Stick to distilled or reverse osmosis water.
3. Sphagnum Moss or Peat-Based Mix
Butterworts need acidic, nutrient-poor soil. Regular potting soil kills them. It's too rich.
I prefer live sphagnum moss. It holds moisture without getting soggy. Plus, it looks natural.
My mix recipe: Two parts sphagnum moss, one part perlite. Simple and effective.
You can also use peat moss mixed with sand. Just avoid any fertilizers. Those burn the delicate roots.
The AHS notes that carnivorous plants require specialized growing media. They're right. Standard soil won't work here.
4. Humidity Dome or Plastic Bag
Butterwort cuttings need high humidity. Without it, they dry out before roots form.
A humidity dome is just a clear plastic cover. You can buy one or make your own.
My hack: I use a clear plastic takeout container. Poke a few holes for airflow. Works perfectly.
Just don't seal it completely. Stagnant air causes mold. Leave a small gap on one side.
5. Bright, Indirect Light
Direct sunlight burns cuttings. Low light makes them weak.
I place my propagation tray near an east-facing window. Morning sun is gentle. Afternoon sun is too harsh.
If you don't have good natural light, use a grow light. Keep it 6-8 inches above the cuttings. Run it for 12 hours daily.
The 3 Deadly Mistakes Beginners Make
I've made all of these. Let me save you the trouble.
Mistake #1: Overwatering
90% of indoor plants die from overwatering. Butterworts are no exception.
I water my mature plants once a week. For cuttings, I keep the moss damp, not wet.
Signs of overwatering: Yellow leaves, mushy stems, mold on soil surface.
Fix: Use a spray bottle to mist the moss. Bottom-water if possible. Let the top dry slightly between waterings.
Mistake #2: Wrong Light Placement
I put my first butterwort cuttings in a south-facing window. Bad idea.
The leaves scorched within 48 hours. They turned crisp and brown.
What works: Bright, filtered light. Think of a spot where you'd put a fern. That's the sweet spot.
If leaves turn red or purple, that's too much light. If they stay dark green, too little.
Mistake #3: Using the Wrong Pot
Regular clay pots absorb minerals. Those minerals then leach into the soil. Bad for butterworts.
Plastic pots are better. They don't absorb anything. Plus, they hold moisture more evenly.
My recommendation: Small plastic nursery pots. 3-4 inches in diameter. With drainage holes.
Terra cotta? Skip it. Save those for your succulents.
My Step-by-Step Propagation Process
Here's exactly what I do. I've refined this over two years. It works consistently.
Step 1: Choose Healthy Leaves
Look for mature leaves on the outer edge. Avoid old, yellowing ones.
Gently pull downward. The leaf should separate cleanly from the stem. Some people cut, but I prefer pulling. It leaves a small "heel" that roots better.
Step 2: Prepare the Medium
Moisten your sphagnum moss with distilled water. Squeeze out excess. It should feel like a wrung-out sponge.
Fill your small pot or tray with the moss. Pat it down lightly.
Step 3: Place the Leaves
Lay the leaves flat on the moss. Not buried. Just resting on top.
The base of the leaf should touch the moss. That's where roots will form.
Important: Don't bury the leaf. It will rot. I lost several leaves this way.
Step 4: Cover with Humidity Dome
Place the dome over your tray. Leave a small opening for air circulation.
Set in bright, indirect light. Temperature around 65-75°F (18-24°C) is ideal.
Step 5: Wait and Monitor
After about 2 weeks, you'll see tiny plantlets forming at the base of each leaf. Small green dots. Exciting!
Keep the moss damp. Mist occasionally if it dries out.
My observation after 2 weeks: Most leaves showed tiny roots. Some had 2-3 small plantlets. A few leaves rotted, which I removed immediately.
Step 6: Transplant
Once the plantlets have 3-4 small leaves, they're ready for their own pots.
Gently separate them from the parent leaf. Pot each one in fresh sphagnum moss.
Keep the humidity high for another week. Then gradually reduce it.
What I Learned From Killing Plants
I've been growing butterworts for about 3 years. The first year was rough. I killed probably 10 plants.
My biggest mistake? Overcomplicating things.
I bought expensive grow lights. I used fancy soil mixes. I watered on a strict schedule.
None of that helped. Butterworts are simple plants. They evolved in nutrient-poor environments. They don't need coddling.
What finally clicked for me: Less is more. Less water. Less attention. Less intervention.
Now I have around 30 butterworts. Some are 2 years old. They bloom every spring. They catch gnats without any help from me.
Propagation is the same way. Don't fuss. Just give them the right conditions and let them do their thing.
Common Questions About Butterwort Propagation
How long does it take for butterwort cuttings to root?
About 2-3 weeks for roots to appear. Small plantlets form within 3-4 weeks. Full growth takes 2-3 months before they look like mature plants.
Can I propagate butterwort in water?
Technically yes, but I don't recommend it. Water propagation often leads to rot. The leaves are too fleshy. Stick with moist sphagnum moss instead.
Do I need rooting hormone?
No. Butterworts root naturally. Rooting hormone can actually harm them. It's designed for woody plants, not soft carnivorous leaves.
Final Thoughts
Propagating butterwort doesn't require a greenhouse or specialized equipment. You probably already have most tools at home. Sharp scissors, distilled water, sphagnum moss, and a plastic container.
The real key is patience. Don't check on them every day. Don't water them constantly. Leave them alone.
After 2 weeks, you'll see results. After a month, you'll have new plants. After a year, you'll have a collection.
Start with 3-4 leaves from a healthy plant. Give them the right conditions. Let nature do the rest.
That's how I went from killing butterworts to having more than I know what to do with. And believe me, if I can do it, you can too.





