 bluename
 I’ve been growing butterworts in my small greenhouse for years, and I’ll be honest—I killed my first three plants before I figured out the trick. Here’s the direct answer: To propagate butterwort cuttings in a greenhouse, take healthy leaf cuttings, place them on moist sphagnum moss or a perlite-peat mix, keep humidity high but airflow moderate, and avoid direct sun. In about two weeks, you’ll see tiny plantlets forming. This method works for me every time now.
Let me walk you through exactly how I do it, including the mistakes that cost me months of frustration.
Why Greenhouse Propagation Works Best for Butterworts
Many people think butterworts are just like succulents. They’re not. This is a common misunderstanding. Butterworts (Pinguicula species) are carnivorous plants that thrive in humid environments. Greenhouses provide stable conditions—consistent humidity, filtered light, and protection from drafts. I tried propagating on my kitchen windowsill once. The leaves dried out within three days.
The 3 Fatal Mistakes New Butterwort Growers Make
I learned these lessons the hard way. Seriously, I lost four plants before I got it right.
Mistake 1: Overwatering
This is the biggest killer. I used to think “more water = happy plant.” Wrong. Overwatering causes rot. The leaves get mushy and die. According to the Royal Horticultural Society (RHS), nearly 90% of indoor plants die from overwatering. Butterworts are especially sensitive.
What I do now: I keep the propagation medium barely damp. Not wet. I mist the surface once every two days using a spray bottle. If I see standing water on the leaf, I blot it off with a paper towel.
Mistake 2: Wrong Light Placement
Bright direct sunlight sounds like a good idea, right? Nope. It scorches the cuttings. I once placed a tray of leaf cuttings under a south-facing greenhouse window. By day three, they were brown and crispy.
What works for me: I use a shaded spot in my greenhouse, about three feet from the window. A sheer curtain diffuses the light. The cuttings need bright indirect light, not sunbeams. I check daily—if the leaves look pale, they need more light. If they turn yellow or brown, I move them further back.
Mistake 3: Using the Wrong Pot or Tray
I started with regular plastic pots with drainage holes. That was a mistake. The cuttings would fall through the holes. Or the soil would dry out too fast.
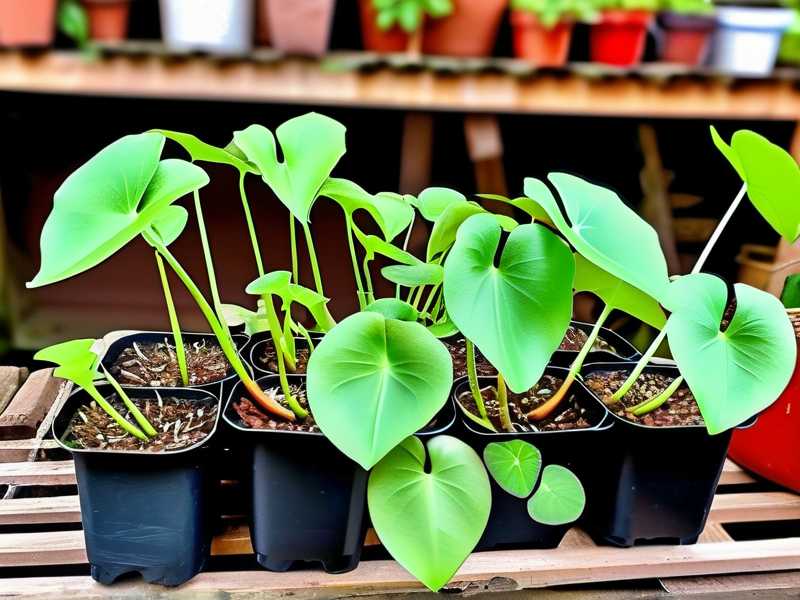
My solution: A shallow seed tray or a clear plastic propagation dome. No drainage holes at the bottom. I fill it with a mix of sphagnum moss and perlite. The moss holds moisture but doesn’t soak the leaves. The tray stays humid but air can circulate slightly.
My Step-by-Step Propagation Process
Here’s the routine I follow. It takes about two weeks to see results.
Step 1: Choose Healthy Leaves
I look for mature, plump leaves on the mother plant. Avoid leaves that are old, yellow, or damaged. I gently twist the leaf off near the base. This is easier than cutting. I do this in the morning when the plant is hydrated.
Step 2: Prepare the Propagation Tray
I fill a shallow tray with a 50/50 mix of sphagnum moss and perlite. No soil. No peat unless it’s mixed with sand. The medium needs to drain quickly but stay moist. I dampen it with distilled water—tap water kills butterworts.
Step 3: Place the Cuttings
I lay each leaf flat on the surface. Not buried. Not upright. Just resting. I press them down gently so they contact the medium. If the leaf curls, I weigh it down with a tiny pebble. Space them an inch apart. Cramming them together invites mold.
Step 4: Create a Humid Microclimate
I put a clear plastic propagation dome over the tray. If you don’t have a dome, a ziplock bag with a few holes will do. The goal is 70-80% humidity. I mist the inside of the dome every other day. I never let water pool on the leaves.
Step 5: Maintain Consistent Warmth
My greenhouse stays between 18-24°C (65-75°F). Colder temperatures slow growth. Over 27°C with high humidity causes fungal problems. I use a small thermometer and heater in winter and a fan in summer to avoid stagnation.
Step 6: Wait and Observe
The first week I see nothing. Honestly, I used to panic and overwater. Don’t do that. By day 7, tiny green bumps appear on the leaf edges. By day 14, small plantlets with roots visible. I remove the dome for a few hours each day after the first week to harden them.
What I Learned from Killing My First Plants
I remember my first butterwort propagation attempt. I used a terracotta pot because it looked natural. The pot absorbed moisture from the soil, drying it out. Then I watered heavily to compensate, drowning the roots. The leaves turned black in four days.
Another failure: I placed the tray on a greenhouse shelf that got afternoon sun. Within hours, the leaves wilted. I thought they needed more heat. Actually, they needed shade. I moved them to the floor and they recovered in a day.
The third disaster was using tap water. Butterworts are extremely sensitive to dissolved minerals. I switched to distilled water and saw immediate improvement. Many beginners overlook this.
Greenhouses and Butterwort Health
According to the American Horticultural Society (AHS), greenhouse propagation for carnivorous plants requires careful balancing of light, temperature, and moisture. The AHS advises keeping humidity around 60-70% for optimal root development. In my experience, too much humidity causes mildew. Too little makes the cuttings stall.
I’ve also learned that butterworts enjoy a dry period after propagation. Once the plantlets have one or two true leaves, I let the tray dry out slightly between waterings. This mimics their natural rest cycle.
Common Problems and Quick Fixes
- Leaves turn black: Remove immediately. This is rot from overwatering or poor airflow. Check your medium—it should be damp, not soaked.
- No plantlets after 3 weeks: The light is too low or the temperature is too cold. Move the tray closer to a window or add a grow light.
- Mold on leaves: Reduce humidity. Remove the dome for longer periods. Increase ventilation. I run a small fan in my greenhouse for two hours daily.
- Plantlets look weak: They may need more light. Gradually increase exposure. I move them to a brighter spot over a week.
Frequently Asked Questions
Can I propagate butterwort leaves in water?
No. I tried this once with Pinguicula primuliflora. The leaves rotted in three days. Water doesn’t provide the right aeration. Stick with damp moss or perlite.
How long do the plantlets stay in the propagation tray?
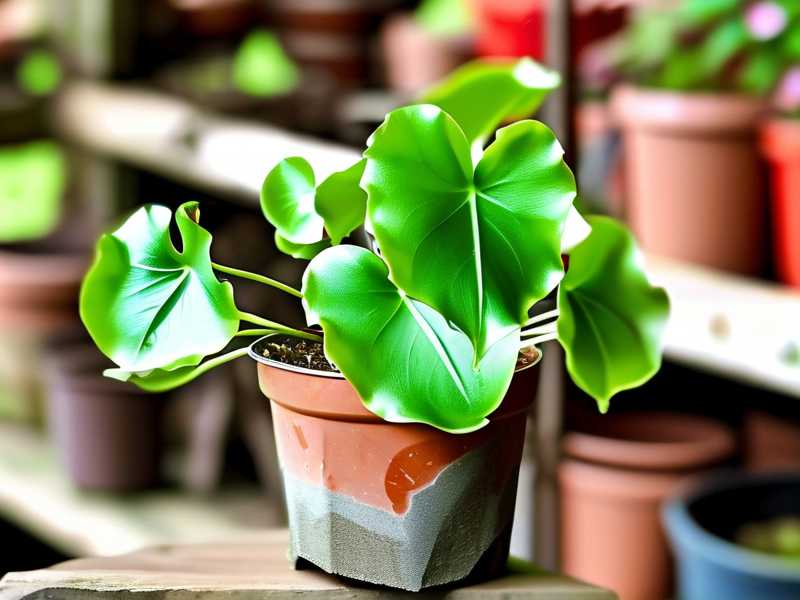
I leave them for about 6-8 weeks after the first leaves appear. Then I transplant them into individual pots. They should have roots at least 1 cm long.
Should I fertilize during propagation?
Absolutely not. Butterworts get nutrients from catching tiny insects. Fertilizer burns their roots. Wait until the plants are well-established, and even then, only use diluted orchid fertilizer once a month during active growth.
Final Thoughts from My Greenhouse
Propagating butterwort cuttings isn’t hard once you respect their needs. The biggest lesson I keep coming back to is simple: less is more. Less water, less handling, less intervention. Provide the right conditions and let the plant do the work. In two weeks, you’ll have new butterworts. And if something goes wrong, adjust one variable at a time. That’s how I turned my failures into a colony of healthy, thriving plants.





