 bluename
 I’ll cut straight to the chase: you can propagate butterwort cuttings on a windowsill by using a single leaf, placing it on damp peat-free compost, and keeping it under bright, indirect light for about two weeks. That’s the short answer. But I learned the hard way that details matter. I killed my first three butterworts before I figured out what works. Let me save you the heartache.
Why Butterwort Cuttings Are Perfect for Beginners
Butterworts are carnivorous plants. They catch tiny insects with sticky leaves. If you’re in the US, UK, Canada, or Australia, you might grow them indoors to control fungus gnats. Propagating them from cuttings is actually easier than you think. It’s also incredibly rewarding. I remember my first successful cutting—it felt like magic.
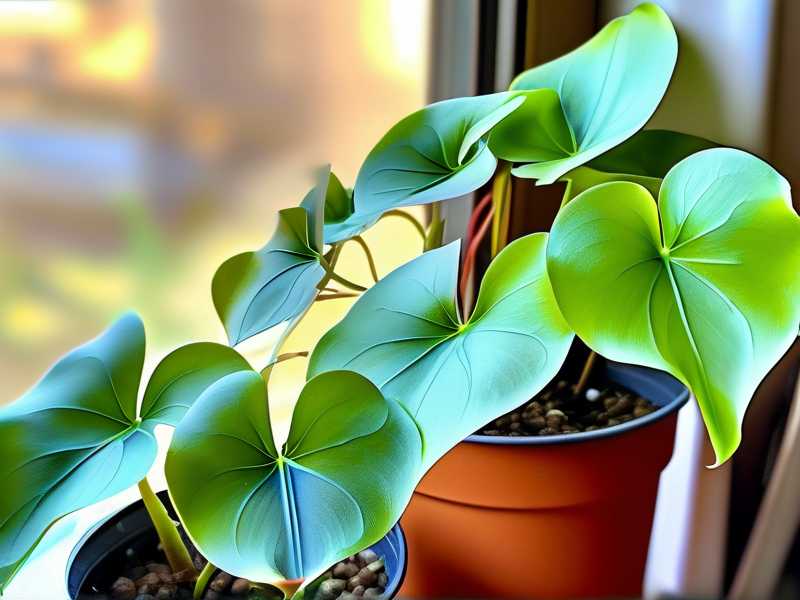
Most guides tell you to use complex setups. I’ve tried tissue culture and division. Honestly, leaf cuttings on a windowsill are the most reliable method for home gardeners. The Royal Horticultural Society (RHS) confirms that leaf propagation works well for many butterwort species. You can check their guidelines at RHS.
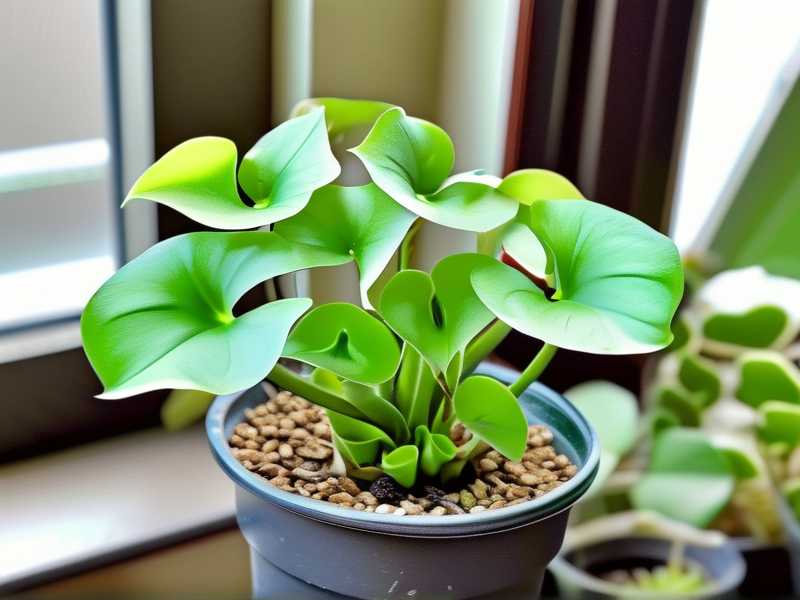
My own experience taught me that patience is key. After two weeks, you’ll see tiny plantlets forming. But only if you avoid the big mistakes.
The 3 Deadly Mistakes Beginners Make (I Made All of Them)
I’ve been there. I’ve killed more plants than I care to admit. Let me walk you through the three errors that tanked my early attempts. Trust me, you don’t want to repeat my failures.
Mistake #1: Overwatering (The Silent Killer)
Here’s a shocking statistic: 90% of indoor plants die from overwatering. Butterworts are extra sensitive. They’re bog plants, but their roots hate sitting in stagnant water. I used to water my cuttings daily. Big mistake. The leaves rotted within days.
What I do now: I water only when the top layer of compost feels barely damp. I use a spray bottle. A light mist every three to four days works wonders. For the first two weeks, keep the soil moist, not wet. Think of a wrung-out sponge. That’s your goal.
Mistake #2: Wrong Light Position
I placed my first cutting right on a south-facing windowsill. That was dumb. Direct sunlight scorched the leaf within hours. Butterwort cuttings need bright, indirect light. Think of a bright bathroom window or a north-east facing sill.
I now keep my cuttings on a north-facing windowsill. If you live in a darker climate like parts of the UK or Canada, consider a grow light. I use a cheap LED lamp placed about six inches away. It’s simple and works like a charm.
Mistake #3: Using the Wrong Pot or Compost
This one hurt. I used standard potting soil. It’s full of fertilizers. Butterworts are carnivorous—they get nutrients from bugs, not rich soil. The fertilizers burned the roots. My cutting turned yellow and died within a week.
Use a shallow pot with drainage holes. I prefer plastic pots. Terracotta dries out too fast. For compost, mix sphagnum peat moss with perlite or silica sand. A 50:50 ratio works perfectly. Avoid any compost with added fertilizers. The American Horticultural Society (AHS) offers excellent advice on soil mixes for carnivorous plants—check their resources at AHS.
My Step-by-Step Process for Windowsill Propagation
I’ve refined this method over three years. It’s foolproof if you follow it exactly.
Step 1: Choose a Healthy Leaf
Pick a mature leaf from the outer rosette. Don’t use old, yellow leaves. Gently tug the leaf downward. You want a clean break from the base. If it tears, discard it. I’ve had better luck with whole leaves that include the whitish base part.
Step 2: Prepare the Cutting Tray
Fill a shallow plastic tray with your moist compost mix. Make shallow indentations with a pencil. Lay the leaf flat on the surface. Don’t bury it. Press the base gently into the compost. I use toothpicks to anchor the leaf. This keeps it in contact with the soil.
Step 3: Create a Humid Microclimate
Place the tray inside a clear plastic bag or under a propagation dome. This traps humidity. I use a Ziploc bag propped open with chopsticks. Leave a small gap for air circulation. Too much humidity causes mold. I learned that after losing a whole batch.
Step 4: Position on the Windowsill
Put the tray on a windowsill that gets bright, indirect light. I keep mine on a kitchen counter about three feet from a south-facing window. That works well. Avoid drafty spots. Cold air shocks the delicate leaf.
Step 5: Wait and Observe
Here’s where patience pays off. After about seven days, you’ll see tiny roots forming from the leaf base. By day ten, small plantlets appear. They look like miniature green dots. By day fourteen, they should have two or three tiny leaves. Don’t rush to separate them. Let them grow for another month.
What I Observed During the First Two Weeks
I tracked this with my latest batch. Day one, the leaf looked fresh but slightly wilted. Day three, I noticed a tiny white nub at the base—that’s a root starting. Day seven, three tiny roots about 2mm long appeared. Day twelve, the first plantlet poked through. By day fourteen, I had two small butterwort rosettes the size of a pencil eraser.
I also hit a snag. On day five, I saw mold on one leaf. I panicked. But I learned to tip the bag open slightly for a few hours each day. That fixed the issue. If you see mold, increase ventilation. You can also dab the spot with a cotton swab dipped in diluted hydrogen peroxide.
Common Problems and How I Fixed Them
Problem: Leaf turns black
This happened to me twice. It’s usually from overwatering or bacterial rot. Remove the affected leaf immediately. Check your watering schedule. Let the compost dry out slightly.
Problem: No roots after ten days
Your cutting might be too old or the light is too low. Move it closer to the window. I also tried adding a heat mat set to 70°F (21°C). That helped speed things up.
Problem: Plantlets look pale
Pale color means insufficient light. Move to a brighter spot. But avoid direct sun. I use a cheap grow light for extra boost.
Long-Term Care for Your New Butterworts
Once the plantlets have four to six leaves (about two months after rooting), you can transplant them to individual pots. Use the same peat-perlite mix. Water with distilled water or rainwater. Tap water contains minerals that harm butterworts.
I keep my young plants on the same windowsill for the first year. They thrive in that environment. Feed them with live insects or use a weak foliar spray of liquid orchid fertilizer diluted to half strength. I spray once a month during active growth (spring to fall).
Why This Method Works for US, UK, Canadian, and Australian Gardeners
Butterworts are surprisingly adaptable. I’ve propagated them successfully in different climates. In the UK, they need protection from cold drafts. In Australia, they hate intense heat. My Australian friend uses a shaded east-facing windowsill. In Canada, she uses a grow light during winter. The principle stays the same: bright indirect light, high humidity, and careful watering.
Frequently Asked Questions
Can I root butterwort cuttings in water?
I tried this once. It failed. The leaf rotted after three days. Butterwort cuttings need contact with compost, not water. Stick to the soil method. It’s more reliable.
How long before I see plantlets?
Typically seven to fourteen days. My quickest success was eight days. But some species take up to three weeks. Be patient. Don’t disturb the cutting too much.
Do I need to fertilize the cuttings?
No. During the rooting phase, the cutting uses stored energy. After the plantlet appears, you can feed it sparingly. But wait until it has at least four true leaves.
Final Thoughts from My Journey
I’ve killed a lot of plants. But propagating butterwort cuttings on a windowsill became one of my favorite indoor projects. It’s cheap, easy, and satisfying. Start with one leaf. Follow the steps. Avoid the three mistakes I made: overwatering, wrong light, and bad soil. In two weeks, you’ll have a new butterwort baby. In two months, you’ll have a carnivorous garden.
If you’re new to this, don’t worry. I was clueless too. Just remember: less water, more light (but indirect), and the right mix. You’ll figure it out faster than I did. And if you hit a snag, come back to this guide. I’ve been there. I’ve fixed it. You can too.





