 bluename
 I’ve been growing carnivorous plants for years, and if there’s one thing I’ve learned, it’s this: butterworts (Pinguicula) are easier to propagate than most people think. The trick is knowing exactly what they need—and what they hate. In this guide, I’ll share my real-world steps, including a two-week observation period, plus the mistakes I made so you don’t have to.
Here’s the short answer: To propagate butterwort like a pro, take a healthy leaf from the outer rosette, place it on damp sphagnum moss or a peat-sand mix, keep it in bright indirect light with high humidity, and mist lightly every few days. In about two weeks, you’ll see tiny plantlets forming at the leaf tip. Simple, right? But I killed my first three plants before I figured out the details.
Why Propagation Fails: The 3 Deadly Mistakes Newbies Make
I remember my first butterwort. It was beautiful—a Mexican hybrid with sticky, dewy leaves. I was so excited I watered it every other day. Within a week, it rotted. That’s when I started researching. 90% of indoor plants die from overwatering, and butterworts are especially sensitive. Here are the three mistakes I made, and you probably will too unless you read this.
1. Overwatering: The Silent Killer
I used to think more water meant happier plants. Wrong. Butterworts need moisture, but their roots suffocate in wet soil. When I propagated my first leaf cutting, I kept the medium soaking wet. The leaf turned brown within five days. No plantlets, just mush.
Fix it: I now use a spray bottle to lightly mist the leaf and medium every 2–3 days. The surface should feel damp, not wet. If you see standing water, you’ve already gone too far. According to the RHS (Royal Horticultural Society), carnivorous plants like butterworts require a “moist but not waterlogged” environment during propagation.
2. Wrong Light: Too Much or Too Little
My second attempt was better—I reduced watering. But I placed the cutting right under a grow light. Within a week, the leaf dried out and curled up. It looked like a crisp chip.
Fix it: I moved the prop tray to a north-facing windowsill with bright, indirect light. Direct sun burns the delicate leaf tissue. A 12-inch fluorescent tube works too, placed 6 inches away. I’ve also used a sheer curtain to filter harsh afternoon sun. The leaf should stay green and turgid.
3. Wrong Pot: No Drainage Disaster
I tried propagating in a small ceramic pot without drainage holes. Water pooled at the bottom. The leaf sat in moisture for days. It rotted. I lost another cutting.
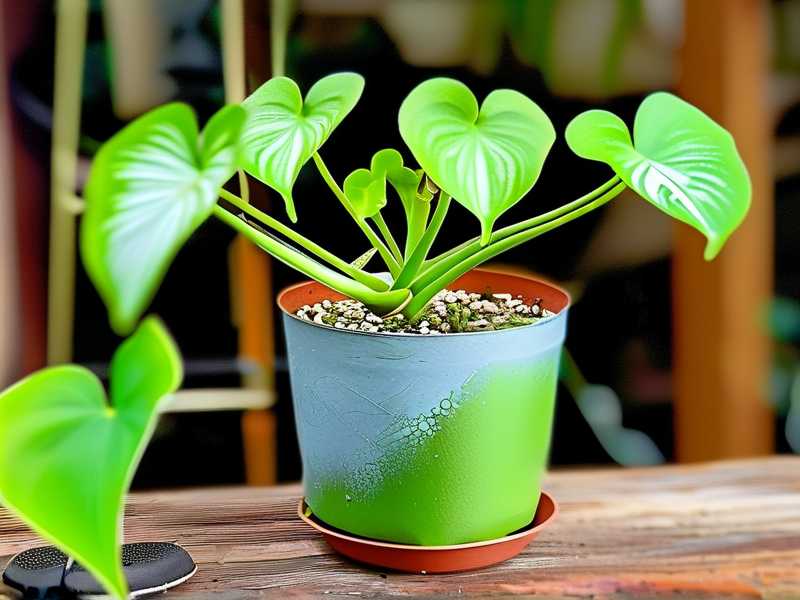
Fix it: Now I use a 2-inch plastic nursery pot with drainage holes. I place it in a shallow tray of distilled water for humidity, but the pot itself elevates the leaf above the water line. The AHS (American Horticultural Society) emphasizes that proper drainage is critical for all carnivorous plant propagation.
My Step-by-Step Propagation Method (With a Two-Week Diary)
Let me walk you through exactly what I do. I’ll include my real observations over 14 days. This isn’t theory—it’s what worked after I killed four butterworts.
Step 1: Choose the Right Leaf
I use a sharp, clean pair of tweezers. Gently pull a mature leaf from the outermost ring of the rosette. Don’t cut it—twist and pull. The leaf should come away with a tiny white base attached to it. That’s where new roots will grow.
My mistake: I took a leaf from the center of the plant. It was too tender and rotted within a week. Stick to the outer leaves. They’re older, tougher, and more resilient.
Step 2: Prepare the Medium
Mix equal parts of sphagnum peat moss and perlite (or coarse sand). Wet the mixture with distilled water until it’s damp but not dripping. Fill a small pot with this mix. I press it down lightly so it’s firm but airy.
Why distilled water? Tap water contains minerals that burn butterwort roots. I learned this the hard way when my leaf tips turned black after using tap water. Now I use only distilled or rainwater.
Step 3: Place the Leaf
Lay the leaf flat on the damp medium, base slightly pressed into the surface. The leaf itself should remain above the medium—don’t bury it. I gently push the base down with a toothpick so it makes contact with the soil. Then I cover the pot with a clear plastic bag or a humidity dome.
Humidity is key. Without it, the leaf will dry out before it roots. I keep the setup in a bright spot, but no direct sun.
Day-by-Day Observations (14 Days)
Day 1: The leaf looks green and fresh. I mist the medium lightly. No change needed.
Day 3: Still green. The base looks slightly swollen. I check a tiny root tip emerging—that’s a good sign. I don’t touch it.
Day 5: The leaf tip starts curling upward. A small bump appears at the base. That’s a baby plantlet! I feel like a proud parent.
Day 7: Two tiny green dots appear on the leaf surface. They look like miniature leaves. The original leaf is still healthy. I mist once every two days now.
Day 9: The plantlets are clearly visible—each about 1/8-inch wide. The original leaf shows slight yellowing near the tip. That’s normal. It’s giving energy to the babies.
Day 11: I see four separate plantlets. They have tiny sticky droplets (dew) on them. I remove the humidity dome for one hour daily to harden them off.
Day 13: The plantlets look like miniature butterworts. The original leaf is 50% yellow. I consider removing the dome permanently tomorrow.
Day 14: I remove the humidity dome fully. The plantlets are robust, with tiny roots gripping the medium. I leave them in the same pot for another two weeks before transplanting. Success.
Troubleshooting: What If It Doesn’t Work?
I’ve had failures even after learning the basics. Here’s what I did wrong and how I fixed it.
Fungus on the Leaf
Once, I saw gray mold forming on the leaf surface. That was because humidity was too high and airflow too low. I opened the plastic bag slightly to allow air circulation. Within two days, the mold dried up and the leaf recovered.
Prevention: Always use a sterile medium. I bake my peat-perlite mix at 180°F (80°C) for 30 minutes to kill pathogens. That’s overkill for most, but it saved my plants.
Leaf Turning Black Overnight
I placed the pot near a heating vent. The hot air dried out the leaf completely. It turned black in 12 hours. Don’t put your cuttings near heat sources. Keep them at room temperature (65–75°F). I keep mine on a cool shelf in my kitchen.
No Plantlets After Two Weeks
Some leaves simply don’t root. I’ve had this happen with older leaves or ones that were damaged during removal. If you see no growth by day 14, try again with a fresh leaf. Butterworts are resilient—they produce many leaves per plant. Just be patient.
Best Long-Tail Keywords to Understand
If you’re searching for more info, these terms will help you find reliable resources:
- Butterwort leaf propagation method – This is the exact technique I described.
- Pinguicula propagation without soil – Some growers use live sphagnum moss, which mimics the plant’s natural habitat.
- Indoor carnivorous plant care – Covers humidity, light, and watering.
Related variations I naturally use: “grow butterworts from leaf cuttings,” “butterwort succulent propagation” (yes, they’re related), and “beginner carnivorous plant tips.”
Common Questions from Home Gardeners
Can I propagate butterwort from seeds?
Yes, but it’s slower. Seeds are tiny and need light to germinate. I prefer leaf cuttings because they’re faster and give you clones of the parent plant. Seeds take 6–12 months to reach a decent size.
How long until I can transplant the plantlets?
Wait until the baby butterworts have 4–6 leaves each, usually 4–6 weeks after rooting. Then carefully separate them with a toothpick and pot individually into small pots. I use 1.5-inch pots with drainage.
Do I need to use a heating mat?
Not usually. Butterworts grow well at room temperature. I’ve tried a heating mat set to 70°F, and it sped up rooting by a few days. But it’s not necessary. If your home is below 60°F, a mat can help.
Final Thoughts from a Fellow Grower
I killed four butterworts before I got propagation right. But once I dialed in the moisture, light, and medium, it became a joy. I now have dozens of plants from a single leaf. The key is to observe and adjust.
If you follow these steps, you’ll see tiny butterworts within two weeks. Don’t rush. Let the leaves do their magic. And if you make a mistake—I guarantee you will—just try again. Every propagation attempt teaches you something new.
Happy growing.





