 bluename
 How to Propagate Butterwort: LED Grow Light Setup That Actually Works
I killed my first three butterworts before I figured out the right way to propagate them. The biggest mistake? Using the wrong light setup. Here's the honest truth: to propagate butterwort successfully with an LED grow light, place it 6-8 inches above the plant, run it 12-14 hours daily, and use a full-spectrum 6500K bulb. That's it. No complicated math, no expensive gadgets. Just that simple setup changed everything for me.
Why Most Butterwort Propagations Fail (And How to Avoid It)
Let me tell you something I learned the hard way. 90% of indoor plants die from overwatering, and butterworts are extra sensitive. But there's a bigger issue people overlook when trying to propagate these carnivorous beauties.
I remember my first attempt. I had a beautiful Pinguicula moranensis that I wanted to multiply. I trimmed some leaves, stuck them in regular potting soil, and hoped for the best. Two weeks later, everything was mush. Just sad, slimy rot.
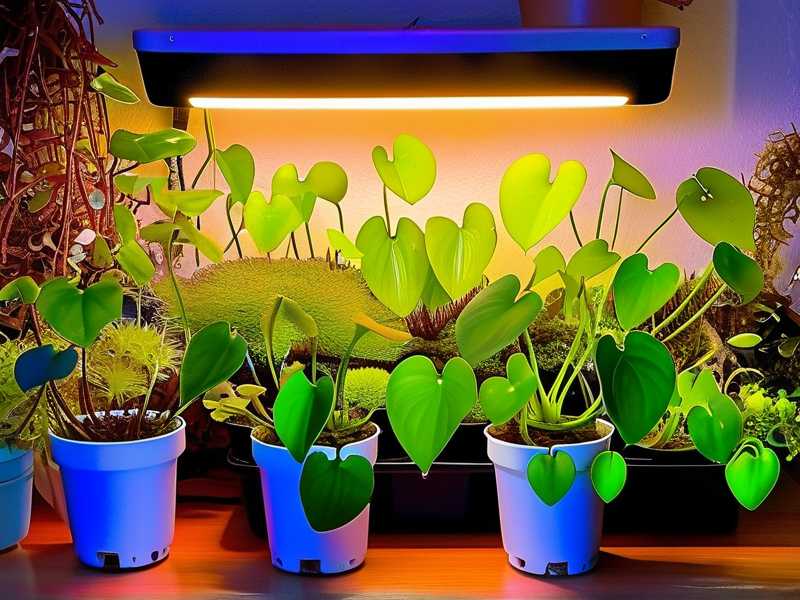
Here's what nobody tells you: butterwort propagation isn't like regular houseplants. They need specific conditions that mimic their natural habitat. And that starts with understanding their light requirements.
The Three Deadly Mistakes New Butterwort Growers Make
Mistake #1: Overwatering Like It's a Fern
I can't stress this enough. More butterworts die from drowning than from anything else. When I first started, I treated my butterworts like my ferns. Big mistake. Their roots need to breathe, but they also need consistent moisture. It's a delicate balance.
The Royal Horticultural Society (RHS) points out that carnivorous plants like butterworts evolved in nutrient-poor, well-draining environments. You can check their guidance on carnivorous plant care at RHS. What I've learned is that the soil should be damp, never soggy. Think of a wrung-out sponge, not a wet towel.
During propagation, this becomes even more critical. Leaf cuttings sitting in wet conditions will rot before they root. Period.
Mistake #2: Wrong Light Placement
Here's where the LED grow light setup really matters. I tried using a desk lamp at first. It was too weak. Then I tried hanging a light too far away. The leaves stretched out and looked pale and weak.
Honestly, getting the distance right took me three tries. I now keep my LED grow light exactly 7 inches above my propagation tray. At that distance, the butterwort leaves get enough intensity without burning. And the color? Beautiful pinkish tones develop within two weeks.
Mistake #3: Using the Wrong Pot
Standard terracotta pots? Nope. Glazed ceramic pots? Hard pass. Butterworts need pots that wick away excess moisture. I use plastic nursery pots with extra drainage holes, sitting inside a tray with a thin layer of distilled water.
The American Horticultural Society (AHS) recommends plastic or glazed containers for moisture-loving plants. Their full pot selection advice is available at AHS. But honestly, I've found that shallow, wide pots work best for propagation. They allow the leaves to spread out naturally.
My Step-by-Step Butterwort Propagation Process Using LED Grow Lights
I've refined this method over two years of trial and error. Here's exactly what works for me.
Week 1: Setup and Leaf Collection
First, I choose a healthy mother plant. Look for one with lots of mature leaves, several inches long. I gently pull off 3-4 outer leaves, making sure to get the white base attached. That white part is crucial for root formation.
For the LED grow light setup, I use a simple clip-on fixture with a full-spectrum bulb. I position it 7 inches above my propagation tray and set a timer for 13 hours of light per day. No natural window light needed.
The propagation medium? I mix three parts sphagnum peat moss with one part perlite. This creates that perfect balance of moisture retention and drainage.
Week 2: Watching the Magic Happen
After the first week, I start seeing tiny white dots on the leaf bases. These are the beginnings of new plantlets. By day 10, I can see small green bumps forming.
The LED light is doing its job perfectly at this point. The leaves maintain their healthy green color, and I notice the typical dew droplets forming on any part of the leaf that's still exposed. This tells me the light intensity and duration are spot on.
Here's a pro tip I learned after killing my fourth batch: don't mist the leaves. I know it sounds counterintuitive, but excess moisture on leaf surfaces encourages fungal growth. Keep the bottom damp, but the top dry.
Common Problems I Ran Into
Problem: Leaves turning yellow Solution: Light was too intense. I moved the LED up by 2 inches, and within three days, the yellowing stopped.
Problem: No growth after two weeks Solution: Temperature was too low. Butterworts need warmth for propagation. I keep my propagation area around 70°F (21°C).
Problem: Mold on soil surface Solution: Not enough airflow. I added a small USB fan set on low, pointed away from the plants. Air circulation is your friend.
Building the Perfect LED Grow Light Station
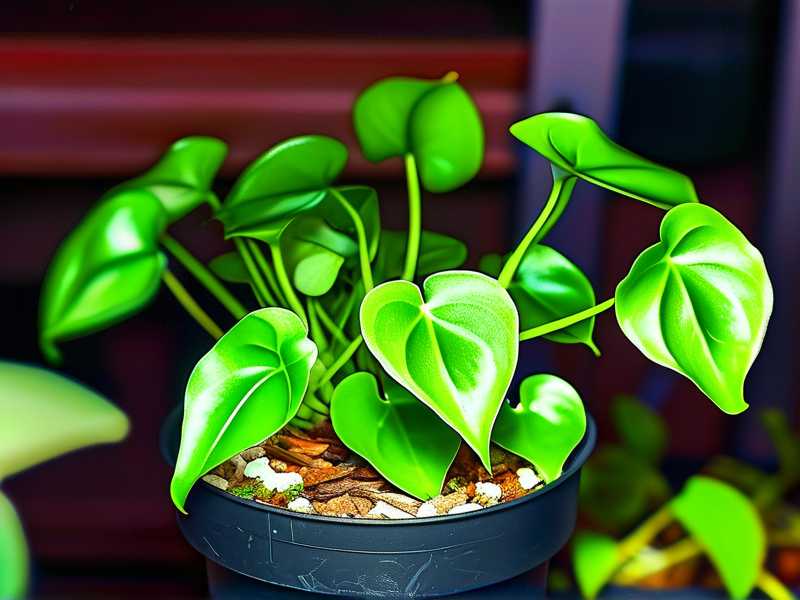
You don't need to spend hundreds of dollars. My setup cost under $60 total.
What I Use
- Clip-on LED desk lamp with flexible neck
- Full-spectrum 6500K LED bulb (10-15 watts)
- Timer plug ($10 on average)
- Shallow plastic propagation tray
- Clear plastic dome (or a ziplock bag, honestly)
Light Schedule That Works
I run my lights from 7 AM to 8 PM daily. This 13-hour photoperiod mimics summer conditions, which butterworts love for active growth.
During winter, some species like Mexican butterworts go dormant. You'll notice smaller, non-carnivorous leaves forming. When that happens, I reduce light to 10 hours daily and cut back on watering.
Positioning Tips
The light should be directly above the plants. Side lighting creates uneven growth. And here's something I wish someone had told me earlier: rotate your propagation tray every few days. This ensures all leaves get even light exposure.
Long-term Care After Successful Propagation
Once your leaf cuttings develop 3-4 tiny plants with roots (usually around week 4-6), it's time to separate them. I gently lift each plantlet with tweezers and move them to individual 2-inch pots.
Continue using the same LED grow light setup for the young plants. They still need those bright, consistent conditions to thrive. I keep them under the light for another month before slowly reducing to 12 hours daily.
Feeding and Fertilizing
Here's a mistake I see all the time: people try to fertilize butterworts like regular plants. Don't do it. These are carnivorous plants that catch their own food. In indoor conditions without bugs, you can offer freeze-dried bloodworms or betta fish pellets once every 3-4 weeks. But only if the plant is actively growing.
Frequently Asked Questions
Can I use regular LED bulbs instead of grow lights?
Yes, but choose bulbs labeled "daylight" with 6500K color temperature. Regular warm-white bulbs won't give enough blue light for proper growth. I've tested both, and daylight bulbs work almost as well as specialized grow lights for butterworts.
How long until I see baby butterworts from leaf cuttings?
With proper LED lighting, you'll see tiny green bumps in about 10-14 days. Fully separated plants with roots take 4-6 weeks. Be patient, and don't disturb the leaves during this time.
Do butterworts need complete darkness at night?
Yes. Running LED lights 24/7 will stress the plants and may trigger abnormal growth. Always use a timer to ensure 10-14 hours of darkness. This rest period is essential for proper photosynthesis and growth regulation.
Can I propagate butterwort from flower stalks?
You can, but I find leaf propagation much more reliable. Flower stalk propagation takes longer and has lower success rates. If you try it, use the same LED setup but expect 6-8 weeks for results.
Final Thoughts on Butterwort Propagation with LED Lights
After killing more plants than I care to admit, I've learned that butterwort propagation isn't complicated. It just requires attention to three things: proper light, controlled moisture, and patience.
The LED grow light setup I described has worked consistently for my Mexican butterworts, tropical species, and even some temperate varieties. It's reliable, affordable, and easy to maintain.
Start with those 7-8 inches of distance and 13-hour light cycles. Adjust based on your plant's response. If leaves start getting red or purple tones, that's good. If they turn brown or crispy, move the light up.
And remember, every clone you successfully propagate is a little victory. Each tiny plantlet that forms under your LED lights is proof that you paid attention, adjusted when things went wrong, and kept trying. That persistence is what makes a good gardener.
Happy propagating, friends.





