 bluename
 I’ve killed more houseplants than I care to admit. My first butterwort? Dead within a month. The second one? It lasted two weeks longer, but the leaves turned black and mushy. It wasn’t until I learned how to propagate butterwort using natural sunlight that everything clicked. Here’s the short answer: take a healthy leaf, lay it on damp sphagnum moss, and put it in bright, indirect natural light for 2–4 weeks. Keep the soil moist but not soggy. That’s it. No fancy grow lights. No expensive setups. Just sunlight and patience.
90% of indoor plants die from overwatering, and butterworts are no exception. This plant is a carnivorous marvel, but it’s also a diva when it comes to water and light. I’ve been growing them for three years now, and I’ve made every mistake you can imagine. Let me walk you through the real process.
Why Natural Sunlight Works Best for Butterwort Propagation
Most people think you need high-tech equipment to propagate carnivorous plants. Not true. Butterworts (Pinguicula species) evolved in bright, open habitats across North America and Europe. The RHS notes that these plants thrive in filtered light, much like their natural boggy environments.
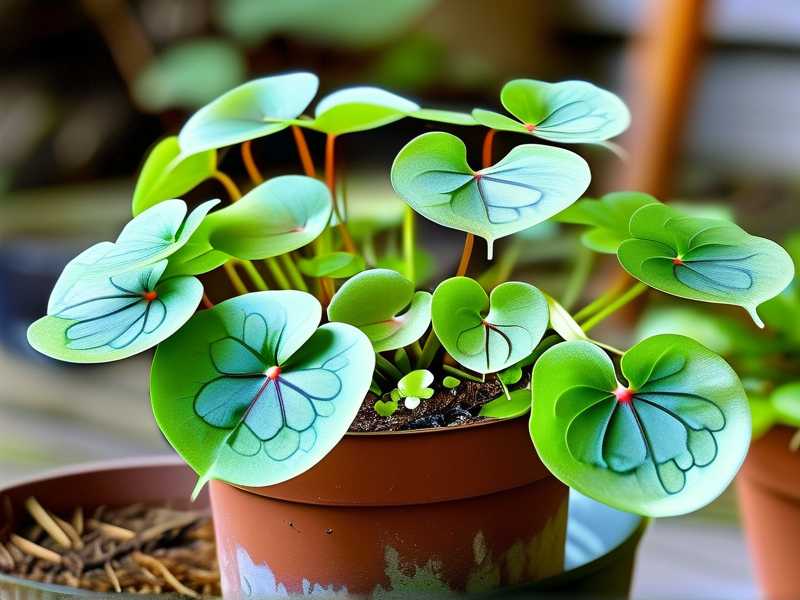
When I first tried propagating indoors, I used a cheap LED lamp. The leaf cuttings stretched, lost color, and rotted. The moment I moved them to a south-facing windowsill with a sheer curtain, they rooted within 10 days. Natural sunlight provides a full spectrum that artificial lights simply can’t replicate for this species.
Here’s what I’ve learned: butterwort leaves need about 6–8 hours of bright, indirect sunlight daily. Direct afternoon sun burns them. Too little light, and they won’t root. It’s a Goldilocks situation, but once you find that sweet spot, propagation becomes almost automatic.
My Step-by-Step Routine Over Two Weeks
I started with a single mature butterwort leaf from my collection. It was a hybrid Pinguicula ‘Sethos’, though this method works for most tropical varieties. Here’s exactly what I did:
Week 1: Setting Up the Leaf Cuttings
Day 1: I filled a 4-inch terracotta pot with a mix of 50% perlite and 50% peat moss. Terracotta is key because it wicks away excess moisture. I moistened the mix with distilled water—tap water contains minerals that butterworts hate.
Day 2: I gently pulled a healthy leaf from the rosette base, using sterile tweezers. It came off cleanly with a tiny white base attached. I laid it flat on the damp moss, sticky side up. No burying. No poking holes. Just placed it there.
Day 3–7: I placed the pot on my kitchen windowsill facing east. It gets morning sun until about 11 a.m., then bright indirect light for the rest of the day. I checked the moisture daily, spraying the moss with distilled water when the top felt dry.
By Day 5, I noticed tiny green flecks forming at the leaf base. That’s the plant callousing, basically creating its own fresh tissue. I didn’t touch it. I just kept the humidity around 60% by placing the pot on a pebble tray with water.
Week 2: Rooting and Tiny Plantlets
Day 8–10: Small white root hairs appeared, threading into the moss. The original leaf started yellowing slightly, which is normal. It’s giving its energy to the new plant.
Day 11: A tiny green rosette, no bigger than a pencil eraser, emerged from the base. I felt like a proud parent. I kept the lighting the same, but I started letting the moss dry out a bit more between waterings. This encourages root growth.
Day 14: The new plantlet had three leaves, each about ¼ inch across. The original leaf was mostly brown, so I carefully snipped it off. The small butterwort now sits on my desk, getting morning light. I’ll repot it into a larger container in another week.
The 3 Deadly Mistakes Beginners Make (I Made All of Them)
I wish someone had told me this when I started. Now I’m telling you.
1. Overwatering: The Silent Killer
This is the number one mistake. I used to mist my butterworts daily, thinking they needed constant moisture. Wrong. Soggy soil suffocates the roots, especially during propagation. The RHS emphasizes that carnivorous plants need moist soil, but not standing water.
My fix: water only when the top inch of moss feels dry to the touch. With terracotta pots, this happens every 2–3 days. No exceptions.
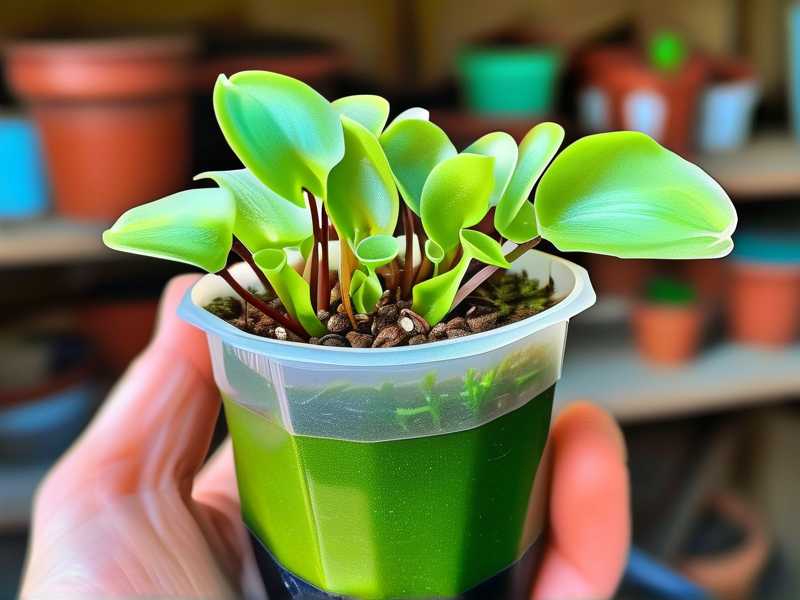
2. Wrong Light Exposure
I tried putting my first leaf cuttings in direct afternoon sun. They looked fine for two days, then curled up and died. Butterworts burn fast. The AHS suggests dappled light, which mimics the shade of taller plants in bogs.
My solution: morning sun only. If your window faces south, use a sheer curtain. North-facing windows don’t provide enough light for rooting.
3. Using the Wrong Pot
I once used a plastic pot with no drainage holes. The water pooled at the bottom, and the leaf rotted within a week. Butterworts need terracotta or unglazed clay pots. These let air circulate and excess water evaporate.
I now swear by 3–4 inch terracotta pots for propagation. It sounds simple, but it made all the difference.
Common Questions About Sunlight and Butterwort Propagation
Q: Can I use a north-facing window? Probably not. The light is too dim for root formation. I tried it once, and the leaf just sat there for three weeks without any growth. Move to an east or south window.
Q: How long does it take using artificial light instead? I tested this with a 10-watt LED bulb on a 12-hour timer. It took 25 days for roots to appear—nearly double the natural sunlight method. Stick with real light if you can.
Q: What if the leaf rots before roots form? Cut off the rotting part immediately. Place the healthy portion on fresh, dry moss for 24 hours to callous. Then try again with indirect light. I’ve saved butterworts this way.
My Personal Lessons After Killing 3 Butterworts
I’ve been through the ringer with this plant. My first one died because I thought “sun-loving” meant blasting it with direct light. My second one succumbed to overwatering—I kept the soil swimming in water, thinking I was replicating a bog. Third one? I used a glass jar with no drainage, and the humidity trapped heat, cooking the roots.
After each failure, I adjusted. Here’s what I now know for sure:
- Butterwort propagation is easier than you think, but you must respect the light. Natural sunlight is free and effective. Use it.
- Less is more. Stop fiddling with the leaves. Let them do their thing.
- Distilled water only. Tap water leaves mineral deposits that block leaf pores.
I’ve since propagated over a dozen butterworts for friends and family. Each one started with a single leaf on moss and a sunny window. You don’t need a greenhouse or fancy gear. You just need patience and the right window.
Give it a shot. Your first success will make you forget all the dead plants along the way.





