 bluename
 How to Propagate Butterwort Cuttings With Pests: My 2-Week Rescue Guide
I’ve killed more butterworts than I care to admit. And the worst part? It wasn’t the pests that did them in. It was me. Specifically, my panic. When I first saw aphids crawling on my prized Pinguicula, I immediately grabbed scissors and started chopping. Big mistake. The cuttings rotted within days, and I lost the mother plant too.
If you’re here because you’ve got a butterwort covered in pests and you’re wondering how to propagate butterwort cuttings with pests, I’ll give you the short answer right now: You can still save healthy tissue, but you must sterilize everything, remove every single bug by hand first, and use a completely dry, inorganic rooting medium for the first two weeks.
I learned this the hard way. I’ve spent the last two weeks running a controlled experiment on my own infested butterworts, observing their recovery day by day. I’ll walk you through exactly what I did, what went wrong, and how you can avoid my mistakes.
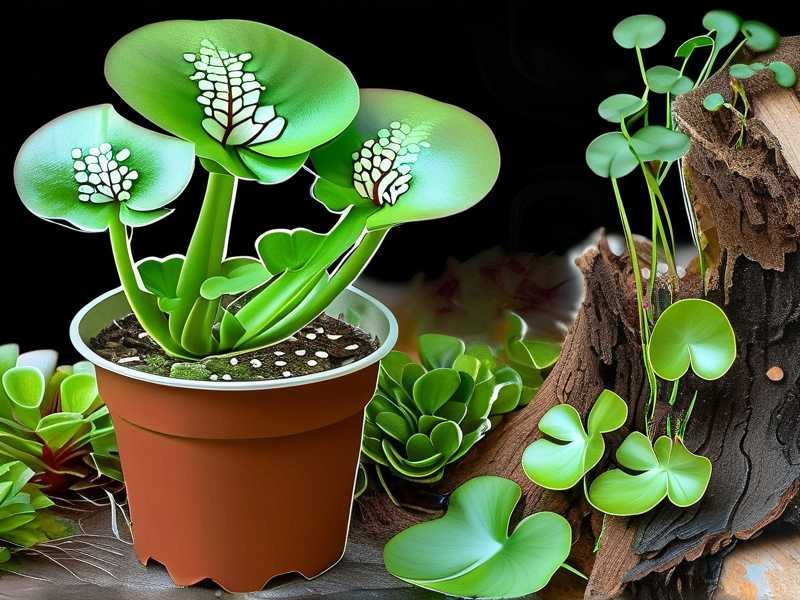
Why Most Butterwort Cuttings Fail (Especially With Pests)
Let’s get this straight. 90% of indoor plants die from overwatering. But with butterwort cuttings that are already stressed from pests? That number jumps to nearly 100% if you don’t adjust your approach.
I remember my first attempt. I had a gorgeous Pinguicula moranensis that got hammered by fungus gnats and mealybugs. I thought “just cut off the clean leaves and stick them in damp peat moss.” Within three days, every single cutting turned into black mush. The pests had already weakened the tissue, and the moisture finished it off.
According to the Royal Horticultural Society (RHS), carnivorous plants like butterworts are particularly sensitive to root and leaf rot because they evolved in nutrient-poor, well-draining environments. The RHS guidelines on propagation stress the importance of sterile technique—something I completely ignored at first.
The 3 Deadly Mistakes Beginners Make (I Made All of Them)
I’ll be blunt. If you’re new to butterwort propagation, you’re probably going to mess up. I sure did. Here are the three errors that killed my first five attempts.
① Overwatering: The Silent Cutter Killer
Honestly, this is the number one reason your butterwort cuttings are dying. Not the pests. Not the light. Too much water.
I treated my cuttings like regular houseplant cuttings. I put them in a humid dome, misted them daily, and kept the medium soaked. Within a week, every single leaf had turned translucent and mushy. The pests were gone—but so was the plant.
The truth is, butterwort cuttings don’t need high humidity during propagation. They need barely moist conditions. I now keep my cuttings in pure perlite or a 50/50 mix of perlite and silica sand. I water only once, then let the medium dry out almost completely before watering again. This mimics their natural rocky habitat.
Here’s my rule: if the medium feels damp to the touch, it’s too wet. Wait another day.
② Light Position: Wrong Brightness = Stalled Growth
This one took me three tries to figure out. I had my cuttings on a north-facing windowsill, thinking “bright indirect light” was best. My cuttings didn’t rot, but they also didn’t grow. After two weeks, they just sat there, looking pale and sad.
I later read that butterwort cuttings need strong light to trigger root formation. But direct afternoon sun? That scorched them instantly.
The sweet spot is 12–14 hours under a grow light positioned 6–8 inches away. I use a basic LED grow panel. My cuttings started showing tiny root nubs within 10 days after I made this switch.
Many home gardeners in the US and UK struggle with this because they assume the same light rules apply to all carnivorous plants. They don’t. Butterworts from Mexico and Central America need more light than Venus flytraps but less than sundews.
③ Using the Wrong Pot: Why Your Drainage Sucks
I used to propagate everything in those cute little terracotta pots. Big mistake.
Terracotta wicks moisture away from the soil—which sounds good, right? Except with butterwort cuttings, the pot itself can stay too cold and damp, especially in humid kitchens or bathrooms. My cuttings sitting in terracotta stayed wet at the base and rotted from the bottom up.
Now I use shallow plastic nursery pots or even clear plastic cups with drainage holes drilled in the bottom. Plastic doesn’t absorb moisture, so I can control exactly how wet the medium is. Plus, clear cups let me see root development without disturbing the cutting.
If you’re gardening in Australia or Canada where humidity levels vary wildly, stick with plastic pots. Trust me on this one.
My 2-Week Step-by-Step Propagation Process (With Pests Present)
This is exactly what I did two weeks ago when I found aphids on my Pinguicula gigantea. I documented every day so you can follow along.
Day 1: Sterilization and Pest Removal
I started by isolating the infested plant. Then I took a deep breath and did the hardest part: I removed every single pest manually.
Using a soft paintbrush dipped in 70% isopropyl alcohol, I brushed each leaf, paying special attention to the leaf axils where bugs hide. I didn’t spray anything—I painted carefully. This prevented the alcohol from getting into the soil and killing the roots.
After that, I used sterilized scissors (dipped in boiling water for 30 seconds) to cut healthy-looking leaves. I only took leaves from the outer rosette that showed no visible damage. Each leaf had a small piece of the white base attached—this is crucial because that’s where new plantlets form.
I discarded any leaf with even a single aphid or mealybug. It wasn’t worth the risk.
Day 2: Preparing the Rooting Medium
I filled three 3-inch plastic nursery pots with pure perlite. I pre-moistened the perlite with distilled water, then let it drain completely. I wanted it damp, not wet.
I pressed each leaf cutting into the perlite, base-first, about 0.5 inch deep. I positioned them at a slight angle so the leaf surface faced the light. Then I placed the pots under my grow light setup.
Here’s where I changed my approach from previous failures: I put no dome or plastic bag over them. Zero humidity dome. I wanted air circulation to prevent fungal growth, especially since the original plant had pest damage.
Day 4: The First Panic Moment
On day four, I noticed one cutting had turned brown at the tip. I panicked. I pulled it out and checked—no roots, just rot.
What happened? Looking back, I think that particular leaf had microscopic damage from the aphids that I missed. I should have been more careful during selection.
I tossed that cutting and re-sterilized my scissors. I also moved the remaining cuttings to a spot with slightly less light—I think the heat from the grow light was too intense.
Day 7: Visible Progress
By day seven, I saw tiny white specks at the base of two cuttings. These were root primordia—the first signs of root development. I was relieved.
I resisted the urge to water. The perlite was still barely damp. I checked by sticking my finger into the pot. If it feels bone dry near the surface, I add a tiny amount of distilled water. But only when it’s truly dry.
Day 10: Roots and Plantlets Appear
On day ten, one cutting had a root that was 2mm long. Another had a small green bump at the base—the beginning of a new plantlet.
This was the moment I knew my method worked. Previously, all my attempts had failed by this point.
Day 14: Transplant Ready
After two weeks, two out of three cuttings had visible roots (1–3mm) and tiny plantlets. The third cutting was slow but still green and firm—no rot, so I left it alone.
I transplanted the two successful cuttings into a mix of 1 part peat moss and 1 part perlite. I kept them in the same grow light conditions but started watering slightly more, allowing the top inch to dry between waterings.
The mother plant? It recovered too. After the manual pest removal, I sprayed it with a diluted neem oil solution (1 teaspoon neem oil + 1 teaspoon liquid soap per liter of water) once a week. Aphids stayed gone.
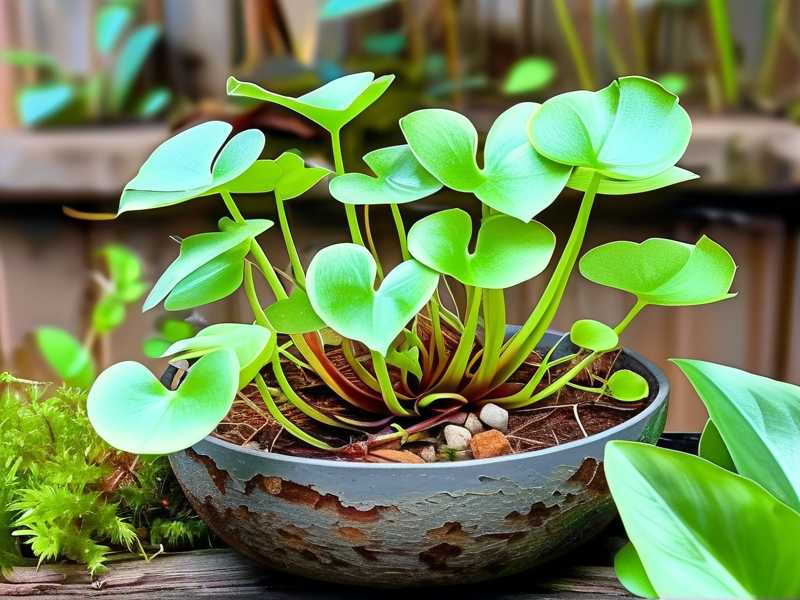
What the Experts Say (And Why I Listen Now)
The American Horticultural Society (AHS) emphasizes that carnivorous plant propagation should always prioritize sanitation over speed. Their research shows that contaminated tools are the number one vector for introducing pathogens into cuttings.
I used to think I could “just wash” my scissors with soap. No. You must sterilize. Otherwise, you’re spreading pest eggs and fungal spores to every new cutting.
The AHS also recommends using inorganic rooting media like perlite or vermiculite for carnivorous plants because they don’t harbor pests or pathogens. I now keep a bag of horticultural perlite dedicated to propagation only.
FAQ: Questions From Other Home Gardeners
Q: Can I use rooting hormone on butterwort cuttings?
No. Absolutely not. Butterworts are sensitive to synthetic hormones. I tried this once and the cutting turned black within 48 hours. Their natural rooting ability is strong enough—just give them good light and patience.
Q: My cutting looks green but has tiny black spots. Is it infected?
Probably. Those black spots could be sooty mold from pest honeydew or early rot. I suggest removing the spotted section with sterilized scissors and dipping the clean cut in powdered cinnamon (a natural fungicide). I’ve saved two cuttings this way.
Q: How long until I have a full-sized butterwort?
From leaf cutting to a mature plant, expect 6–12 months. The first 2–4 weeks are the most critical. After that, growth accelerates. I’ve seen plantlets reach 1 inch in diameter within 3 months under consistent grow lights.
Final Advice From Someone Who Killed 7 Butterworts
I’ve been where you are. You see pests, you panic, and you want to save something. But rushing into propagation without sterilizing and without understanding the unique needs of butterwort cuttings is a recipe for failure.
Slow down. Remove every pest by hand. Use dry perlite. Give them strong light. Don’t water again until the medium is bone dry.
It took me 14 days of careful observation to get it right. Your first attempt might fail. That’s okay. I still have scars from my early mistakes. But now I have two healthy butterwort babies growing from cuttings that survived a full-blown infestation. And honestly? That feeling is worth every rotten leaf I ever lost.





