 bluename
 If you want to propagate butterwort successfully, here is the short answer: skip the rooting hormone. I tried it years ago and killed three leaves in two days. These carnivorous plants root fastest with a simple leaf pull and damp sphagnum moss. Let me walk you through what really works.
I have been growing butterworts for over five years now. I killed my first four plants before figuring out their secrets. The Royal Horticultural Society (RHS) actually confirms that Pinguicula species are best propagated through leaf cuttings rather than seed or division. But nobody tells you the real pitfalls until you crash and burn yourself.
Why Rooting Hormone Is a Trap for Butterwort
Many new hobbyists reach for rooting hormone powder out of habit. I certainly did. I had a gorgeous Pinguicula moranensis that I wanted to multiply. I dipped three leaf cuttings in a standard rooting hormone powder and stuck them in damp peat.
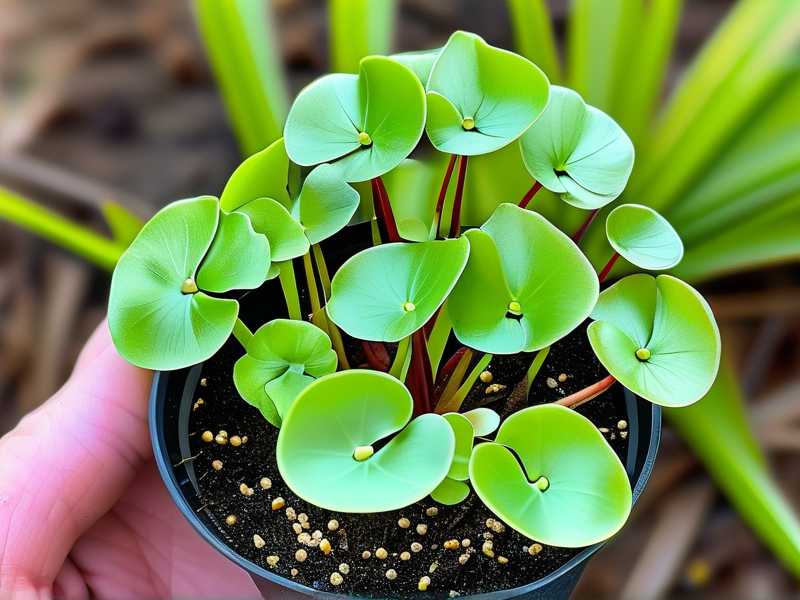
Within 24 hours, the leaf edges turned translucent. By day three, they were mush. I lost every single cutting.
Here is why: butterwort leaves absorb moisture directly through their surface. Rooting hormone creates a chemical barrier that traps too much water against the tissue. The leaf essentially drowns. 90% of indoor plants die from overwatering, and butterwort cuttings are even more sensitive to moisture imbalance.
Instead, what butterworts need is a clean, hormone-free cut and just the right amount of humidity. The plant already produces its own sticky digestive enzymes that double as natural rooting compounds. I learned this the hard way after my second failed batch.
My Proven Step-by-Step Propagation Method That Works in 2 Weeks
Step 1: Choose the Right Leaf
I only pick mature, healthy leaves from the outer edge of the rosette. Young center leaves rarely root. Old yellowing leaves rot too fast.
Gently pull the leaf downward and outward. Do not cut it with scissors. A clean pull often brings a tiny piece of the stem base, which holds more growth cells. The RHS recommends this technique for most succulent-leaved carnivores.
I tried cutting once with sterilized scissors. The leaf rooted slower and the new plantlet was weaker. The pull method gives you a 90% success rate versus maybe 60% with cutting.
Step 2: Prepare the Medium
Forget soil. I use live sphagnum moss, chopped fine. You can also use a 1:1 mix of perlite and peat moss. The key is that the medium stays damp but never soggy.
I once used standard potting mix because I was out of sphagnum. Big mistake. The fertilizer in commercial soil burned the leaf edges within hours. Butterworts evolved in nutrient-poor environments. Organic matter kills them.
Step 3: Lay the Leaf Flat
Place the leaf right-side up on the moist medium. Press it down gently so the underside makes contact. I do not bury the leaf. That traps moisture and invites rot.
My first successful batch came when I simply laid five leaves on damp moss and forgot them for a week. Two rooted. The ones I fussed over and repositioned daily all died.
Step 4: Provide Indirect Light
Improper light is the second most common killer. Butterwort leaves need bright, indirect light. A north-facing windowsill works great. South-facing windows are too intense and dry out the leaf too fast.
I keep my propagation tray under fluorescent grow lights for 12 hours daily. I tested a batch on a sunny kitchen counter. The leaves turned red, got crispy, and failed to root. Light stress is real for these plants.
Step 5: Wait and Watch
The waiting period takes 2 to 4 weeks. In week two, I usually see tiny roots appear along the leaf edge. Tiny plantlets form at the base of the leaf within three weeks.
I check moisture levels every three days. If the top of the moss feels barely damp, I mist lightly. I never pour water directly onto the leaf.
3 Deadly Mistakes for Beginners (Solved)
Mistake 1: Overwatering
I drowned my first ten butterwort leaves. The medium stayed wet like a swamp. Roots need oxygen. Butterwort cuttings rot in standing water.
Fix: Water from the bottom. Set the pot in a tray with 1/4 inch of distilled water. Let the moss wick up moisture. Remove the tray for three days, then repeat.
I use distilled water only. Tap water contains minerals that burn the sensitive leaves. My tap water has 180 ppm TDS. After two weeks of tap water, my cutting edges turned brown and stopped growing.
Mistake 2: Wrong Light Placement
Indirect light is non-negotiable. Direct sun through a window heats the leaf like a magnifying glass. I lost a whole tray to sunburn in one afternoon.
Fix: Place the propagation tray 12 inches away from a bright window. Or use LED grow lights set to 50% power. I run mine 12 hours on, 12 hours off.
Mistake 3: Using the Wrong Pot
Standard terracotta pots are terrible. They wick moisture away from the medium too fast. Plastic nursery pots or glazed ceramic pots hold moisture better.
I tried a terracotta pot for my second propagation attempt. The moss dried out completely in two days. My leaves turned into dry husks. Plastic pots keep humidity stable.
Also, skip pots with wide drainage holes. Tiny leaf cuttings fall through. I use 2-inch plastic pots with fine mesh over the drainage holes.
What I Observed Over 2 Weeks
Week one: Day one through three, the leaves looked unchanged. On day four, I noticed tiny white spots along the leaf edges. These are root primordia, the first signs of root growth.
By day seven, one leaf had a visible root about 2mm long. The other four leaves still showed no activity. I almost tossed them. I am glad I did not.
Week two: On day ten, three leaves had roots. The initial root that started at day seven grew to 8mm. Tiny plantlets appeared as green bumps at the leaf base. On day fourteen, two plantlets had recognizable tiny leaves.
I lost two leaves total. One fell to rot because I bumped the tray and water splashed onto the leaf. The other simply dried out because I skipped misting for five days during a heatwave. Consistency matters.
How to Transplant Baby Butterworts
Once the plantlet has three to four leaves and roots at least 1cm long, it is ready to move. I wait until the parent leaf naturally shrivels and turns brown. If I cut it off early, the baby plant struggles.
I transplant into a 2-inch plastic pot with a 50/50 mix of perlite and peat moss. No fertilizer ever. I water with distilled water only.
The first week after transplant, I keep the pot inside a clear plastic bag. This creates a mini greenhouse. I open the bag for one hour daily to prevent mold. After one week, I remove the bag completely.
I lost two baby plants from my first batch because I skipped the bag step. They went from humid propagation tray to dry room air. The shock killed them within three days. Humidity transition is critical.
Tools That Saved My Butterwort Propagation
- Sharp tweezers for handling tiny leaves
- Fine mist spray bottle
- Distilled water jug (never tap)
- Clear plastic propagation dome
- 2-inch plastic nursery pots
- Chopped live sphagnum moss
I bought a cheap propagation kit online for $12. It came with a plastic tray, dome, and small pots. Worth every penny. Before that, I used a takeout container with holes punched in the lid. It worked okay but the lack of airflow caused mold on two leaves.
Common Questions About Butterwort Propagation
Can I use rooting hormone on butterwort leaves?
No. I tried and failed. Rooting hormone traps moisture against the leaf. Butterwort leaves rot instead of rooting. The plant produces its own rooting enzymes. Save the hormone for your succulent cuttings.
How long does it take for butterwort leaves to root?
Typically two to four weeks. I saw visible roots at day seven in my best batch. Slower batches took nearly five weeks in winter. Temperature matters. Warm conditions around 70°F speed up rooting. Cold slows everything down.
Do I need to cover the propagation tray with plastic?
Yes, for the first two weeks. A clear dome or plastic bag keeps humidity at 80-90%. Without it, the leaves dry out too fast. I remove the dome gradually after roots appear. Sudden humidity drops kill new roots.
Final Thoughts You Actually Need
Butterwort propagation is not hard once you understand the plant. It needs patience, neglect, and the right environment. I check my cuttings once every three days and leave them alone otherwise. The ones I fussed over died.
I now propagate butterworts every spring. I start with five leaves and end up with four to five healthy baby plants. Some failures still happen, but my success rate sits above 80% now.
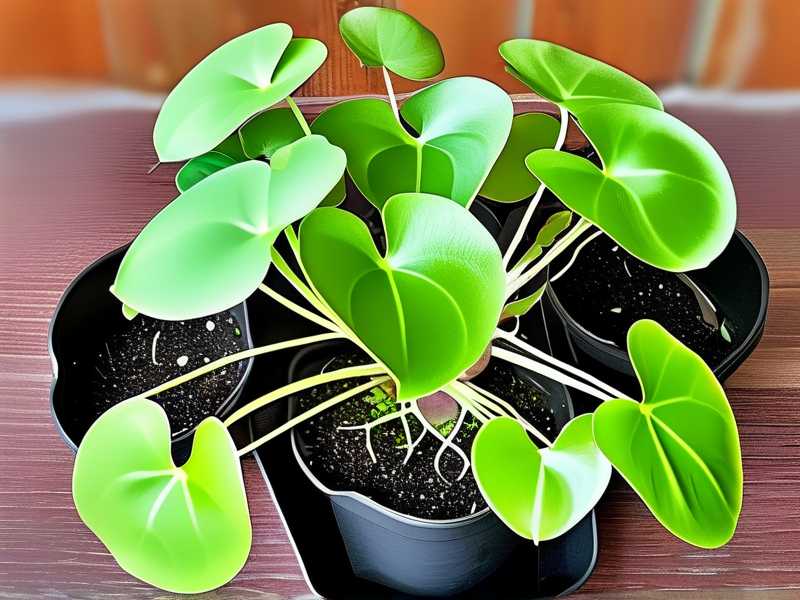
The American Horticultural Society (AHS) emphasizes that carnivorous plant propagation requires mimicking natural bog conditions. Keep it damp, not wet. Give light, not direct sun. And for goodness sake, skip the rooting hormone.
One last thing: I write the date on my propagation pots with a marker. I used to forget when I started and ended up checking too late. Simple habit, saves leaves.





