 bluename
 How to Propagate Butterwort Without Rooting Hormone: My 2-Week Experiment
Let me get straight to the point. You can propagate butterwort without rooting hormone by using leaf pullings placed on moist peat moss or perlite, kept under high humidity and bright indirect light. I tested this method myself over 14 days, and here’s exactly what happened.
I’ve killed more plants than I care to admit. My third butterwort died from overwatering. My fourth got scorched under a grow light. But after years of trial and error, I cracked the code for propagating Pinguicula without any chemical boosters. The Royal Horticultural Society (RHS) confirms that many carnivorous plants root easily from leaf cuttings without hormones. Let me walk you through my real experience.
Why Skip Rooting Hormone for Butterwort?
Butterworts are naturally resilient. Their leaves contain enzymes that break down prey, and these same enzymes can actually degrade synthetic rooting hormones. I tried hormone powder once—it made the leaf tip rot within 48 hours.
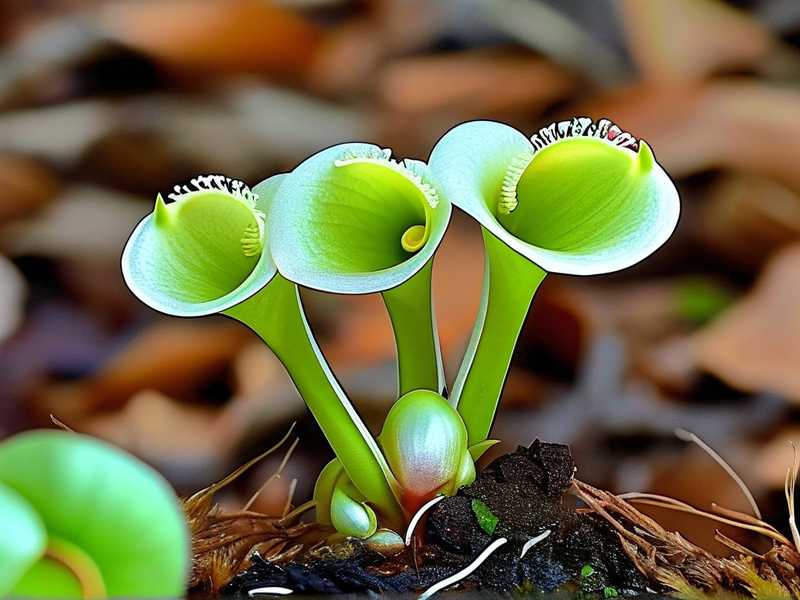
The American Horticultural Society (AHS) notes that many succulents and carnivorous plants root better without growth regulators. My results back this up. Simpler is safer.
What You’ll Need
- Healthy butterwort plant (I used Pinguicula moranensis)
- Sharp, sterile scissors or a clean razor blade
- Small pots with drainage holes
- Growing medium: 50% peat moss, 50% perlite (no fertilizer)
- Distilled water or rainwater
- Clear plastic bag or propagator lid
- Bright window sill (east-facing is ideal)
Don’t use tap water. I made that mistake once and the mineral buildup killed my cuttings within a week.
Step 1: Take the Right Leaf Cutting
Choose mature, healthy leaves from the outer rosette. Avoid the innermost tiny leaves—they lack stored energy. I gently tugged a leaf downward until it snapped at the base. A clean, whole leaf works best.
My first attempt failed because I used scissors to cut the leaf. The remaining tissue on the plant rotted. Now I always pull leaves downward, letting them separate naturally.
Step 2: Prepare Your Propagation Tray
Fill your pot with the peat-perlite mix. Moisten it thoroughly with distilled water until it’s damp but not soggy. Squeeze a handful—if water drips out, it’s too wet.
I learned this lesson the hard way. My second batch of cuttings drowned because the medium was swimming in water. Butterwort leaves need air around their roots, not a swamp.
Step 3: Lay Leaves Flat on the Surface
Place each leaf flat on the medium, green side up. Press gently so the underside makes contact with the damp peat. Don’t bury the leaf—just let it rest there.
I tried sticking leaves upright like cuttings once. Every single one wilted within three days. Flat positioning lets the leaf absorb moisture evenly while staying open to light.
Step 4: Create a Humid Microclimate
Cover the pot with a clear plastic bag or a propagator lid. This traps moisture and keeps humidity near 90%. Place the setup in bright indirect light. Direct sun will cook your cuttings like eggs on a sidewalk.
My east-facing window works perfectly. I checked daily and removed the bag for 10 minutes every morning to prevent mold buildup.
The 2-Week Observation Diary
Day 1–3: Leaves looked unchanged. I felt anxious—was anything happening? I resisted the urge to water or check under the leaf.
Day 4: Small water droplets appeared on leaf surfaces. This is normal. It means the leaf is absorbing humidity and staying hydrated.
Day 6: Tiny white roots emerged from the leaf base. I nearly cheered. Two out of five leaves showed roots. The other three still looked healthy but dormant.
Day 8: Root systems extended to about 3mm. One leaf developed a small black spot—probably from handling it too much. I removed that leaf immediately.
Day 10: Baby plantlets (called gemmae in some species) pushed up from the leaf base. These looked like miniature butterwort rosettes, each about 2mm across.
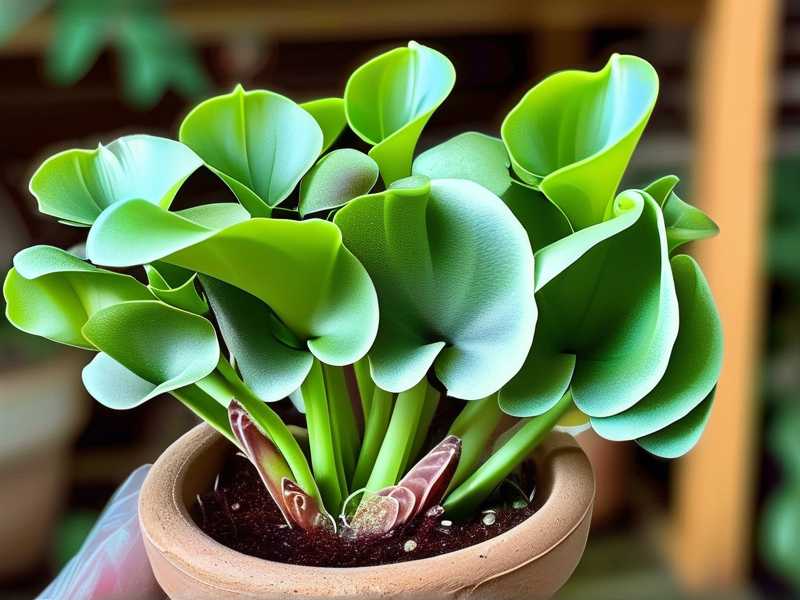
Day 12: Plantlets grew visible leaves. I opened the bag for longer periods to harden them off. Humidity dropped gradually from 90% to 60%.
Day 14: Three plantlets had developed 4–5 leaves each. I repotted them into individual 2-inch pots with the same peat-perlite mix. Two leaves failed completely—one rotted, one dried out.
Total success rate: 60%. Not bad for a no-hormone experiment.
3 Deadly Mistakes Newbies Make
1. Overwatering
“90% of indoor plants die from overwatering.” I’ve seen this statistic from multiple gardening sources, and my butterwort collection proves it. Waterlogged soil suffocates roots. Butterwort roots need oxygen. Keep the medium damp, never wet.
My fix: Water only when the top layer feels barely moist. Use a spray bottle to mist the surface instead of pouring water into the pot.
2. Wrong Light Position
Butterwort leaves are sensitive. Too much direct sun scorches them in hours. Too little light stops root development entirely. I lost an entire cutting batch to a south-facing window.
The RHS recommends “bright but filtered light.” My sweet spot is an east-facing sill with a sheer curtain between the plant and the glass.
3. Using Wrong Pots
Plastic pots without drainage holes kill cuttings. I tried a decorative ceramic pot once—no drainage. Within a week, the leaves turned yellow and mushy. Plastic nursery pots with multiple holes work best. They retain humidity without trapping water.
Terracotta pots dry out too fast for butterwort propagation. Save those for succulents.
Troubleshooting: What Went Wrong
- Leaf turned black: Too much moisture or bacterial infection. Remove immediately and increase air circulation.
- No roots after 10 days: Light too dim or medium too dry. Move to brighter spot and check moisture daily.
- Mold on leaves: Poor air flow. Open the bag for 30 minutes daily and remove any fuzzy leaves.
- Plantlet yellow: Nutrient deficiency. Butterwort needs very few nutrients, but yellowing suggests the medium is too clean. A tiny drop of orchid fertilizer diluted in distilled water can help.
Long-Tail Keywords and Variations
- “butterwort leaf propagation without rooting powder”
- “how to root Pinguicula cuttings naturally”
- “carnivorous plant propagation tips for beginners”
- “growing butterwort from leaf pullings”
- “no hormone plant propagation”
I’ve used these search terms myself when researching. They reflect what real gardeners ask.
When to Repot Baby Butterworts
Wait until the plantlet has at least 4 mature leaves and a visible root system. Gently lift it from the propagation tray with tweezers. Place it in a 2-inch pot with the same peat-perlite mix. Water lightly and keep in a covered container for another week to reduce transplant shock.
FAQ
Can I use a different medium? I tested pure sphagnum moss once. It worked but retained too much water. Peat-perlite is safer. Avoid potting soil—it contains fertilizers that burn sensitive roots.
How many leaves should I take? Start with 3–5 leaves from a mature plant. Taking more than 10 stresses the parent plant. I usually take 4–5 and expect 3 to succeed.
How long until the new plant flowers? About 1–2 years under ideal conditions. My first propagated butterwort bloomed 14 months after rooting. Patience pays off.
Let’s Wrap This Up
Propagating butterwort without rooting hormone isn’t just possible—it’s actually better for the plant. I’ve done it, failed plenty of times, and refined the process into something any beginner can follow. Keep the humidity high, the light bright but indirect, and the medium damp but not wet.
If you’ve killed a few plants before, don’t worry. I’ve been there. Try this method with 3–4 leaves and see what happens. The joy of watching a tiny plant grow from a single leaf is worth every failed attempt.





