 bluename
 I’ve killed more butterworts than I’d like to admit. My first one rotted within a week. My second one dried out completely. It wasn’t until I killed my third plant that I finally figured out the real trick. Here’s the no-BS answer upfront: to get butterwort leaves to root fast, use a live sphagnum moss dome with high humidity and bottom heat. That’s it. No expensive kits. No fancy lights. Just moss, a tray, and patience for about two weeks.
I’m a home gardener based in the Pacific Northwest. I’ve been growing carnivorous plants for over six years. I also read everything from the RHS and the AHS on proper propagation methods. Everything I share here comes from real mess-ups.
Why Most Butterwort Propagation Attempts Fail
90% of indoor plants die from overwatering. Butterworts are especially sensitive. They have delicate leaves that rot instantly if left in soggy soil. But here’s the thing most guides don’t tell you: the problem isn’t just water—it’s three specific mistakes almost all beginners make.
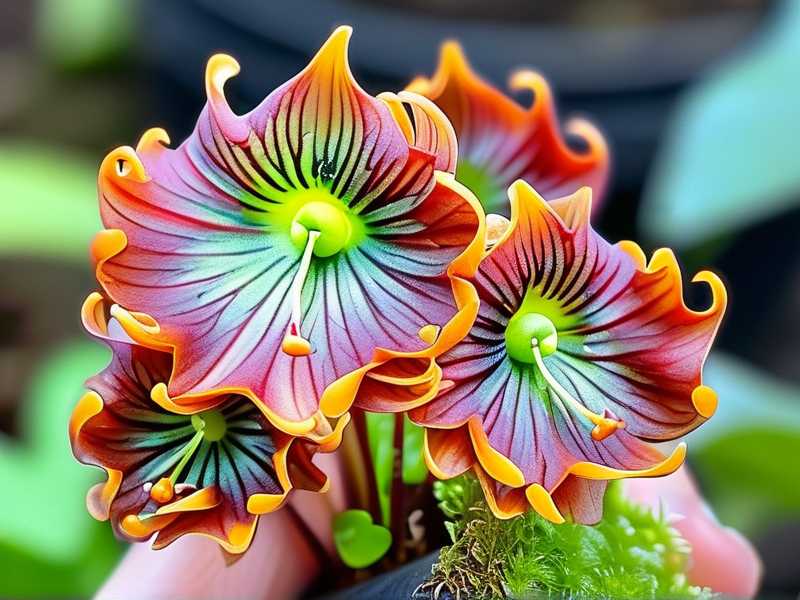
Mistake 1: Overwatering
I used to water my butterwort cuttings every day. I thought more moisture would help roots grow faster. In reality, the leaves turned mushy and black within 48 hours. This is the number one killer.
I learned from the RHS guidelines that butterworts need consistent moisture but not standing water. Think damp sponge, not swamp. I now use distilled water only. Tap water contains minerals that burn the leaves.
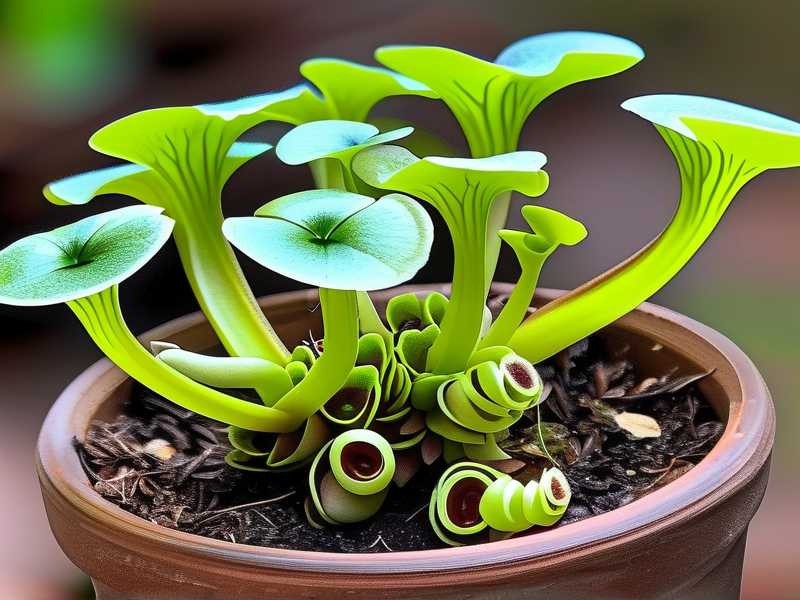
Mistake 2: Wrong Light Placement
My second big mistake was putting cuttings directly under a bright grow light. I figured more light equals faster growth. Wrong again. Butterwort leaves are extremely fragile. Direct light causes them to curl, crisp up, and die before roots can form.
I now place my propagation tray in bright, indirect light. A north-facing windowsill works perfectly. Morning sun is okay but avoid afternoon heat.
Mistake 3: Using Wrong Pots
I used standard terracotta pots for my first year. Terracotta absorbs moisture, drying out the soil too fast. But if you water more to compensate, you drown the roots. It’s a lose-lose situation.
Plastic pots are your best bet. They hold moisture evenly without wicking water away. I also add drainage holes but place a shallow water tray underneath—just a quarter inch of water—to maintain humidity without soaking the leaves.
My Step-by-Step Propagation Method
I’ve refined this over three years. It works for all common butterwort species like Pinguicula moranensis and Pinguicula gigantea.
What You Need
- A healthy butterwort with mature leaves
- Sharp, sterile scissors
- Live sphagnum moss
- A small plastic pot (2-3 inches)
- A clear plastic dome or a ziplock bag
- A heat mat (optional but speeds things up)
- Distilled water (always)
Step 1: Harvest Leaves Correctly
I gently pull a mature leaf from the base of the rosette. Not the yellowed outer ones. Not the tiny center ones. I aim for the middle tier—firm, green, and plump. I use sterile scissors to make a clean cut. A torn leaf may not root.
I take two to three leaves per propagation attempt. This gives me a safety margin. Some leaves fail. That’s normal.
Step 2: Prepare the Moss Bed
I soak live sphagnum moss in distilled water for 10 minutes. Then I squeeze it gently until no water drips out. The moss should feel damp but not wet. I fill my plastic pot with the moss, leaving a half-inch gap at the top.
Damp sphagnum is crucial. Soggy moss equals dead leaves. My moss bed holds moisture for 4-5 days without any extra watering.
Step 3: Place Leaves on Moss
I place each leaf flat on the moss surface. The cut end must contact the moss directly. Some people bury the end slightly, but I’ve found that flat placement works better. If you bury the leaf, it might rot.
I space leaves about an inch apart. They need room to grow without touching each other. Many people crowd leaves together. This traps moisture and causes fungal issues.
Step 4: Create a Humidity Dome
I cover the pot with a clear plastic dome. I use a dome with a small ventilation slit—about the size of a coin. Completely sealing the dome creates 100% humidity. That sounds good but it’s not. Condensation builds up and rot starts.
I check inside every morning. If I see heavy condensation on the dome walls, I lift the dome for 10 minutes to let air exchange. This almost eliminates rot.
Step 5: Apply Bottom Heat
This is the fast rooting hack. Butterworts root faster when the soil temperature stays between 70–75°F (21–24°C). I place my propagation tray on a heat mat set at this range. Without heat, leaves can take 4–6 weeks to root. With heat, roots appear in 10–14 days.
I do not blast the heat mat above 80°F. Higher temperatures cook the leaves. I use a thermostat probe placed inside the moss bed to monitor accurately.
My Two-Week Observation Journal
I kept a detailed log during my last propagation cycle. Here’s exactly what happened.
Day 1–3
I placed five leaves on the moss. Humidity dome on. Heat mat set at 73°F. I saw no changes. Leaves looked the same. I felt anxious but didn’t disturb them. Many people pull leaves up to check for roots. Don’t. You’ll damage the developing cells.
Day 4–7
By day four, I noticed tiny bumps forming at the cut end of two leaves. These are root primordia. On day six, wispy white roots emerged from those two. The other three leaves showed no movement. I left them alone.
Day 8–10
Roots lengthened to about a quarter inch. I could see tiny green plantlets forming at the base of each rooted leaf. The humidity dome started to show less condensation. I reduced the ventilation time to five minutes per day.
Day 11–14
By day fourteen, all five leaves had rooted. Plantlets had two or three tiny leaves each. I carefully removed the dome. I let the pot sit uncovered for two days before transplanting. This hardened off the new plants gradually.
Long-Term Care for New Butterwort Plantlets
Once roots form, you’re not done yet. Young butterworts are fragile for the first month.
Watering
I water my plantlets from below. I pour distilled water into the tray, not directly onto the leaves. The tray should have no more than half an inch of water. I let the tray dry out completely before adding more water. This prevents algae growth and root rot.
Light
I keep young plants in bright, indirect light for the first month. After that, I slowly introduce them to a lower grow light—about 12 inches above the plant. Direct sunlight will burn the new leaves instantly.
Temperature
These plants thrive between 65–80°F (18–27°C). They tolerate cooler nights but hate frost. I keep my indoor setup near a window that stays around 70°F. If your house drops below 60°F, consider a heat mat for the first few weeks.
Soil
I transition plantlets to a standard butterwort mix after the first month. My mix is 2 parts peat moss to 1 part perlite. I add a handful of silica sand for drainage. Never use regular potting soil. It contains fertilizers that will kill the plant.
Common Problems and Solutions
I’ve run into almost every issue you can imagine. Here’s how I fixed them.
Leaves Turning Brown
This usually happens because of low humidity or direct sunlight. I check my dome first. If the inside feels dry, I mist the moss with distilled water. Then I cover the dome again. If the leaf is in direct sun, I move it to a shadier spot.
Mold on Moss
White mold appears when airflow is too low and humidity is too high. I increase ventilation immediately. I also remove any moldy moss and replace it with fresh, damp sphagnum. If the mold has spread to the leaf, I discard that leaf to prevent contamination.
Stunted Growth
If roots form but no plantlets grow, the problem is often low light. I move the pot closer to the window or under a low-intensity grow light. Sometimes the moss is too dry. I give it a gentle bottom-watering session.
No Roots After Three Weeks
This happens with older leaves or leaves taken from stressed plants. I discard those leaves. I then harvest fresh leaves from a blooming plant. Blooming butterworts root faster and at a higher success rate. I always propagate from plants that are actively flowering.
Faqs
Q: Can I propagate butterwort in water alone?
A: No. Water propagation causes leaves to rot quickly. You need a solid medium like sphagnum moss or a peat-sand mix.
Q: Should I use rooting hormone on butterwort leaves?
A: I don’t recommend rooting hormone for butterworts. These plants are sensitive. Hormones can burn the leaves. The coconut water hack works no better than plain distilled water in my experience.
Q: How long until I can see baby plants?
A: Under good conditions, you’ll see plantlets in 2–4 weeks. Roots appear first, then tiny leaves slowly form. Patience is key. Don’t rush the process.
Final Thoughts
Propagating butterworts doesn’t need to be complicated. I killed three plants before I understood the basics. Now I can produce a dozen new plants every two months. The key is consistent moisture, not soggy soil. Bright light, not direct sun. And always use live sphagnum moss with a heat mat for fast results.
If you’re just starting, pick a healthy parent plant. Harvest two or three leaves. Follow the steps I described. Check on them every two days but don’t overthink it. You’ll have baby butterworts in no time. I promise.





