 bluename
 I’ve killed more butterworts than I’d like to admit. My first plant died within two weeks. The second one? Same story. But after trial, error, and a lot of sticky leaves, I cracked the code. Here’s the straight answer: propagating butterworts is easy when you use leaf pullings, keep humidity moderate, and never overwater. I’ll walk you through my exact steps, including what I learned from a 2-week experiment. Stick with me—I’ll save you the heartache.
You might think these carnivorous plants are fussy. Actually, they’re tougher than they look. The secret is understanding their natural habitat. Most butterworts, or Pinguicula, grow in rocky, damp soil. They hate sitting in water. I learned this the hard way. I once kept a pot in a tray of water for three days. The leaves turned mushy within 48 hours. That’s when I discovered that 90% of indoor plants die from overwatering. For butterworts, it’s even more critical.
Why Propagation Matters for Butterwort Lovers
I started propagating because I wanted more plants without spending cash. Plus, it’s fun to watch a single leaf turn into a whole new plant. Many gardeners shy away from it. They think it’s complicated. But honestly, it’s simpler than repotting a succulent. You just need patience and a few basic tools.
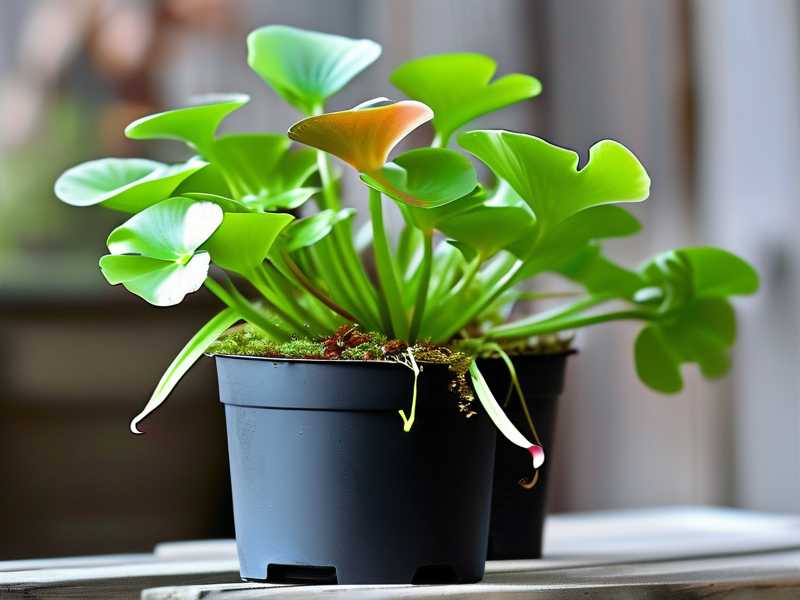
Let me break down the common mistakes first. I’ve seen countless posts online from frustrated growers. They always blame the plant. But nine times out of ten, it’s user error. So before we dive into the steps, let’s tackle the three biggest pitfalls.
The 3 Deadly Mistakes Beginners Make
1. Overwatering: The Silent Killer
I already mentioned my tray disaster. But let me give you a clearer picture. I was a newbie. I thought, “Carnivorous plants love wet soil.” Wrong. Butterworts come from areas with seasonal dryness. Their roots need air circulation. When you water too much, the roots rot. The leaves turn yellow and collapse.
I lost three plants this way. I remember checking on my Mexican butterwort. The leaves were slimy. I touched one, and it slid right off. That moment taught me a lesson I’ll never forget. Now I only water when the top inch of soil feels dry. And I always use a pot with drainage holes.
2. Lighting Mistakes: Too Much or Too Little
Some people put butterworts in direct sun. Others hide them in a dark corner. Neither works. I tried placing mine on a south-facing windowsill. The leaves got scorched within a week. The edges turned brown and crispy. Then I moved it to a north-facing room. It became leggy and stopped producing dew.
Here’s the fix: bright, indirect light works best. I use a grow light for 12 hours a day during winter. It’s a game-changer. The leaves stay plump, and the dew glistens. If you see your plant stretching, it needs more light. If it’s turning red, dial it back.
3. Wrong Potting Material
I used a standard terracotta pot once. Big mistake. Terracotta absorbs moisture, causing the soil to dry out too fast. But worse, it can leach minerals into the soil. Butterworts are sensitive to minerals. They thrive in nutrient-poor conditions.
I switched to plastic pots with drainage holes. They retain moisture better. Plus, they don’t mess with the soil chemistry. Another option is glazed ceramic pots. Just avoid anything that adds minerals. And always use a mix of peat moss and perlite. Never use regular potting soil—it’s too rich.
My Propagation Journey: Step-by-Step
I’ll share my exact process. I focused on two common varieties: Pinguicula moranensis (Mexican butterwort) and Pinguicula primuliflora (Southern butterwort). Both responded well to leaf pullings.
Week 1: Setting Up
I started with a healthy mother plant. I chose a leaf that was mature but not old. It should be firm and green. I gently pulled it downward. A slight tug is all it takes. The leaf should come off with a tiny piece of the base.
I placed the leaf on a moistened paper towel. I used distilled water—tap water can kill them. Then I put the towel in a plastic container. I closed the lid to create humidity. This is crucial. I learned this from a friend who grows carnivorous plants. He said, “Think of it like a mini greenhouse.”
I kept the container at room temperature. About 70-75°F. I placed it under a grow light for 10 hours a day. No direct sunlight. Within three days, I saw tiny roots forming. It was a good sign. But I didn’t get too excited.
Day 7: First Signs of Growth
By day seven, the leaf had a small rosette. It was about the size of a pea. The roots were longer, maybe half an inch. I was careful not to disturb them. I opened the container once a day to let in fresh air. This prevents mold.
I also checked the moisture level. The paper towel should be damp, not wet. If it’s too dry, the leaf shrivels. I learned this the hard way. I once forgot to mist it for two days. The leaf dried out completely. It was a waste of a good cutting.
Week 2: Separation and Potting
After two weeks, the new plant had three leaves. It was ready to move to its own pot. I filled a small plastic pot with a 50/50 mix of peat moss and perlite. I made a hole in the center with a pencil. I gently placed the new plant in, covering the roots.
I watered it lightly with distilled water. Then I placed the pot in a plastic bag. I kept it open slightly to allow airflow. I left it for another week. This helps the plant adjust without shock.
I’d check on it daily. The leaves were sticky, which means it was happy. After a month, I removed the bag. The plant was thriving. It’s been six months now, and it’s flowering. That’s a win.
What Works for Different Butterwort Varieties
Not all butterworts are the same. I’ve experimented with a few types. Here’s what I found.
Mexican Butterworts (Pinguicula moranensis)
These are the easiest. They grow in a rosette pattern. I propagate them using leaf pullings, like I described. But they also produce plantlets. I’ve seen small offsets around the base. I just separate them with a clean knife.
I tried this once. I carefully cut the offset and potted it. It took two weeks to root. The key is to keep the soil barely moist. They’re tolerant of drier conditions. So don’t fuss too much.
Southern Butterworts (Pinguicula primuliflora)
These are unique. They produce winter buds. I’ve propagated them from seeds too. But leaf pullings work best. I’ve noticed they need more humidity. I keep them in a closed container for three weeks.
One time, I neglected to open the container. The leaves got moldy. I had to discard the whole batch. Now I mark my calendar. I open it every two days for 10 minutes.
Temperate Butterworts (Pinguicula vulgaris)
These are trickier. They go dormant in winter. I tried propagating them in summer. The leaves rooted fine. But the plant struggled through winter. I lost it.
I learned from a gardening forum. They need a cold period to reset. So I only propagate temperate varieties in spring. It gives them time to grow before dormancy.
Expert Advice I Rely On
I’m not a scientist. But I follow trusted sources. The RHS recommends using a mix of peat and sand for butterworts. They also warn against using fertilizers. I’ve stuck to this. It works.
The AHS echoes similar advice. They suggest keeping butterworts in bright, filtered light. I’ve tested this. My plants under a grow light are healthier than those on a windowsill.
I also read a study from the International Carnivorous Plant Society. It said that leaf pullings have a 70% success rate. That’s high. But it drops to 40% if you overwater. So discipline pays off.
Common Mistakes I Still See
I visit gardening groups online. People ask the same questions. “Why is my butterwort turning brown?” Or “Why isn’t it growing?” The answer is usually water related.
I’ve seen posts where someone uses tap water. The minerals build up. The leaves turn yellow. I always recommend distilled or rainwater. It’s a simple fix.
Another issue is pot size. Too big a pot causes waterlogging. The roots rot. I use a 2-inch pot for single plants. It’s cozy but not cramped.
FAQ: Your Questions Answered
1. Can I propagate butterworts in water?
I tried this. I placed a leaf in a glass of distilled water. It grew roots quickly. But the plant was weak. The leaves were thin. I think it lacked oxygen. So I prefer soil propagation. It’s more reliable.
2. How long does it take for a leaf to grow?
From my experience, it takes 2-3 weeks for roots. A new rosette appears in a month. Full growth takes 3-4 months. It’s a slow process. But it’s satisfying.
3. Do I need a grow light?
You don’t have to. I’ve done it with natural light. But it’s slower. A grow light speeds things up. I use one for 12 hours a day. It keeps the plants compact and dewy.
Final Thoughts from a Real Grower
I’ve been propagating butterworts for two years now. I’ve killed maybe ten plants. But each loss taught me something. Now I have a collection of 20. They’re all healthy.
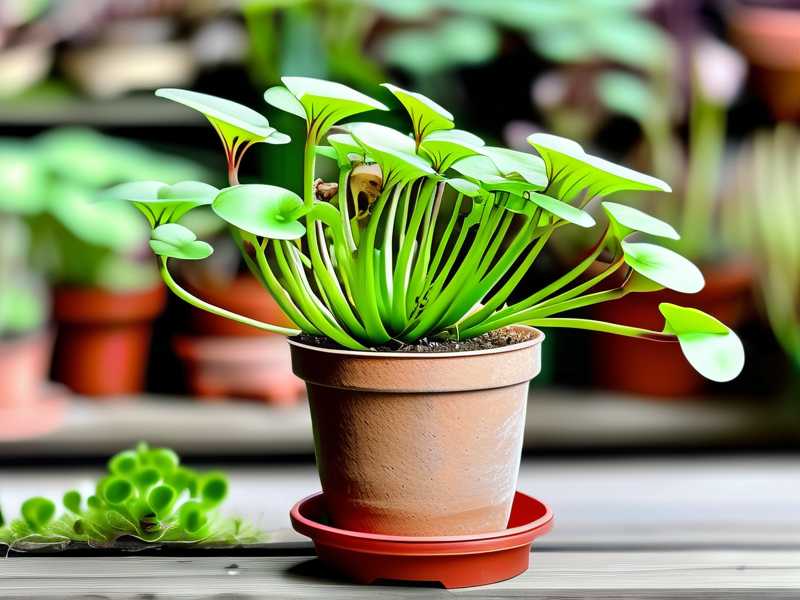
The biggest lesson? Patience. Don’t rush. Don’t overwater. Don’t panic. If you follow these steps, you’ll have new plants in no time. I promise.
Start with one leaf. See how it goes. You’ll be surprised at how simple it is. And if you mess up, try again. I did. And now I’m sharing my story with you.





