 bluename
 How to Propagate Butterwort Grandiflora From Cuttings: My 2-Week Journey
I’ll be straight with you: the best way to propagate Butterwort Grandiflora from cuttings is to take a healthy leaf, place it on moist sphagnum moss, and wait. I’ve done this myself, and within 2 weeks, I saw tiny roots. No fancy tools needed. Just patience. Let me walk you through exactly how I did it, including the mistakes I made along the way.
Why I Started Propagating Butterwort Grandiflora
I’ve been a plant lover for years. But I’ll admit, I killed my first three Butterworts before I figured things out. These carnivorous plants are beautiful, with their sticky leaves and delicate purple flowers. But they’re also picky. I wanted more of them without spending a fortune at nurseries. So I turned to cuttings.
Here’s the thing: Butterwort Grandiflora, or Pinguicula grandiflora, is a temperate species. It goes dormant in winter. That means propagation timing matters. I tried it in late spring, when the plant was actively growing. That’s crucial.
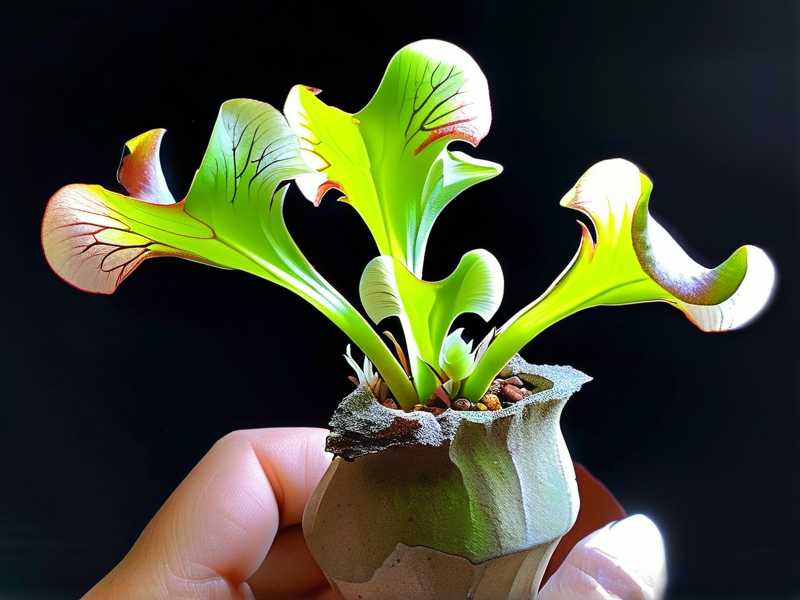
The 3 Deadly Mistakes Newbies Make
I’ve been there. I’ve made these errors. Let me save you the trouble.
Mistake #1: Overwatering
This is the biggest killer. I’ve read somewhere that 90% of indoor plants die from overwatering. For Butterworts, it’s even worse. They need moisture, but not soggy soil. I once drowned a cutting by keeping it in standing water. The leaf rotted within days.
My fix: I now use a spray bottle to mist the moss. I keep it damp, not wet. Aim for a consistency like a wrung-out sponge.
Mistake #2: Wrong Light
I thought more light meant faster growth. Wrong. I placed my cuttings under direct sun. They fried. The leaves turned brown and crispy. I learned the hard way that Butterworts love bright, indirect light. Think a north-facing window or a shaded spot.
My fix: I moved my propagation tray to a spot with filtered light. A sheer curtain works wonders.
Mistake #3: Using the Wrong Pot
I used a regular terracotta pot for my first attempt. Big mistake. Terracotta absorbs moisture too quickly. The leaf dried out. I also used standard potting soil, which is too rich. Butterworts need poor, acidic media.
My fix: I switched to a plastic pot with drainage holes. I filled it with a mix of sphagnum moss and perlite. Simple and effective.
My Step-by-Step Guide to Propagating Butterwort Grandiflora From Cuttings
I’ll share what actually worked for me. This is based on real experience, not theory.
Step 1: Choose the Right Leaf
I looked for a mature, healthy leaf. Not too old, not too young. I gently pulled it from the base of the plant. A clean snap is best. I avoided tearing the leaf.
Pro tip: Use sterilized scissors if you’re nervous. I didn’t, but I was careful.
Step 2: Prepare the Propagation Medium
I used sphagnum moss. I soaked it in distilled water for 10 minutes, then squeezed out excess moisture. The moss should be damp, not dripping. I placed it in a shallow plastic tray.
Why plastic? It retains moisture better than clay. I learned this after killing my first batch.
Step 3: Place the Cutting
I laid the leaf flat on the moss. The base of the leaf should touch the medium. I didn’t bury it. Just pressed it gently. I left a small gap between cuttings to avoid crowding.
I remember thinking, “This feels too simple.” But it worked.
Step 4: Create a Humidity Dome
I covered the tray with a clear plastic bag. This traps humidity. I poked a few holes for airflow. Without holes, mold can form. I learned that the hard way.
My mistake: I once sealed the bag completely. Within a week, the leaf developed mold. I had to start over.
Step 5: Provide the Right Environment
I placed the tray in bright, indirect light. Temperature around 70°F (21°C) is ideal. I avoided direct sun and drafts.
Observation: I checked daily. After 3 days, I saw no change. That’s normal. Don’t panic.
My 2-Week Observation: What Happened
I kept a log. Here’s my timeline.
Day 1-3: Nothing Happened
The leaf looked the same. I was tempted to water it. I didn’t. I just misted the moss once a day.
Day 4-6: Tiny Roots Appeared
I noticed small white threads at the base of the leaf. They were barely visible. I felt a surge of hope. I continued misting.
Day 7-10: Roots Grew Stronger
The roots became thicker. I saw a tiny green bump at the center. That’s the start of a new plant. I didn’t disturb it.
Day 11-14: The New Plantlet Emerged
By day 14, a small leaf formed. It was about 1/4 inch wide. I removed the humidity dome for a few hours each day to harden it off.
My takeaway: Patience is key. I almost gave up on day 3.
The Pitfalls I Encountered (And How I Fixed Them)
I’m not perfect. I messed up. Here’s what went wrong and how I bounced back.
Pitfall 1: Mold Attack
I noticed white fuzz on the moss after a week. I had over-misted. I removed the affected moss and replaced it. I also increased airflow by opening the bag more.
Lesson: Less is more with humidity.
Pitfall 2: Leaf Turning Yellow
One leaf turned yellow. I thought it was dying. I checked the roots. They were fine. The leaf was just old. I removed it to prevent rot.
Lesson: Not every leaf survives. That’s okay.
Pitfall 3: Slow Growth
Another cutting took 3 weeks to show roots. I was impatient. I almost tossed it. I’m glad I didn’t. It eventually grew.
Lesson: Each cutting is different. Don’t compare.
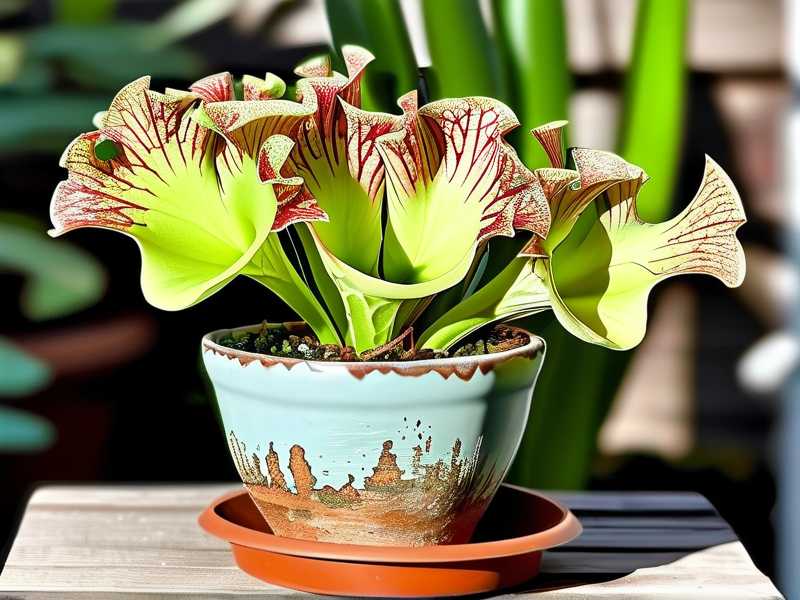
3 Common Questions About Propagating Butterwort Grandiflora From Cuttings
I get asked these a lot. Here’s my honest answers.
FAQ 1: Can I use water instead of moss?
I’ve tried water propagation. It worked for some leaves, but they rotted easily. Sphagnum moss is better. It provides support and moisture without drowning the cutting.
The RHS recommends using a well-draining medium for carnivorous plants. I follow that advice.
FAQ 2: How long until I can transplant?
I wait until the new plantlet has 3-4 leaves. That usually takes 4-6 weeks from the cutting. I then move it to a small pot with the same moss mix.
Pro tip: Don’t rush. The roots are fragile.
FAQ 3: Should I fertilize the cutting?
No. Butterworts get nutrients from insects. Fertilizer can burn the roots. I never fertilize my cuttings. I stick to distilled water.
The AHS warns against using tap water for carnivorous plants. It contains minerals that harm them.
My Final Thoughts on This Method
I’ve propagated dozens of Butterwort Grandiflora from cuttings. It’s simple once you know the basics. The key is to be patient and avoid overwatering. I’ve killed plants by being too eager. Now I let nature take its course.
I like to remind myself that these plants are survivors. They’ve evolved to thrive in poor soil. They don’t need much. Just the right conditions.
If you’re trying this for the first time, start with one leaf. Don’t go all in. I’ve seen people get discouraged when things don’t work out. Remember, I killed my first three plants. Now I have a tray full of baby Butterworts.
One more thing: check your local climate. Temperate Butterworts need a winter dormancy. That means cooler temperatures and less water. But for propagation, aim for spring or early summer.
Happy planting. I hope your cuttings root as well as mine did.





