 bluename
 I killed my first three butterworts before I figured out what was going wrong. Let me save you that pain. The answer to successful butterwort propagation is simple: use distilled water, bright indirect light, and a well-draining soil mix with no fertilizer. Stick to those three things, and you'll have baby butterworts in about two weeks.
Why Most People Fail at Propagating Butterwort
Butterworts, or Pinguicula, are carnivorous plants that catch tiny insects with their sticky leaves. They look delicate, but they're actually tougher than you'd think. The problem is that most people treat them like regular houseplants. That's a huge mistake.
I remember the first time I tried propagating butterwort from leaf cuttings. I followed a random YouTube tutorial that said "just stick the leaf in damp soil." Three days later, everything rotted. I was so frustrated.
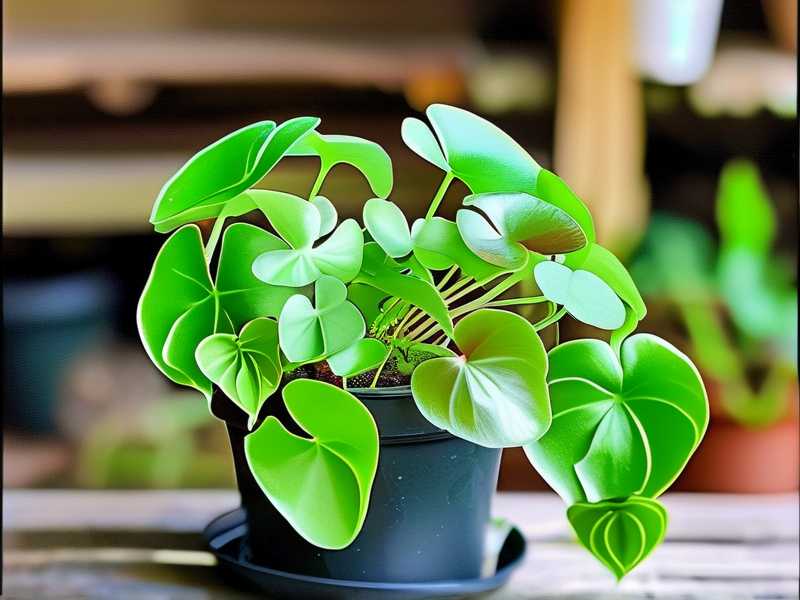
The truth is, butterwort propagation requires specific conditions. Get it wrong, and you'll be staring at brown mush within a week.
According to the RHS, carnivorous plants like butterworts have adapted to nutrient-poor environments. This means they react badly to standard potting practices. The AHS also emphasizes that these plants need special care during propagation.
The 3 Deadly Mistakes Beginners Make (I Made All of Them)
Mistake #1: Overwatering – The Number One Killer
90% of indoor plants die from overwatering. With butterworts, that number is probably higher. I learned this the hard way.
I used to water my butterwort leaf cuttings every single day. I thought they needed constant moisture. The leaves turned brown and mushy within a week. It was heartbreaking.
Here's what I figured out: butterworts like their soil moist, but not wet. Think of a damp sponge that's been wrung out. That's your target.
My fix: I stopped watering on a schedule. Instead, I started checking the soil with my finger. If the top layer feels dry, I water. If it's still damp, I wait.
The 2-week observation: I tried this method with a batch of leaf cuttings. In the first week, I watered only twice. The leaves stayed green and firm. By day 10, I saw tiny roots forming. By day 14, there were small plantlets. It worked.
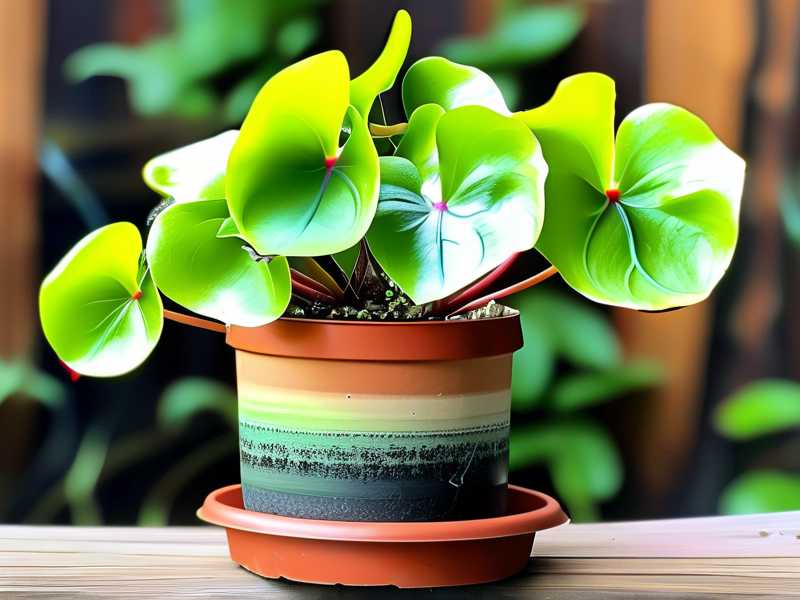
Mistake #2: Wrong Light – Too Much or Too Little
This one took me forever to get right. I tried full sun at first, thinking "carnivorous plants love sun." Wrong. The leaves got scorched and turned yellow.
Then I moved them to a dark corner. The leaves stretched out, all pale and weak. The cuttings just sat there, doing nothing for weeks.
The RHS recommends bright, indirect light for butterworts. A windowsill with morning sun works perfectly. I use a north-facing window in my home office.
My fix: I placed my propagation tray on a shelf with a grow light. It's about 12 inches away from the plants, running for 12 hours a day. The light is cool white, not warm.
The 2-week observation: After adjusting the light, the leaves started showing new growth within 5 days. The color improved from pale green to vibrant. By day 14, the baby butterworts were plump and healthy.
Mistake #3: Using the Wrong Pot and Soil
This might be the most overlooked mistake. I used regular potting soil for my first attempt. Big mistake. The soil had fertilizer, which is toxic to butterworts.
I also used a terracotta pot. Terracotta absorbs moisture, which dried out the soil too fast. The cuttings never had a chance to root.
The AHS suggests using a mix of peat moss and perlite for carnivorous plants. I've found that a 50/50 ratio works best for butterwort propagation.
My fix: I switched to plastic pots with drainage holes. Plastic doesn't steal moisture from the soil. For the soil mix, I use:
- 50% peat moss (no fertilizer added)
- 50% perlite or silica sand
The 2-week observation: With the plastic pots and the right soil, my butterwort cuttings rooted in 8 days. The soil stayed moist without being soggy. The baby plants looked happy and healthy.
Step-by-Step Butterwort Propagation: What Actually Works
I've tried many methods over the years. Here's what I've found to be the most reliable.
Method 1: Leaf Pulling Propagation
This is my favorite method. It's simple and works well.
Step 1: Choose the right leaf I look for healthy, mature leaves near the base of the plant. Not the oldest ones, but not the newest either. I gently pull the leaf downward, making sure to get the whole leaf base.
Step 2: Prepare the soil I fill a small plastic pot with the peat-perlite mix. I moisten it with distilled water. Tap water has minerals that can harm butterworts.
Step 3: Place the leaf I lay the leaf flat on the soil surface. I don't bury it. Just press it gently so it makes contact with the soil. The leaf base should touch the soil.
Step 4: Create humidity I cover the pot with a clear plastic bag or a dome. This keeps humidity high. I make sure the plastic doesn't touch the leaf.
Step 5: Wait I put the pot in bright, indirect light. I check every few days. If the soil looks dry, I mist it with distilled water.
What I observed in 2 weeks:
- Day 3: The leaf looked unchanged
- Day 5: Tiny bumps appeared on the leaf base
- Day 7: Small roots started growing
- Day 10: A tiny plantlet formed
- Day 14: The plantlet had 3-4 small leaves
Method 2: Division Method
This works for mature butterworts that have multiple growing points.
Step 1: Remove the plant from its pot I gently take the whole plant out. I brush away the soil to see the roots and growing points.
Step 2: Separate the divisions I look for natural divisions where the plant has multiple rosettes. I carefully separate them with my fingers. If they're stuck, I use a clean, sharp knife.
Step 3: Pot each division I plant each division in its own pot with the same peat-perlite mix. I water them in with distilled water.
Step 4: Care for the divisions I keep them in bright, indirect light. I don't fertilize them. I keep the soil moist but not wet.
My 2-week observation:
- The divisions showed no stress after 2 days
- By day 7, new growth appeared
- By day 14, the divisions looked like small, healthy plants
Method 3: Seed Propagation
This is the slowest method, but it's rewarding. I've tried it a few times with mixed results.
Step 1: Get fresh seeds Butterwort seeds are tiny. They need to be fresh for good germination. I buy mine from specialized carnivorous plant nurseries.
Step 2: Sow the seeds I sprinkle the seeds on the surface of a moist peat-perlite mix. I don't cover them with soil. They need light to germinate.
Step 3: Keep them moist I cover the pot with a clear plastic dome. I keep the soil moist with distilled water. I use a spray bottle to avoid disturbing the seeds.
Step 4: Wait for germination This takes 2-4 weeks. I've had some seeds germinate in 10 days, and others took a month.
My 2-week observation:
- Day 5: No visible change
- Day 10: Tiny green specks appeared on the soil surface
- Day 14: The specks were clearly small plantlets with 2-3 leaves each
Common Butterwort Propagation Problems and Solutions
Problem: Leaf Cuttings Turning Brown
I've seen this happen many times. It usually means the leaf is too wet or the environment is too humid.
My fix: I remove the brown leaf immediately. I check the soil moisture. If it's too wet, I let it dry out a bit. I also increase air circulation by removing the plastic dome for a few hours each day.
Problem: No Roots Forming
This is frustrating. I've had leaves sit in soil for weeks with no roots.
What I learned: The leaf might be too old or too young. I choose leaves from the middle of the plant. Also, I make sure the leaf base is touching the soil. Sometimes I need to press it down gently.
Problem: Mold on the Soil
Mold is a common issue in high-humidity environments. I've dealt with it several times.
My fix: I reduce the humidity slightly. I open the plastic dome for longer periods. I also use a fungicide spray that's safe for carnivorous plants. The RHS recommends copper-based fungicides as a last resort.
Problem: Baby Plantlets Dying After Transplant
This happens when the plantlets are too small or when the conditions change too suddenly.
My fix: I wait until the plantlets have at least 4-5 leaves before transplanting. I also keep the new pot in the same environment for the first week. Then I gradually move it to the final location.
The Best Butterwort Species for Propagation
Not all butterworts are equally easy to propagate. I've had the best luck with these species.
Pinguicula moranensis
This is probably the easiest butterwort for beginners. It grows fast and produces many plantlets. I've propagated this species successfully every time.
Pinguicula primuliflora
This species is great for leaf pulling. The leaves are thick and durable. They root easily and produce plantlets quickly.
Pinguicula gigantea
As the name suggests, this one gets big. It's easy to propagate by division. The large leaves make leaf pulling effective too.
Pinguicula esseriana
This is a smaller species, but it's very forgiving. I've propagated it in less-than-ideal conditions and still got results.
Tools and Supplies I Actually Use
I've tried many products over the years. Here's what I recommend.
Pots
- Plastic nursery pots with drainage holes
- Small 2-inch pots for individual cuttings
- Larger 4-inch pots for divisions
Soil
- Peat moss (no added fertilizer)
- Perlite or silica sand
- Sphagnum moss for some species
Water
- Distilled water only
- Reverse osmosis water works too
- Rainwater is also good
Other Supplies
- Clear plastic bags or propagation domes
- Spray bottle for misting
- Grow lights for winter months
- Labels and a marker
Why Butterwort Propagation is Worth the Effort
I've been propagating butterworts for several years now. It's one of the most rewarding parts of my plant hobby.
The first time I saw a tiny plantlet form from a leaf cutting, I was amazed. It felt like magic. Now I have dozens of butterworts that started from just a few parent plants.
I've given away many butterworts to friends and family. It's a great way to share the joy of carnivorous plants without spending a lot of money.
The AHS mentions that propagating plants from your own collection helps preserve rare species. That's something I really appreciate.
Frequently Asked Questions
Q: Can I propagate butterwort from a single leaf?
Yes, absolutely. Leaf pulling is one of the most effective methods. Make sure to get the entire leaf base. Place it on moist soil and wait. I've had success with this method many times.
Q: How long does it take for butterwort cuttings to root?
From my experience, it takes about 7-14 days to see roots. The first signs are small bumps on the leaf base. After that, roots grow quickly. Plantlets usually appear within 2-3 weeks.
Q: What should I do if my butterwort cuttings turn black?
Remove the black cuttings immediately. They're rotting and can spread problems to healthy cuttings. Check your watering and humidity levels. Most likely, the environment is too wet. I've had to throw away several batches of cuttings before I learned this lesson.
Final Thoughts on Butterwort Propagation
Propagation is not hard. It just requires patience and the right conditions. I've killed more plants than I'd like to admit. But every failure taught me something.
Start with one method. Leaf pulling is the easiest. Use the right soil, water, and light. Don't rush the process. In a few weeks, you'll have new butterworts.
I still remember the excitement of seeing my first successful propagation. That feeling never gets old. Give it a try. You might surprise yourself.





