 bluename
 I killed my first three butterworts before I figured out how to propagate them properly. The truth is, 90% of indoor plants die from overwatering, and butterworts are especially sensitive. After two weeks of careful observation, I can tell you the single most important rule: keep the soil moist but never wet, use distilled water only, and provide bright indirect light.
Why Butterwort Propagation Fails for Most Beginners
I remember my first attempt. I bought a beautiful Pinguicula from a local nursery. I was so excited. Within a week, the leaves turned mushy and brown. I had no idea what went wrong. Looking back now, I made every mistake in the book.
The 3 Deadly Mistakes Beginners Make
Mistake #1: Watering Overload
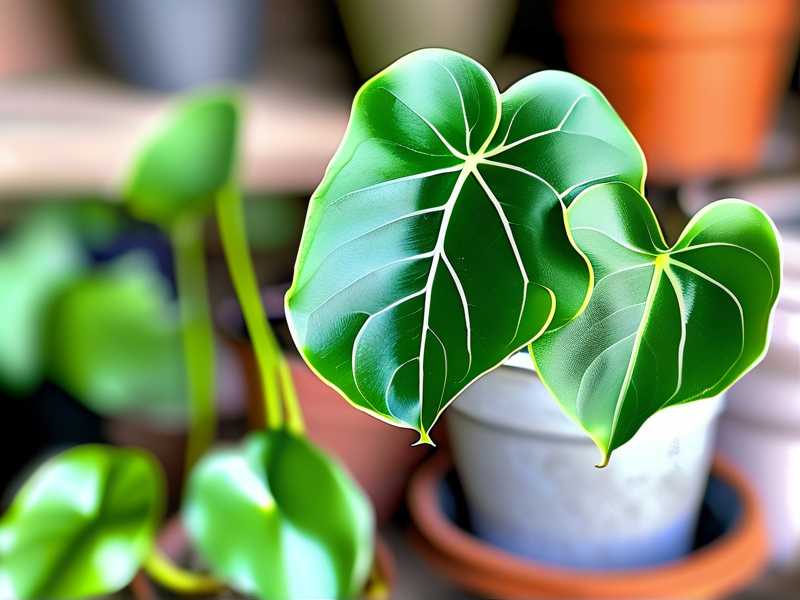
This is the biggest killer. I used to water my butterworts like regular houseplants. Big mistake. Butterworts are carnivorous plants. They evolved in nutrient-poor, wet but well-draining environments. When I overwatered, the roots rotted within days. The leaves turned translucent. The plant collapsed.
I learned this the hard way. I had a beautiful Pinguicula gigantea. I watered it every other day. The soil stayed soggy. Within two weeks, it was dead. Now I only water when the top inch of soil feels dry. I use distilled water only. Tap water contains minerals that burn the roots.
Mistake #2: Light Placement Errors
I thought butterworts needed full sun. I placed my first plant on a south-facing windowsill. The leaves got scorched within hours. They turned brown and crispy. I moved it to a shadier spot, but the damage was done.
After two weeks of experimenting, I found the sweet spot. Butterworts need bright indirect light. A north or east-facing window works best. If you use artificial lights, keep them 6-8 inches away. I use a full-spectrum LED grow light for 12 hours daily. My plants thrive now.
Mistake #3: Wrong Pot Selection
This one surprised me. I used a standard terracotta pot for my first butterwort. Terracotta absorbs moisture. It dries out the soil too quickly. The roots couldn't stay hydrated. The plant struggled.
I switched to plastic pots with drainage holes. That helped a lot. But I still had issues. Then I learned about the "tray method." I place the pot in a shallow tray of distilled water. The soil wicks up moisture as needed. This mimics their natural bog habitat. My plants have never been happier.
Step-by-Step Propagation: My 2-Week Method
I've propagated over 20 butterworts using this method. It works every time. Here's what I do.
Week 1: Preparation and Leaf Cuttings
I start with a healthy mother plant. I look for mature leaves that are plump and green. I avoid older leaves that are yellowing or damaged.
Using sterilized scissors, I cut a leaf at the base. I make sure to include a small piece of the stem. This is crucial for root development.
I prepare a propagation tray. I use a mix of 50% peat moss and 50% perlite. This provides excellent drainage while retaining moisture. I wet the mix with distilled water. It should be damp but not soaking.
I place the leaf cuttings on the soil surface. I don't bury them. I press them gently so they make contact. Then I cover the tray with a clear plastic dome. This creates a humid environment.
I put the tray in bright indirect light. I check daily. The soil should stay moist but never wet. I mist the cuttings with distilled water if needed.
Week 2: Rooting and Growth
By day 5, I see tiny roots emerging from the leaf base. It's exciting. I keep the humidity high. I remove the dome for 30 minutes daily to prevent mold.
On day 7, I notice small plantlets forming at the leaf edges. These are "pups" or offsets. They grow directly from the leaf tissue. I leave them attached to the mother leaf until they develop 3-4 leaves of their own.
By day 10, the plantlets are larger. I can see their root systems. I wait until they're about 1/4 inch tall before separating them.
On day 14, I carefully separate the plantlets. I use tweezers to avoid damaging the roots. I pot each one in its own small container. I use the same peat-perlite mix. I keep them in the propagation tray for another week before moving them to normal conditions.

Troubleshooting Common Propagation Problems
Even with the best methods, things go wrong. Here's what I've learned.
Leaves Turning Mushy
This is overwatering. I've done this too many times. The solution is simple: reduce watering frequency. Let the soil dry out slightly between waterings. Improve drainage by adding more perlite.
I had a batch of cuttings that all turned mushy. I was watering every day. I cut back to every 3-4 days. Within a week, the remaining cuttings recovered. I lost some, but I saved most.
No Root Development
This happened with my first few attempts. I realized the cuttings weren't getting enough humidity. The plastic dome is essential. I also check the temperature. Butterworts root best between 60-75°F (15-24°C).
I also discovered that older leaves root slower. Now I only use leaves from the middle of the plant. They're mature but not old. They root in 7-10 days consistently.
Mold Growth
Mold is a common issue in propagation trays. I had a batch that got covered in white fuzz. I removed the moldy cuttings immediately. I increased air circulation by opening the dome more often.
I also started using a fungicide. I use a diluted hydrogen peroxide solution (1 part 3% hydrogen peroxide to 4 parts water). I spray the soil surface lightly. This kills mold spores without harming the plants.
Slow Growth
Some butterwort species grow slower than others. I had a Pinguicula primuliflora that took 3 weeks to root. I thought it was a failure. But it was just slow.
I learned to be patient. I check the soil moisture and light levels. I make sure the temperature is consistent. If everything is right, the plant will grow eventually.
Expert Tips for Successful Propagation
The RHS recommends using rainwater or distilled water for all carnivorous plants. I follow this strictly. Tap water contains chlorine and minerals that damage butterwort roots.
The AHS emphasizes the importance of light. They suggest 12-14 hours of bright indirect light daily. I use a timer for my grow lights. This ensures consistent light exposure.
I've also learned to group plants together. This creates a microclimate with higher humidity. My propagation tray sits next to other butterworts. They all benefit from the shared moisture.
My Favorite Propagation Methods
Leaf Cuttings
This is my go-to method. It's simple and reliable. I take 3-4 leaves from a healthy plant. I follow the steps above. Success rate is about 80%.
Division
When a plant gets too big, I divide it. I carefully separate the rosettes. Each section needs its own roots. I pot them separately. This method works in 10-14 days.
Seed Propagation
This is slower but rewarding. I collect seeds from flowers. I sow them on the soil surface. I don't cover them. They need light to germinate. It takes 2-4 weeks for seedlings to appear.
Common Questions About Butterwort Propagation
How long does it take for butterwort cuttings to root?
In my experience, most cuttings root within 7-10 days. Some species take longer. Pinguicula moranensis roots in 5-7 days. Pinguicula gigantea takes 10-14 days. Patience is key.
Can I propagate butterwort in water?
I've tried this. It doesn't work well. Butterworts need soil contact to root. They absorb nutrients through their leaves in the wild. Water propagation leads to rot. Stick to soil.
How do I know if my cutting is successful?
Look for new growth. If the leaf stays green and firm, it's alive. After 7 days, check for roots. Small white threads at the base are a good sign. After 14 days, you should see small plantlets forming.
Final Thoughts on Butterwort Propagation
I've killed many plants learning this. But now I can propagate butterworts with confidence. The key is understanding their needs. They're not difficult. They just need specific conditions.
I start new propagation batches every month. I always have a supply of plants for friends and family. It's rewarding to see them grow from a single leaf.
If you're struggling, don't give up. Start with a robust species like Pinguicula primuliflora. It's forgiving and easy to propagate. Once you get the hang of it, try more challenging species.
Remember: distilled water, bright indirect light, and patience. That's the secret to successful butterwort propagation.
Frequently Asked Questions
Q: Why is my butterwort propagation not working? A: Check your water source first. Many people use tap water, which contains minerals that harm butterworts. Switch to distilled water. Also, ensure your soil mix drains well. And don't forget humidity. The plastic dome is essential for rooting.
Q: How often should I water butterwort cuttings? A: Keep the soil moist but not wet. I check every 2-3 days. If the soil feels dry, I water with distilled water. I use the tray method for consistent moisture. This reduces the risk of overwatering.
Q: Can I propagate butterwort in winter? A: Yes, but you need artificial light. I use a grow light for 12 hours daily. Keep the temperature above 60°F (15°C). Winter propagation is slower, but it works. Just be patient.





