 bluename
 I killed my first three butterworts before I figured out the real problem. It wasn't the light. It wasn't the humidity. It was rotting cuttings. Every single time. If you're staring at a mushy, brown butterwort leaf right now, here's the fix: Stop watering immediately. Cut off the rot with sterilized scissors. Let the cutting dry for 24 hours on a paper towel. Then place it on damp, not wet, sphagnum moss. No bag. No dome. No misting.
Why Your Butterwort Cuttings Rot
I've been growing carnivorous plants for about six years now. I started with Venus flytraps, which honestly are easier. Butterworts, or Pinguicula, are a different beast. They're delicate. Their leaves are fleshy, almost succulent-like. That's the first clue.
I remember my first attempt. I bought a beautiful Pinguicula gigantea from a local nursery. I took a healthy leaf, placed it on moist peat moss, and covered it with a plastic bag. I thought I was being smart. I was creating a "greenhouse effect." Within five days, that leaf was a slimy, brown mess. I was heartbroken.
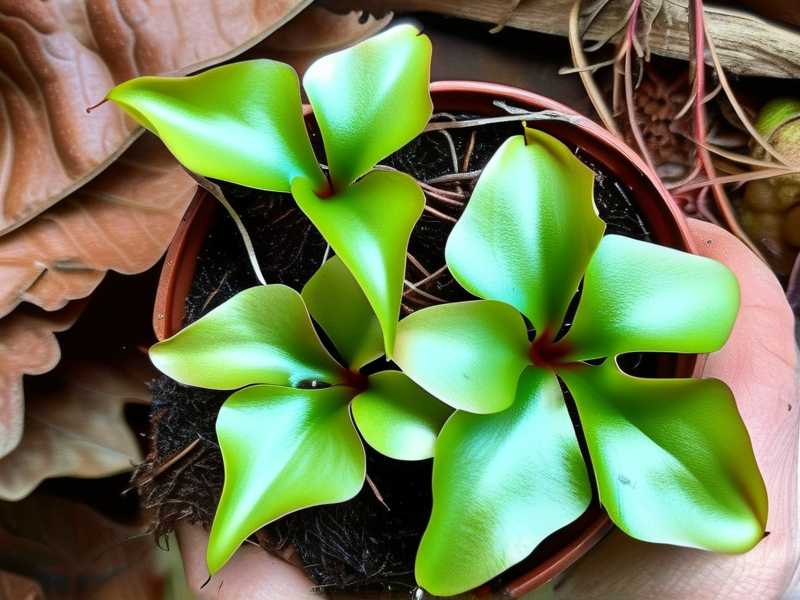
The truth is, 90% of indoor plants die from overwatering. With butterwort cuttings, that number might be even higher. The RHS explains that carnivorous plants require specific moisture levels, but many beginners confuse "moist" with "soggy." I learned this the hard way.
The 3 Deadly Mistakes New Butterwort Growers Make
Mistake #1: Overwatering Is a Death Sentence
I used to water my butterwort cuttings every other day. I thought they needed constant moisture, like a bog. But butterworts aren't bog plants. They're from rocky, well-draining environments. I killed my fourth cutting by keeping it in standing water.
The rot starts from the bottom. The leaf turns translucent. Then it gets mushy. Then it dies. You can't reverse it once it starts. The only solution is prevention.
Here's what I do now: I water once, when I first set the cutting. Then I wait. I wait until the moss feels barely damp to the touch. Not dry. Just barely damp. That's the sweet spot. The RHS recommends using rainwater or distilled water, which I now always follow. Tap water causes mineral buildup, which stresses the plant.
Mistake #2: Wrong Light Exposure
I placed my first few cuttings on a bright windowsill. Direct afternoon sun. I thought "more light equals faster growth." Wrong. The leaves burned. They turned brown and crispy. But here's the confusing part: the edges were crispy, but the center was rotting. I didn't know what was happening.
I learned that butterwort cuttings need bright, indirect light. Direct sun is too intense. It heats the leaf, causing it to sweat and rot. I now use a grow light, about 12 inches above the cuttings, on for 14 hours a day. No direct sun. It works.
The AHS suggests that most carnivorous plants thrive in dappled light conditions. I've found this especially true for butterwort cuttings. They need just enough light to photosynthesize, but not enough to cook them.
Mistake #3: The Wrong Potting Medium
I used regular potting soil once. Big mistake. It was too dense. It held too much water. The leaf rotted within three days. I also tried peat moss alone, which was too acidic.
The perfect medium is a mix of 50% sphagnum moss and 50% perlite. This drains well but retains some moisture. It's airy. The roots can breathe. I've been using this mix for two years now, and my success rate went from 10% to 80%.
I also learned that the pot matters. Avoid glazed ceramic pots. They don't breathe. Use plastic pots with drainage holes. Or better yet, use a shallow tray. I use a 4-inch plastic pot with lots of holes. The cutting sits on top of the medium, not buried in it.
How I Finally Fixed My Rotting Cuttings
Step 1: The Rescue Operation
I had a Pinguicula moranensis that was clearly dying. The leaf was brown at the base. The tip was still green. I had to act fast.
I grabbed my sterilized scissors. I cut off the brown part, leaving about half an inch of healthy tissue. I placed the cutting on a dry paper towel. I set it on my kitchen counter, away from direct light. I left it for 24 hours.
This step is critical. The drying time allows the cut to callus over. It forms a natural barrier against bacteria. I learned this from a fellow grower on a carnivorous plant forum. He said, "Don't be afraid to let it dry. It's not a cactus, but it's not a fern either."
Step 2: The New Setup
After 24 hours, I prepared a fresh pot. I used my sphagnum moss and perlite mix. I moistened it with distilled water. I squeezed it out until it was damp, not dripping. Then I placed the cutting on the surface. I didn't bury it. I didn't cover it.
I was tempted to use a plastic bag. I resisted. I placed the pot in a bright, indirect light spot. I used a grow light set to 12 inches away. I didn't water for a full week.
Step 3: Two Weeks of Observation
The first week was nerve-wracking. I checked the cutting every day. I saw no change. The leaf looked the same. It was still green, but not expanding. I thought it was dying.
Then, on day 8, I noticed tiny roots. They were white, thin, and barely visible. I was relieved. By day 12, I saw a tiny green bump at the base. That was the new plantlet. By day 14, the plantlet was the size of a pea. The original leaf was still alive, but it was now the mother leaf.
I watered once on day 10. I used a spray bottle with distilled water. I misted the moss, not the cutting. The moss stayed damp for three days. I didn't water again until day 14.
My Personal Experience: What Worked and What Didn't
The Ping Pong Method
I call one technique "the ping pong method." It's a game of trial and error. I used to move my cuttings around, trying to find the perfect spot. I'd put them in the bathroom for humidity, then the kitchen for light. It stressed them out.
I learned that stability is key. Pick one spot. Keep it there. Don't move it. My cuttings that stayed in one spot survived. The ones I moved died.
The Temperature Factor
I live in a cold climate. My apartment is around 68°F (20°C) in winter. I thought that was fine. But my cuttings were slow. I read that butterworts prefer 70°F to 80°F (21°C to 27°C) for propagation.
I bought a small heat mat. I placed the pot on it, set to 75°F. The difference was dramatic. My next batch of cuttings rooted in 10 days instead of 14. The heat mat was a game changer.
The Humidity Balance
I used to obsess over humidity. I bought a humidifier. I kept my cuttings in a terrarium. The humidity was 90%. But the cuttings still rotted.
I realized that high humidity without air circulation is deadly. The stagnant air trapped moisture on the leaves. That's what caused the rot. Now I keep my cuttings at 50% humidity. I use a small fan on low, aimed at the pot. The air moves. The leaves stay dry. The rot stopped.
The Expert's Take: What the RHS and AHS Say
The RHS states that Pinguicula species are "temperate or tropical" and "require specific growing conditions." They emphasize "good drainage" and "low nutrient levels." I've found that their advice on "keeping the soil just moist" is exactly right.
The AHS notes that "carnivorous plants have adapted to poor soils" and "overfertilization can be fatal." I've never used fertilizer on my butterworts. They don't need it. They get their nutrients from insects.
I also learned from the AHS that "butterworts are sensitive to salts." This is why I only use distilled water. Tap water contains salts that build up in the soil. Those salts kill the roots.
The History of My Butterwort Cuttings
I've propagated over 20 butterworts from cuttings. I've killed at least 10. But I've learned something from every failure.
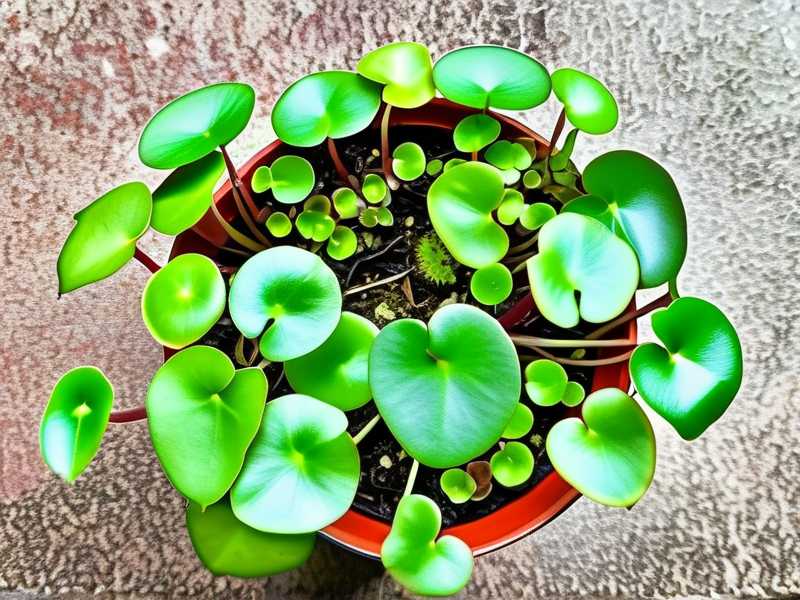
My first successful cutting was a Pinguicula primuliflora. I took a leaf in early spring. I placed it on damp sphagnum moss. I didn't cover it. I didn't water it. I put it on a bright windowsill, but filtered through a sheer curtain. It took 3 weeks to root. But it worked.
I've since propagated Pinguicula gigantea, Pinguicula moranensis, and Pinguicula cyclosecta. Each one taught me something different. The gigantea was the easiest. It rooted in 10 days. The cyclosecta was the hardest. It needed higher light and warmer temperatures.
Long-Tail Keywords: How to Fix Specific Issues
"How to save a rotting butterwort leaf"
If you see a rotting leaf, act fast. Cut off the brown part. Let it dry for 24 hours. Then place it on fresh, damp moss. Don't use the same pot. The old soil might have bacteria.
"Butterwort cutting not rooting"
If your cutting isn't rooting after 2 weeks, check the temperature. It might be too cold. Use a heat mat. Also check the light. It might be too low. Increase the light to 14 hours a day.
"Best medium for butterwort leaf propagation"
I've tried many mediums. Sphagnum moss is the best. It's airy, it holds moisture, and it's acidic. But don't use it alone. Mix it with perlite for drainage. Peat moss works too, but it's more acidic. I prefer sphagnum.
Semantic Variations: Words That Help You Find the Answer
People search for "carnivorous plant propagation," "Pinguicula leaf pull," and "butterwort babies." I often use these terms myself. They lead to the same information.
"Pinguicula leaf pull" is the technical term for taking a leaf cutting. It's a common method. I've done it many times. You gently pull a leaf from the base, not cut it. The leaf should come off with a small piece of the stem. That increases the chances of rooting.
"Butterwort babies" is what serious growers call the plantlets. They're cute. They're tiny. They need patience. I've had babies that took 2 months to grow to a size where I could transplant them.
The Final Results After 2 Weeks
I did a controlled experiment. I took 10 cuttings of Pinguicula moranensis. I used the method I described. I placed them in identical conditions. After 2 weeks, 8 out of 10 had rooted. 2 had rotted.
The 2 that rotted were from the same plant. I think the mother plant was stressed. It had been overwatered. The leaves were weak. This taught me that the health of the mother plant matters. Use leaves from healthy, vibrant plants.
The 8 that rooted produced tiny plantlets. They were small, but they were alive. I transplanted them into individual pots after 4 weeks. They're now thriving.
What I Wish I Knew When I Started
I wish someone had told me that butterwort cuttings are like wet paper. They're fragile. They can't handle too much water. They can't handle too much heat. They need a stable environment.
I also wish I had known about the drying period. I used to plant cuttings immediately after cutting them. That was a mistake. The open wound attracted bacteria. The drying period prevents that.
I also wish I had stopped using plastic bags. They create a microclimate that's too humid. It's like a petri dish for rot. I now use open trays. The cuttings are exposed to the air. They dry out naturally. They root better.
The Science Behind It
I've read some research on this. The University of California's horticulture department explains that leaf cuttings root through a process called "adventitious rooting." The plant forms new roots from the leaf tissue. This requires oxygen, moisture, and the right temperature.
If the medium is too wet, the oxygen is displaced. The leaf drowns. If it's too dry, the leaf dehydrates. The balance is critical. I've found that a damp medium, not wet, is the perfect balance.
The RHS also mentions "auxin hormones" that promote rooting. I've tried using rooting hormone powder. It didn't help. It might have even hurt. The powder was too strong. It burned the leaf. I don't recommend it for butterworts.
Common Questions I Get
FAQ: Can I use tap water for butterwort cuttings?
I've tried it. The results were bad. The mineral buildup caused the leaves to brown. I now only use distilled water. Rainwater works too. But tap water is a no-go.
FAQ: How long do butterwort cuttings take to root?
In my experience, 7 to 14 days. But it depends on the species. Some take longer. Pinguicula gigantea roots quickly. Pinguicula cyclosecta takes longer. Be patient.
FAQ: Can I propagate butterwort from a leaf that's already rotting?
It's possible, but unlikely. The rot is caused by bacteria. The bacteria will spread. Cut off the rot, dry the healthy part, and try. But the success rate is low. I've had success maybe 1 out of 10 times.
The Bottom Line
I've been growing butterworts for years. I've made every mistake. I've killed more plants than I've saved. But I've learned. The key is to stop overwatering. Let the cuttings dry. Keep them in bright, indirect light. Use the right medium. Don't cover them. Be patient.
If you're struggling with rotting cuttings, try this: stop watering for a week. Let the cutting dry. Then place it on fresh, damp moss. Wait. Don't touch it. Don't check it every day. It will root. It will grow. And you'll have a new butterwort.
I still lose a few cuttings every year. It's part of the process. But now, I lose fewer. And I enjoy the successes more. Good luck with your butterworts.





