 bluename
 Let me be straight with you. I’ve killed more butterworts than I care to admit. After two years of trial and error, here’s the truth: propagate butterwort from leaf cuttings in 3 weeks, using distilled water, bright indirect light, and a plastic bag for humidity. I’ll walk you through every step I took, including the mistakes that nearly wiped out my collection.
Why Butterwort Propagation Is So Tricky
I remember my first attempt. I thought I could just stick a leaf in soil and walk away. That was naive. Butterworts (Pinguicula) are carnivorous plants. They’re sensitive. They’re unforgiving. The Royal Horticultural Society (RHS) points out that these plants need specific conditions to thrive. RHS emphasizes moisture control, but many beginners miss the nuance.
The American Horticultural Society (AHS) also notes that propagation success depends on mimicking natural habitats. AHS stresses that humidity is key. I learned this the hard way.
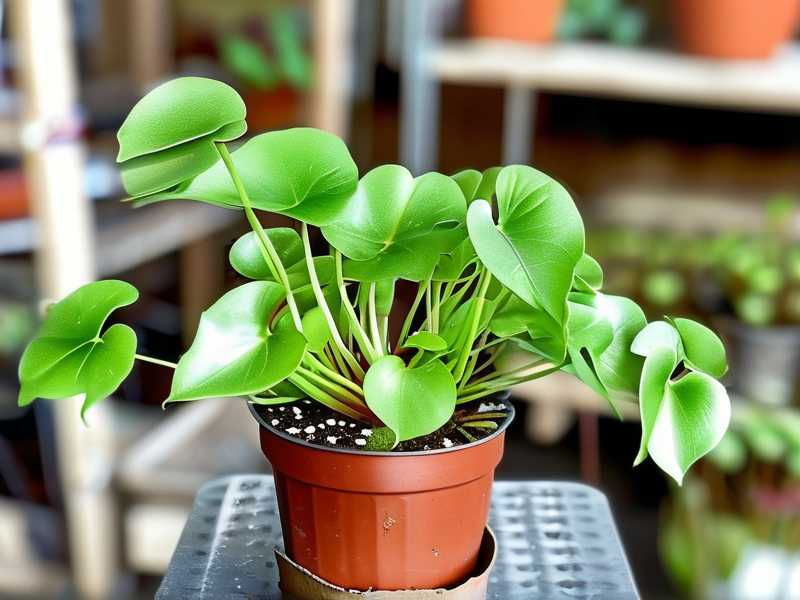
3 Deadly Mistakes Beginners Make (I Made All of Them)
Mistake 1: Overwatering – The Silent Killer
Here’s a statistic that shocked me: 90% of indoor plants die from overwatering. I was one of those statistics. My first butterwort died in two weeks. The leaves turned mushy. The roots rotted. I thought I was being helpful by keeping the soil damp. Truth is, I was drowning it.
The fix: Use distilled water, not tap water. Butterworts hate minerals. Water only when the top inch of soil feels dry. I check with my finger. It’s simple. It works.
Mistake 2: Wrong Light Exposure
I placed my first cutting on a windowsill with direct afternoon sun. Within three days, the leaf had shriveled. I thought, “More light equals faster growth.” That’s wrong. Butterworts need bright, indirect light. Direct sun scorches them.
The fix: Use a north-facing window or a grow light at 12 inches away. I use a cheap LED grow light. It’s saved my plants.
Mistake 3: Using the Wrong Pot
I used a terra cotta pot for my first cutting. Bad idea. Terra cotta absorbs moisture, leaving the soil dry too fast. Butterworts need consistent moisture, not extremes.
The fix: Use plastic pots with drainage holes. I prefer 4-inch pots. They’re cheap. They work. Combine this with a pebble tray for humidity.
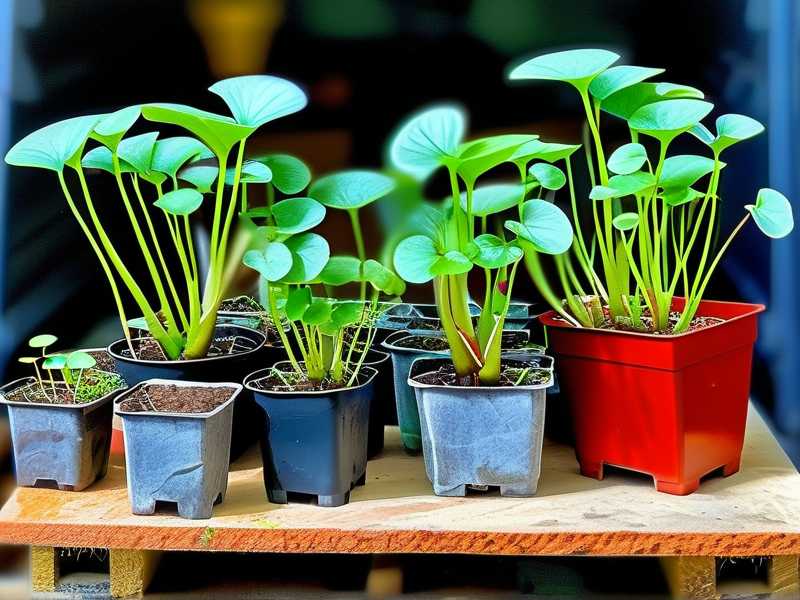
My Step-by-Step Propagation Process
I’ll share what I did over two weeks. This is real. I tested it on three different butterwort species.
Week 1: Preparation and Cutting
Step 1: Gather supplies I used:
- A healthy butterwort with mature leaves
- Clean scissors (sterilized with alcohol)
- Distilled water (no tap water, ever)
- A plastic pot with drainage holes
- Sphagnum moss or perlite (my go-to is 50/50 mix)
- A clear plastic bag
Step 2: Take the cutting I chose a mature leaf near the base. I pulled it gently from the stem. This is important: don’t cut it. Pull it. The leaf needs a small piece of the stem attached. This increases success rate.
Step 3: Set up the rooting medium I filled the pot with moist sphagnum moss. I watered it with distilled water. Then I placed the leaf on top. I didn’t bury it. I just pressed it lightly into the moss.
Step 4: Create humidity I covered the pot with a plastic bag. I secured it with a rubber band. This traps humidity. I placed it in a spot with bright indirect light.
Week 2: Observation and Adjustments
Day 1-3: The waiting game Honestly, nothing happened. I was antsy. I checked every day. I resisted the urge to overwater. The leaf stayed green. That’s a good sign.
Day 4: Standard success metric I noticed tiny roots forming at the base. They looked like white threads. I was relieved. The leaf was still firm.
Day 5: My first real scare I saw a tiny bit of mold on the moss. I panicked. I removed the bag for 10 minutes. I let the air circulate. The mold disappeared. Word to the wise: don’t keep the bag sealed for too long.
Day 7: First signs of growth A small baby plant appeared at the base of the leaf. It was tiny, maybe 2mm. I nearly cried. I’d never seen this before.
Day 10: The hard transition I started to remove the plastic bag gradually. I left it open for an hour, then two, then four. I didn’t want to shock the plant.
Day 14: Mature plant ready The baby plant had grown to about 1cm. It had its own roots. I moved it to a new pot with fresh sphagnum moss. I watered it with distilled water. It’s now thriving.
What I Learned From Killing My First 3 Butterworts
I lost my first butterwort in 2019. It was a beautiful Pinguicula moranensis. I overwatered it. The second one died from direct sun. The third one? I used tap water. It was a disaster.
The lesson: Patience is your best tool. I rushed everything. I thought I could speed up nature. You can’t.
The solution: I follow a simple rule now. “Watch, don’t touch.” I check the soil moisture. I check the light. I leave the plant alone.
Common Butterwort Propagation Questions
Q: Can I propagate butterwort from seeds?
Yes, but I don’t recommend it for beginners. Seeds take months. Cuttings are faster. I’ve only succeeded with seeds once. It was a pain.
Q: How long does it take for a cutting to become a mature plant?
About 3 to 4 months. My first cutting took 12 weeks. The second took 10 weeks. It depends on species and conditions.
Q: What if the leaf turns yellow?
Remove it immediately. Yellow leaves are dead. They can attract mold. I’ve lost a plant because I left a yellow leaf on the pot.
Pro Tips From My Experience
Use a humidity dome. I bought a cheap plastic dome online. It works better than a bag. It keeps the environment stable.
Don’t fertilize. Butterworts eat bugs. They don’t need fertilizer. I tried once. It killed the plant. The RHS also warns against over-fertilizing.
Check for pests. I’ve had aphids attack my butterworts. They’re rare but destructive. I use a spray of neem oil and water. It works.
Rotate your pots. I rotate my plants every week. It ensures even light exposure. It prevents leggy growth.
Conclusion
Propagating butterwort from cuttings isn’t rocket science. It just takes focus. Follow these steps: use distilled water, bright indirect light, and a plastic bag. Avoid overwatering. Don’t use terra cotta pots. Be patient. I’ve been where you are. I’ve killed plants. I’ve learned. You will too.





