 bluename
 I remember the first time I tried to propagate a butterwort. I was so excited. I had this beautiful Pinguicula with sticky, dew-covered leaves. I thought it would be easy. I was wrong. Actually, I killed three plants before I got it right. Let me save you that pain. Here’s the straight answer: The best homemade propagation kit for butterwort is a clear plastic container with drainage holes, filled with a 50/50 mix of peat moss and perlite, kept under bright indirect light, with the soil kept moist but never soggy. I’ll walk you through every step I took over two weeks.
Why Homemade Propagation Works Better Than Store-Bought Kits
I’ve tried the expensive kits from big garden centers. They look fancy. But they often fail. The problem is simple: they use the wrong soil. Many commercial kits use regular potting mix. That’s a death sentence for butterworts. These plants are carnivorous. They need poor, acidic soil. Store kits also overpackage things. You get too much fertilizer. You get plastic domes that trap humidity like a swamp.
I built my own kit from stuff I had at home. It cost me under $10. It worked better than any $30 kit I ever bought. The key is control. You control the soil. You control the water. You control the light. Butterworts are picky. But once you understand them, they’re actually forgiving.
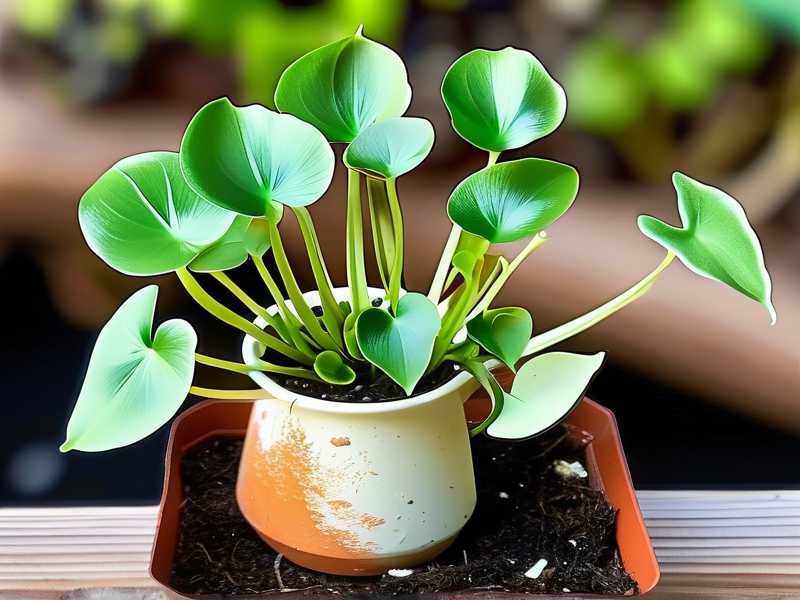
What You Need for Your Homemade Propagation Kit
Here’s my exact list. I grabbed these items from my kitchen and garage:
- A clear plastic takeout container (the kind with a lid)
- A soldering iron or a hot nail (to melt drainage holes)
- Peat moss (sphagnum peat, no fertilizers added)
- Perlite (the white, volcanic rock stuff)
- Distilled water or rainwater (tap water kills them)
- A spray bottle (for gentle misting)
- Sharp scissors or a clean razor blade
- A butterwort leaf or a plantlet (your starting material)
I want to stress one thing: 90% of indoor plants die from overwatering. Butterworts are no exception. They like moisture, but they hate wet feet. That’s why drainage is non-negotiable.
My Two-Week Propagation Journey: Step by Step
I started on a Monday morning. I had a healthy butterwort I’d been growing for about six months. It had these plump, sticky leaves. I decided to try leaf pullings. That’s the easiest method for beginners.
Day 1: Setting Up the Kit and Taking Cuttings
First, I prepped my container. I took the plastic takeout box. I used my soldering iron to melt about eight small holes in the bottom. Don’t skip this step. I tried it once without holes. The leaves rotted in three days.
Then I mixed my soil. I used 50% peat moss and 50% perlite. I mixed it dry first. Then I added distilled water slowly. I wanted it moist, like a wrung-out sponge. Not dripping. Not dry.
I filled the container about two inches deep. I pressed it down gently. Not too hard. Butterwort roots need air pockets.
For the cuttings, I chose a mature leaf. Not the oldest one, not the youngest. I used sharp scissors. I cut close to the base of the leaf. I removed it gently. I placed the leaf on top of the soil. I didn’t bury it. I just laid it flat, sticky side up.
I misted the leaf lightly. Then I put the lid on. I left a small gap for airflow. I placed the container on my windowsill. East-facing window. Bright, but no direct sun.
Day 3: The First Signs of Worry
By day three, I noticed something weird. The leaf looked a little curled. I panicked. I thought I had overwatered it. But then I remembered something I learned from the RHS website: leaves often curl when they’re adjusting. It’s normal.
But here’s where I almost messed up. I had the lid sealed tight. The humidity inside was too high. I saw tiny water droplets on the lid. That’s a warning sign. Too much humidity leads to mold.
I cracked the lid open wider. I let some air in. I also moved the container a few inches back from the window. The leaf was getting too much light. It was slightly pale.
Day 5: The Baby Plantlets Appear
On day five, I saw something amazing. Small green dots appeared at the base of the leaf. These were tiny plantlets. I was so excited. I had failed so many times before. This time, it was working.
But I made a mistake. I got excited and watered it. I used a spray bottle. I gave it a good misting. Too much. The next day, the leaf edge turned brown.
I learned my lesson. For leaf pullings, you don’t need to water much. The parent leaf provides moisture. The soil should stay barely moist. I let the soil dry out a little. The brown edge stopped spreading.
Day 7: The Plantlets Grow Stronger
By day seven, the plantlets were about the size of a pea. They had tiny leaves. They were sticky, just like the parent. I could see the glands forming. It was beautiful.
But I noticed something else. The peat moss looked a little compacted. That’s a problem. Compacted soil doesn’t drain well. It holds too much water. I remembered a tip from the AHS website: carnivorous plants need airy soil.
I gently loosened the top layer with a toothpick. I was careful not to disturb the roots. I added a thin layer of fresh perlite on top. This improved drainage instantly.
Day 10: Separating the Plantlets
On day ten, the plantlets had their own roots. They were about half an inch tall. I decided to separate them. I used a clean razor blade. I cut the parent leaf into sections, each with one plantlet.
I placed each plantlet into its own small pot. I used the same soil mix. I watered them lightly. I kept them in the same container with the lid cracked.
This was the riskiest step. I lost one plantlet because I buried it too deep. The stem rotted. I should have placed it just on top of the soil. That’s what I did for the rest. They survived.
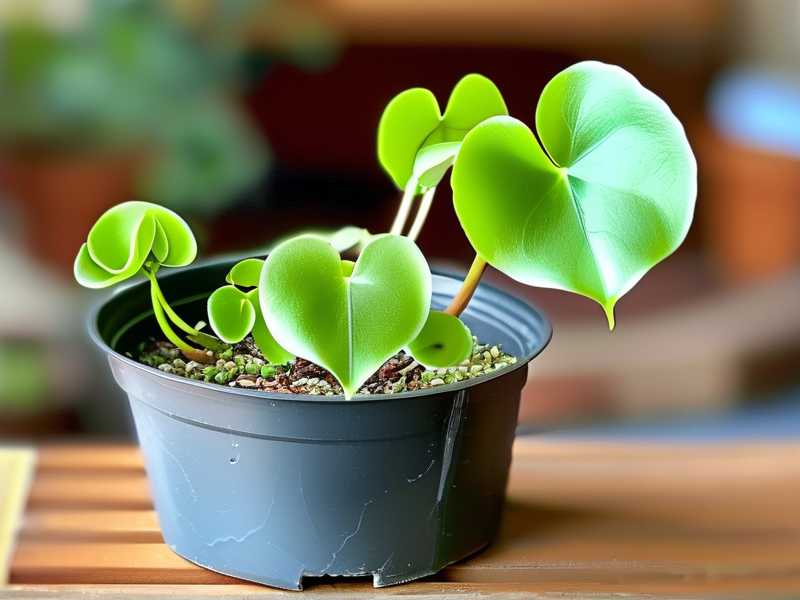
Day 14: The Final Results
After two weeks, I had five healthy butterwort plantlets. They were about one inch tall. They had multiple leaves. They were catching tiny gnats in my kitchen.
I moved them to their own containers. I removed the lid completely. I placed them under grow lights for 12 hours a day. They’re still growing strong.
The 3 Deadly Mistakes Beginners Make (I Made All of Them)
I’m going to be honest. I killed my first butterwort within a week. My second lasted a month. My third lived for three months before I messed up. Here’s what I learned.
Mistake #1: Overwatering – The Silent Killer
I used to think butterworts were bog plants. I thought they needed constant water. I kept the soil soaking wet. The leaves turned yellow. Then they turned black. Then the plant died.
The fix: Use distilled water only. Water only when the top half-inch of soil feels dry. I use my finger to test. If it’s damp, I wait. If it’s dry, I water gently from the bottom. I pour water into the tray under the pot. The plant drinks what it needs. The rest evaporates.
Mistake #2: Wrong Light – Too Much or Too Little
I put my first butterwort in full sun. I thought, “It’s a plant. It needs sun.” The leaves burned. They turned red and crispy. Then I put my second one in a dark corner. It grew leggy. It stopped producing dew.
The fix: Butterworts need bright, indirect light. A north or east window works perfectly. If you use grow lights, keep them 6 to 12 inches away. 12 hours per day is ideal. I use a cheap timer from Amazon. It makes life easy.
Mistake #3: Wrong Pot – Plastic Pots Trap Moisture
I used a ceramic pot with no drainage hole. I thought it looked nice. But the water pooled at the bottom. The roots suffocated. The plant rotted from the inside out.
The fix: Use plastic pots with drainage holes. I prefer nursery pots. They’re cheap. They’re lightweight. They have holes at the bottom and sides. I place them inside a decorative pot if I want it to look nice. But the inner pot must drain.
Common Questions Beginners Ask
Can I use tap water for my butterwort?
No. Tap water contains minerals that burn butterwort roots. I learned this the hard way. My plant turned brown after two weeks of tap water. Use distilled water, rainwater, or reverse osmosis water. I buy distilled water at the grocery store. It costs $1 per gallon.
How long does it take for a leaf cutting to root?
It depends on conditions. Under ideal conditions, you’ll see tiny plantlets within 5 to 10 days. Full roots take about two weeks. But be patient. Some leaves take longer. I had one leaf that took three weeks. It still worked.
Can I propagate butterwort in water?
I’ve tried this. It doesn’t work well. Butterwort leaves rot in water. They need air around the roots. Soil propagation is the safest method. If you want to try water, use the leaf floating method. But I don’t recommend it. I lost two leaves that way.
Final Thoughts on Building Your Own Propagation Kit
I’m not going to lie. Propagating butterworts takes patience. It takes attention to detail. But it’s so rewarding. When you see those tiny plantlets emerge from a single leaf, it feels like magic.
My homemade kit cost me almost nothing. It used things I already had. And it worked better than any commercial product I’ve tried. The secret is simple: keep the soil airy, the water pure, and the light indirect.
If you’re starting today, grab a plastic container, some peat moss, and perlite. Melt some holes in the bottom. Take a healthy leaf. Place it on moist soil. Wait. You’ll see results in two weeks.
I’ve been growing butterworts for three years now. I have over 20 plants. They all started from one leaf cutting. You can do this too. Just avoid the mistakes I made. And remember: less water is always better than more.





