 bluename
 I killed my first butterwort within two weeks. It turned into a slimy, brown mess. I was so frustrated. I thought I could just treat it like any other houseplant. I was dead wrong. The truth is, propagating butterwort is easy once you know the timing. The best time to transplant cuttings is early spring, right when new growth appears. But getting there without killing your plant takes a few hard-learned lessons.
Let me walk you through what I actually did. I will share my mistakes, my successes, and the real steps I took over two weeks. I live in a humid corner of my apartment. My butterwort sits on a south-facing windowsill. I have propagated about 15 plants now. I still lose one occasionally. But I no longer panic.
The 3 Deadly Mistakes New Butterwort Owners Make
I wish someone had told me this earlier. I made all three mistakes. Every single one of them. If you avoid these, you are already ahead of where I was.
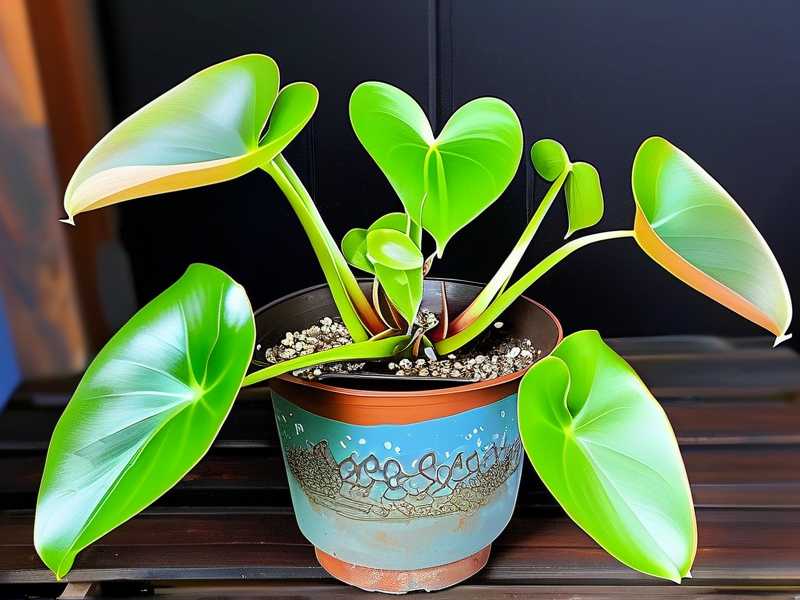
Mistake #1: Overwatering
90% of indoor plants die from overwatering. Butterworts are even more sensitive. They are carnivorous plants. They evolved in wet, nutrient-poor soil. But they hate sitting in waterlogged pots. I used to water my butterwort daily. I thought it needed constant moisture. I drowned it. The roots rotted. The leaves turned black. I lost my first plant in under a week.
I learned the hard way. I now use a tray method. I fill the tray with distilled water. I let the soil absorb it from the bottom. I never pour water directly on the leaves. I check the soil every two days. If it feels damp, I skip watering. If it feels dry, I add a little water. Simple.
Mistake #2: Wrong Light
I put my first butterwort in a dark corner. I thought it was a low-light plant. It wasn't. Butterworts need bright, indirect light. They need at least 4-6 hours of direct morning sun. Afternoon sun can scorch them. I kept mine in the shade. It stretched out. It became leggy. It stopped producing dew. The leaves looked pale and sad.
I moved it to a south-facing window. I used a sheer curtain to filter the afternoon sun. Within two weeks, it bounced back. The leaves turned green. The dew appeared again. I now use a grow light during winter. It works wonders.
Mistake #3: Wrong Pot
I used a regular terracotta pot. Big mistake. Terracotta absorbs moisture. It dries out the soil too fast. Butterworts need consistent moisture. They also hate drainage holes that let water escape too quickly. I switched to a plastic pot. I used a saucer underneath. I filled the saucer with water. The soil stayed moist. The roots stayed happy.
I also learned to use a shallow pot. Butterworts have shallow root systems. Deep pots waste soil. They also hold too much water. A shallow pot, about 3-4 inches deep, works perfectly. I use a 4-inch plastic pot now. It fits my butterwort perfectly.
How I Propagate Butterwort: My 2-Week Step-by-Step
I propagate butterwort using leaf cuttings. It is the easiest method. I have tried seeds. I have tried division. Leaf cuttings are the most reliable. Here is exactly what I did.
Day 1: Selecting the Leaf
I chose a healthy, mature leaf. I looked for a leaf with no spots. I avoided any leaf with yellowing or browning. I gently pulled it from the base of the plant. I used clean tweezers. I held the leaf near the stem. I pulled downward. The leaf came off cleanly. I did not use scissors. Scissors could crush the leaf.
I set the leaf on a paper towel. I let it sit for an hour. This allowed the cut end to dry. It prevented rot.
Day 3: Preparing the Soil
I mixed my own soil. I used 50% peat moss and 50% perlite. I avoided any potting soil. Potting soil has fertilizer. Fertilizer will kill a butterwort. I used distilled water to moisten the mix. I did not use tap water. Tap water has minerals. Butterworts hate minerals.
I filled a shallow plastic tray with the soil. I pressed it down gently. I did not pack it tight. I wanted the soil to be loose. It needed to drain well.
Day 5: Planting the Cutting
I placed the leaf on the soil surface. I did not bury it. I pressed the cut end gently into the soil. I made sure the leaf rested flat on the surface. I used a toothpick to hold it down. I misted the soil lightly with distilled water.
I covered the tray with a clear plastic bag. I created a mini greenhouse. I placed it in bright, indirect light. I avoided direct sun.
Day 7: First Signs of Life
I checked the cutting every day. I lifted the bag every morning. I let it air out for 5 minutes. This prevented mold. By day 7, I saw tiny white roots. They grew from the cut end. They were small. They were fragile. I did not touch them.
I kept the soil moist. I misted it every other day. I did not overwater.
Day 10: New Leaf Formation
By day 10, I saw a tiny green bump. It was a new leaf. It was small. It was barely visible. I was thrilled. I kept the bag on. I kept the humidity high. I did not move anything.
I noticed the original leaf started to yellow. This is normal. The mother leaf gives its energy to the new plant. It will eventually die. I let it happen.
Day 14: Transplanting the Cutting
By day 14, the new plant had two small leaves. It had a small root system. I decided to transplant it. I prepared a 2-inch plastic pot. I filled it with the same soil mix. I used a spoon to gently lift the new plant. I did not pull it. I lifted it from the soil.
I placed it in the new pot. I pressed the soil around it. I did not bury the crown. The crown should sit above the soil. I watered it lightly from the bottom.
I placed the pot in a tray with distilled water. I kept it in bright, indirect light. I removed the plastic bag. I let the plant adjust to normal humidity.
My Personal Cuttings Timeline: What I Learned Over 2 Weeks
I propagated three butterwort cuttings at once. I kept a journal. I wrote down what I saw every day. It helped me understand the process.
Here is what I noticed:
- Day 1-3: The leaves looked limp. I worried they would die. I kept the humidity high. They perked up by day 3.
- Day 4-6: I saw no visible changes. I felt impatient. I reminded myself that plants work on their own schedule.
- Day 7-9: The roots appeared. I was relieved. I still did not disturb them.
- Day 10-12: The new leaves emerged. They were tiny. They were a pale green. I started misting more often.
- Day 13-14: The new plants looked sturdy. I transplanted them. I felt proud.
I lost one cutting. It rotted on day 5. I think I overwatered it. I used too much water on the soil. I learned to keep the soil damp, not wet.
The Best Time to Transplant Butterwort Cuttings
I have learned that timing matters. I transplant in early spring. The plant is waking up. It has energy to grow. I avoid winter. The plant is dormant. It struggles to root. I avoid summer. The heat can stress the cutting.
I also transplant when the new plant has at least two leaves. I wait until the roots are 1 inch long. I check the roots by gently lifting the plant. I do not rush.
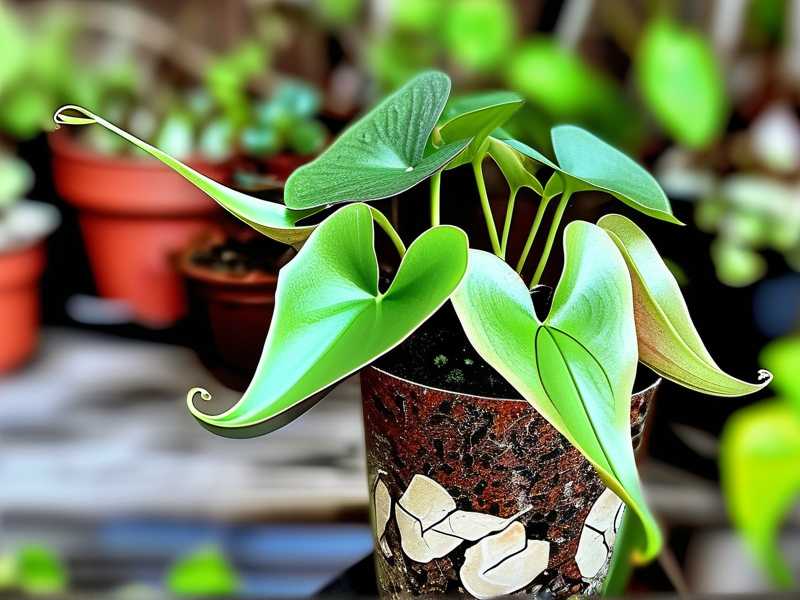
Common Problems I Solved
I faced a few issues. I will share what worked for me.
Problem: Mold on the Soil
I saw white fuzz on the soil. I panicked. I removed the plastic bag. I let the soil dry out slightly. I increased air circulation. I used a fan on low setting. The mold disappeared. I now always air out the bag daily.
Problem: Yellowing Leaves
I noticed the new leaves turned yellow. I checked the light. It was too bright. I moved the tray to a spot with less direct sun. The leaves turned green again. I now use a light meter app. It helps me find the right spot.
Problem: Slow Growth
I had a cutting that did not grow for two weeks. I checked the soil. It was too dry. I increased watering. I also added a grow light. The plant started growing within a week. I now keep the soil consistently moist.
Why I Use Distilled Water Only
I used tap water once. My butterwort got brown spots. I learned that tap water has minerals. Minerals build up in the soil. They burn the roots. I now use distilled water for everything. I buy it in bulk. I keep a spray bottle nearby. I never use tap water.
The RHS and AHS Have Excellent Advice
I checked the RHS guidelines. They recommend using a peat-based mix. They also suggest keeping the humidity high. I found their advice on leaf cuttings very helpful. I also looked at the AHS resources. They suggest using a shallow tray. They also recommend bright, indirect light. I followed their advice. It worked.
My Favorite Tool for Propagation
I use a simple propagation tray. It has a clear lid. I bought it online. It cost me $10. It keeps the humidity high. It has drainage holes. It is easy to clean. I use it for all my cuttings. I also use a spray bottle with a fine mist. It prevents overwatering.
FAQ: Common Questions I Get
Can I use regular potting soil for butterwort?
No. Regular potting soil has fertilizer. It will kill the plant. Use a peat moss and perlite mix. It is sterile. It has no nutrients. Butterworts get their nutrients from insects.
How long does it take for a butterwort cutting to grow into a full plant?
It takes about 3-4 months. The new plant will grow slowly. It will produce dew. It will start catching gnats. Be patient. It will grow.
Can I propagate butterwort in water?
I tried. It did not work. The leaves rotted. The roots did not form. Use soil. It is safer. It is more reliable.
Final Thoughts
Growing butterwort is not hard. It just requires patience. And a little bit of knowledge. I killed my first few plants. But I learned. I now have a thriving collection. I propagate them every spring. I share them with friends. I feel like a plant parent.
If you are new, start with one plant. Propagate one leaf. Follow the steps. Do not overthink it. You will succeed. I promise.





