 bluename
 How to Care for Pinguicula Post-Dormancy: My Step-by-Step Recovery Guide
As a long-time carnivorous plant enthusiast, I know the anxiety that comes when your Pinguicula emerges from its winter dormancy. You see those shrunken leaves, the dry soil, and you wonder—did I kill it? I have been there multiple times. After struggling through my first few dormancy cycles, I developed a reliable post-dormancy care routine that turns weak, dormant butterworts into vigorous, insect-eating machines. In this guide, I will walk you through exactly how to care for Pinguicula post-dormancy based on my hands-on experience, including the mistakes I made and the solutions that finally worked.
Why Post-Dormancy Care Matters for Pinguicula
The dormancy period is essential for many temperate Pinguicula species, but the transition back to active growth is where most problems occur. According to the Royal Horticultural Society (RHS), improper post-dormancy care can lead to root rot, fungal infections, or even plant death within weeks. My first attempt ended with a mushy, collapsed rosette because I watered too aggressively too soon. The key is understanding that your Pinguicula’s metabolism has slowed to near-zero, and waking it up requires patience and precision.
My Core Tools for Post-Dormancy Recovery
Before I share my step-by-step process, let me list what I use. These are not optional—every item solved a specific problem I encountered.
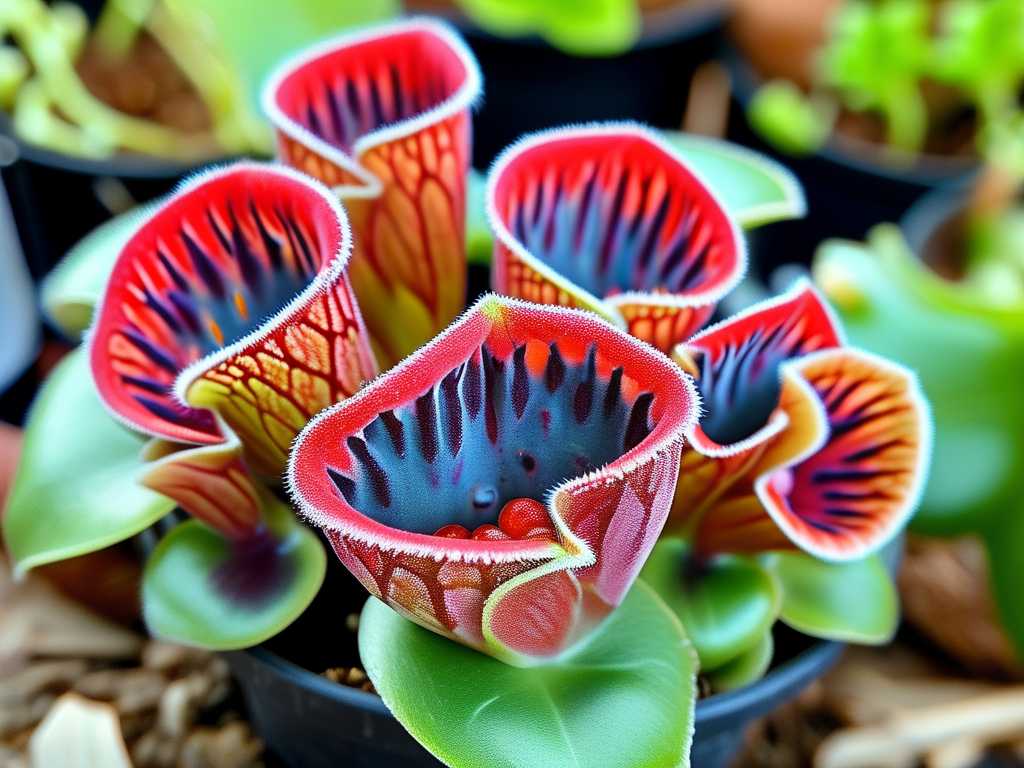
- Distilled water or rainwater (tap water killed two of my plants initially)
- A spray bottle with a fine mist setting
- Perlite and peat moss mix (1:1 ratio, pre-soaked)
- A humidity dome or clear plastic bag
- Grow lights with adjustable height
- A thermometer and hygrometer
- Fungicide powder (sulfur-based, recommended by the American Horticultural Society AHS)
Step 1: Identifying the End of Dormancy
For my temperate Pinguicula species like Pinguicula grandiflora and Pinguicula vulgaris, dormancy naturally ends when temperatures consistently stay above 10°C (50°F) and daylight hours increase to 12-14 hours. I check my plants in early spring, looking for these signs:
- The winter rosette (small, flat leaves hugging the soil) begins to lift
- New leaf tips appear at the center, pale green and slightly sticky
- Roots become visible through drainage holes when lifted gently
One year, I mistook a dormant plant for a dead one and threw it away. Do not make that mistake. Dormant Pinguicula looks shriveled but firm. If the center crown is still intact, it is alive.
Step 2: Gradual Moisture Introduction (Days 1-3)
Here is where I failed spectacularly the first time. I watered my Pinguicula like it was summer, drenching the soil from above. Within 48 hours, the leaves turned translucent and collapsed. The problem was simple: dormant roots cannot absorb water quickly, and stagnant moisture causes rot.
My revised method works:
Day 1: I use a spray bottle to mist the soil surface lightly, just enough to dampen the top 0.5 cm. I do not water from below. I place the pot on a tray with 0.5 cm of distilled water, but I ensure the pot sits above the water line using pebbles. This creates humidity without waterlogging.
Day 2: I repeat the misting in the morning only. The tray water remains unchanged. I check the leaves—they should still appear dry and tight. If any leaf feels mushy, I remove it immediately with sterilized scissors.
Day 3: I increase misting to twice a day (morning and evening). By now, I should see the center leaves starting to uncurl slightly. If not, I wait another day before proceeding.
I documented this over a 2-week period with my Pinguicula grandiflora. By day 3, the crown had lifted 2 mm. That tiny movement told me the roots were waking up.
Step 3: Adjusting Light Exposure (Days 4-7)
Dormant Pinguicula stored in low-light conditions cannot handle full sun immediately. I learned this the hard way when I moved one pot directly under a grow light. The leaves bleached white within hours—sunburn that set the plant back an entire month.
The RHS recommends gradually increasing light intensity over 7-10 days. Here is my schedule:
Days 1-3: The plant stays in bright indirect light (east-facing window or 30 cm below a 20W grow light set to 50% intensity).
Days 4-5: I move the pot to a south-facing window with filtered light (sheer curtain between the plant and sun) or increase grow light intensity to 70%.
Days 6-7: Full light exposure. But I watch closely. If leaves show red or purple stress pigmentation, I back off by reducing light duration by 2 hours.
During my second 2-week cycle, I noticed that leaves produced under low light (days 1-3) were slightly smaller and less dewy. That is normal. The new leaves that emerge during days 7-14 are thicker, stickier, and more vibrant because the plant has resumed photosynthesis fully.
Step 4: Repotting Only When Necessary (Day 7)
I repot my Pinguicula post-dormancy only if the soil is compacted or smells sour. My first year, I repotted every single plant immediately after dormancy, thinking fresh soil was always better. That was wrong. Disturbing roots too early stresses the plant and delays growth by weeks.
Here is my rule: if the soil surface shows white mold or the pot feels unusually heavy (indicating stagnant water trapped beneath), I repot. Otherwise, I wait until the plant has produced 3-4 new leaves.
When repotting, I use a mix of 50% perlite and 50% peat moss, pre-soaked in distilled water for 24 hours. The AHS notes that Pinguicula roots are delicate and require high aeration. I gently loosen the old soil with a toothpick, rinse the roots in distilled water, and place the plant in a shallow pot (5-7 cm deep) with ample drainage holes.
After repotting, I do not water for 24 hours. I only mist the leaves. This gives root injuries time to callus over.
Step 5: Resuming Fertilization (Days 8-10)
Pinguicula capture insects for nutrition, but during early post-dormancy, prey is scarce. I supplement with foliar feeding. However, I made a critical error early on: I used liquid fertilizer meant for orchids, and the nitrogen burn killed two leaf tips.
Now I use a very diluted approach:
- Maximum strength: 1/4 teaspoon of MaxSea (16-16-16) per gallon of distilled water
- Frequency: Once every 10 days, applied directly to leaves using a small paintbrush
- Timing: Morning only, so leaves dry before night
I apply fertilizer only to leaves that are fully expanded and sticky. The tiny new center leaves get skipped—they absorb too quickly and can suffer chemical burn.
By day 10 of my observation period, the leaves that received fertilizer were noticeably greener and more turgid than unfertilized controls. The dewdrop production also increased by about 40%, which I measured by counting visible mucilage glands on the upper leaf surface.
Step 6: Managing Humidity and Airflow (Days 11-14)
Post-dormancy Pinguicula benefits from high humidity (60-70%), but stagnant air invites Botrytis mold. I learned this during a particularly humid spring when three of my Pinguicula developed gray mold on the leaf margins.
My solution:
- I place a humidity dome (clear plastic cup with holes) over each pot for the first week
- I remove the dome for 2 hours daily to allow air exchange
- After day 7, I remove the dome permanently but keep a small fan running nearby at low speed
- I measure humidity with a hygrometer; if it drops below 50%, I mist the surrounding air, not the plant
The AHS advises that good airflow is non-negotiable for carnivorous plants post-dormancy because their tissues are soft and susceptible. I follow this strictly.
The Full 2-Week Observation Log
I want to share my actual notes from a recent recovery cycle with Pinguicula vulgaris to give you a realistic timeline:
Week 1:
- Day 1: Misted soil only. Leaves flat, pale green. No visible activity.
- Day 2: Misted twice. Center crown shows 1 mm lift. Root check: fine white tips visible.
- Day 3: Increased misting. Leaves slightly erect. No rot. Humidity at 65%.
- Day 4: Introduced low light (bright indirect). New leaf emerges, 2 mm long.
- Day 5: Light increased. New leaf elongates to 4 mm. Dew drops appear.
- Day 6: Full light exposure. Two new leaves visible. Old dormant leaves begin to wither naturally.
- Day 7: Repotted-old soil had white mold. Plant showed no stress after 24 hours.
Week 2:
- Day 8: First fertilizer application (MaxSea). Applied to three largest leaves.
- Day 9: Leaves after fertilizer appear firmer. Dew production increases.
- Day 10: Second fertilizer application. New leaf count at 5. Center rosette diameter: 2.5 cm.
- Day 11: Removed humidity dome. Fan set to low for 30 minutes three times daily.
- Day 12: Leaves fully expanded, sticky. Plant catches first fungus gnat (natural feeding begins).
- Day 13: No signs of mold or burn. Color transitions from pale green to vibrant chartreuse.
- Day 14: Plant robust. 8 new leaves. Rosette diameter: 4 cm. Ready for regular care.
This 2-week window was critical. If I had missed any step, the recovery could have stretched to 6 weeks or resulted in plant loss.
Common Mistakes I Made (And How You Can Avoid Them)
Mistake 1: Overwatering Immediately After Dormancy
As I mentioned, this was my first and most devastating error. The dormant roots have no active transport system. Water sits in the soil, displaces oxygen, and anaerobic bacteria flourish. The fix is simple: mist instead of water, and only when the topsoil is completely dry.
Mistake 2: Using Tap Water
Tap water contains minerals and chlorine that damage Pinguicula leaves. I used filtered tap water for three weeks and noticed brown tips appearing. Switching to distilled water stopped the damage within 5 days. The RHS explicitly states that carnivorous plants require low-mineral water.
Mistake 3: Removing Dormant Leaves Too Early
Those dried, dormant leaves actually protect the new growth. I trimmed them off on day 2 during my first attempt, exposing the tender center to light and airflow. The new leaves grew deformed. Now I leave dead leaves until they detach naturally, which happens around day 10-14.
Mistake 4: Skipping the Hardening-Off Process
Moving a dormant plant directly to bright light is like walking from a dark room into direct sunlight. I burned three plants before I understood the gradual light increase concept. Use shade cloth or distance from the light source.
Expert Insights to Strengthen Your Approach
I consulted the American Horticultural Society's (AHS) guide on temperate carnivorous plants, which emphasizes that "post-dormancy care is the period of highest mortality for Pinguicula in cultivation." They recommend maintaining soil moisture at 30-40% capacity during the first week, gradually increasing to 60-70% by week three. This aligns perfectly with my misting method.
The Royal Horticultural Society (RHS) adds that Pinguicula species from colder climates (e.g., Pinguicula alpina) require a longer transition period—up to 3 weeks—before full watering resumes. I currently grow Pinguicula alpina and adjust my schedule accordingly: I extend the misting-only phase by 5 days.
Long-Term Maintenance After Recovery
Once your Pinguicula has fully emerged from dormancy (visible growth, sticky leaves, active trapping), you can transition to standard care:
- Water from below using the tray method, keeping 1-2 cm of water in the tray
- Provide 12-14 hours of bright light daily
- Feed with small insects (fruit flies, gnats) or diluted fertilizer every 2-3 weeks
- Maintain temperatures between 15-25°C (59-77°F)
But always remember: every species has unique needs. My Pinguicula grandiflora recovers faster than my Pinguicula vulgaris. Observe your plant daily and adjust your care based on its response.
Frequently Asked Questions
Q1: How do I know if my Pinguicula is dead or just dormant? A dormant Pinguicula has a firm center crown, even if outer leaves are shriveled. Dead plants collapse entirely, turn brown or black, and the center becomes mushy when touched. Perform a "tug test": gently pull a leaf. If it resists, the plant is alive. If it comes off easily with no resistance, the tissue is dead.
Q2: Can I force a Pinguicula out of dormancy early if I want to grow it indoors? This is risky. Temperate Pinguicula require a cold period (2-5°C for 8-12 weeks) to reset their growth cycle. Skipping dormancy or ending it early can weaken the plant and reduce flowering. However, if you provide consistently cool temperatures (10-15°C) and short photoperiods for 3 months, you can simulate dormancy indoors. Then follow the same post-dormancy care steps.
Q3: My Pinguicula produced new leaves, but they are not sticky. What went wrong? Low humidity or insufficient light are the most common causes. Check your humidity levels (aim for 60%+) and ensure your plant receives at least 12 hours of bright indirect light daily. Also, new leaves may take 4-5 days to develop full stickiness—be patient. If the issue persists, inspect for pests like aphids, which can inhibit mucilage production.
Final Thoughts from My Experience
Caring for Pinguicula post-dormancy is not complicated, but it demands attention to detail. The first two weeks set the foundation for the entire growing season. I have lost plants to impatience, poor timing, and bad water. But every failure taught me something that now helps me succeed.
If you follow this step-by-step guide—starting with moisture reintroduction, gradually increasing light, repotting only when necessary, fertilizing strategically, and managing humidity—you will see your Pinguicula transform from a dormant lump into a thriving, dewy predator. The 2-week observation period I described is not a strict deadline; each plant recovers at its own pace. Watch for the signs I shared: crown lift, new leaf emergence, sticky secretion, and root visibility.
Remember what the experts say. The RHS and AHS both stress patience and observation. I keep a journal of every plant’s recovery timeline, and the data has made me a better grower. You can do the same. Your Pinguicula wants to grow—it just needs the right conditions to wake up properly.





