 bluename
 How to Care for Pinguicula to Prevent Root Bound: A Grower's Guide
If you're like me, you fell in love with Pinguicula, or butterworts, for their glistening, sticky leaves and delicate flowers. But there's a silent, underground threat that can stunt their beauty and even threaten their survival: becoming root bound. I learned this the hard way when my favorite Pinguicula moranensis stopped producing its carnivorous dew and its growth seemed to hit a wall. The problem wasn't light, water, or food—it was roots desperately circling a pot that had become far too small. This guide is born from my own two-week journey to rescue my plant and prevent root bound issues for good. I'll walk you through the exact steps I took, the mistakes I made, and how you can ensure your butterworts thrive with a healthy, expansive root system.
Understanding the Root Bound Problem in Butterworts
First, let's clarify what "root bound" means for a Pinguicula. Unlike some plants that tolerate being pot-bound, butterworts have surprisingly fine and delicate roots. Their primary function is anchorage and water absorption, not extensive nutrient foraging. When these roots run out of space, they form a tight, matted ball at the bottom of the pot. This condition, often called pinguicula root bound, severely restricts growth.
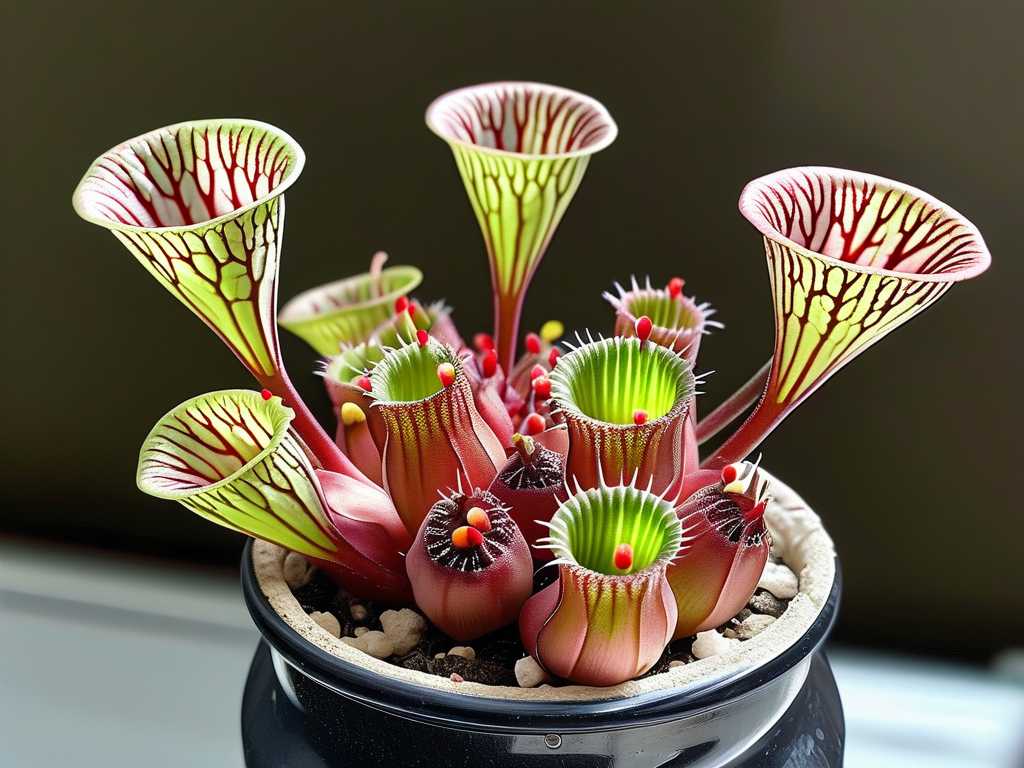
The signs are subtle but telling. You might notice slowed or completely halted leaf production, a lack of the characteristic sticky mucilage on the leaves (even with good light), or water that seems to run straight through the pot without being absorbed. In severe cases, the plant may start to wilt because the root mass can't take up moisture effectively. According to resources from the International Carnivorous Plant Society (ICPS), constrained roots are a common but overlooked cause of decline in captive carnivorous plants, as they directly impact the plant's ability to hydrate and stabilize itself.
My Two-Week Rescue Mission: Repotting for Success
When I confirmed my P. moranensis was suffering, I embarked on a careful repotting project. Here’s my day-by-day process, including the hiccups.
Week 1: Preparation and The Gentle Unpotting
My goal for the first week was stress-free preparation and the main procedure. I gathered my materials: a new pot just 1-2 inches wider in diameter than the old one (a crucial tip—too big a pot holds soggy media), a premium carnivorous plant soil mix (a 1:1 blend of peat moss and perlite), distilled water, and sterilized tools.
- Day 1-2: The Dry-Out. I allowed the plant's soil to become just slightly damp, not sopping wet. A drier root ball is less likely to fall apart and damage roots during handling. This was my first "aha" moment—trying this with wet media in the past made a muddy, root-tearing mess.
- Day 3: The Main Event. Gently tipping the pot, I supported the base of the plant and eased it out. The sight confirmed my diagnosis: a dense, white web of roots completely encircling the peat. I didn't just pull it out; I carefully massaged the root ball to loosen the outer layer. Here was my first mistake: I was too aggressive. I heard a slight tear and immediately stopped. The solution? I used a gentle stream of distilled water to wash away about 30% of the old media from the outside, which helped untangle the roots without brute force.
- Day 3 (cont'd): The New Home. I placed a layer of fresh, pre-moistened mix in the new pot, set the plant so the crown (where leaves emerge) was at the same level as before, and gently filled in around the sides. I tapped the pot to settle the media without compacting it—a key step for preventing root bound conditions by ensuring even growth space.
- Day 4-7: The Recovery Zone. I placed the repotted plant in a spot with bright, indirect light (no direct sun yet) and high humidity. I watered it from the bottom by setting the pot in a tray of distilled water, allowing capillary action to hydrate the new soil without disturbing the roots. No fertilizer—butterworts get their nutrients from insects.
Week 2: Observation and Adjustment
The second week was all about monitoring and responding.
- Day 8-10: The Waiting Game. The plant looked a little sad and droopy—transplant shock. I resisted the urge to fuss with it. I maintained the bottom-watering and kept humidity high. According to expert growers affiliated with the Carnivorous Plant Society (CPS), this period of apparent pause is normal as the roots begin to explore their new territory.
- Day 11-14: Signs of Life. By day 11, I noticed the central leaves felt firmer. By day 14, there was the tiniest hint of new, sticky growth at the very center. This was the victory sign! The roots were establishing. I gradually reintroduced it to its usual morning sun location.
Your Proactive Plan: Preventing Root Bound Issues Before They Start
Repotting is a cure, but prevention is better. Here’s how to integrate care for pinguicula into a routine that avoids binding altogether.
1. Choose the Right Pot and Media from Day One Butterworts prefer shallow pots, as their roots don't grow deep. A wide, shallow pot is often better than a deep one. The soil must be airy and free-draining. A compacted, decomposed mix will feel like concrete to their roots. I refresh the top layer of media annually to maintain texture.
2. Establish a Repotting Schedule Don't wait for symptoms. A proactive repotting schedule is the ultimate prevention strategy for root bound pinguicula. For fast-growing tropical species like P. moranensis, I now repot every 12-18 months. For temperate species that go dormant, I check the roots during their dormant period or as they emerge in spring. This routine check is now non-negotiable in my care log.
3. Master the Watering Technique Consistent moisture without waterlogging is key. I use the tray method: keeping a shallow tray with 0.5 inches of distilled or rainwater, allowing it to dry out for a day before refilling. This encourages roots to grow healthily downward in search of water, rather than coiling tightly in a desperate search for moisture in a dry pot.
Common Troubleshooting: Lessons from My Mistakes
- Mistake: Using a pot that's too large.
- Solution: A pot that is oversized retains too much water, leading to rot. Always size up incrementally.
- Mistake: Repotting during active growth or flowering.
- Solution: The best time is at the very beginning of the growth season, or for tropical types, in early spring. Avoid repotting when the plant is in full bloom or producing its sticky leaves.
- Mistake: Using garden soil or nutrient-rich mixes.
- Solution: This is fatal. Always use nutrient-free, acidic mixes designed for carnivorous plants. Their specialized roots cannot handle minerals or fertilizers.
How often should I repot my Pinguicula? As a general rule, plan to repot fast-growing tropical butterworts every 12-18 months. Temperate species can often go 2-3 years, but it's wise to check the root density during their dormant period. The schedule depends more on growth rate than a strict calendar.
Can a root bound Pinguicula recover on its own? Unfortunately, no. Once the roots have formed a tight mass, they cannot untangle themselves. The plant's growth will continue to be suppressed, and its health will gradually decline. Timely repotting is the only effective intervention.
What are the absolute best signs that it's time to repot? The most reliable signs are a noticeable slowdown in new leaf production over a season and water immediately draining out of the drainage holes without being absorbed by the media. If you gently lift the plant and see a solid wall of roots at the bottom of the root ball, it's definitely time.
Caring for Pinguicula is a rewarding practice that connects you to the fascinating world of carnivorous plants. By understanding the quiet need of their root systems, you move from simply keeping them alive to helping them flourish. The key is proactive, gentle attention—providing the right space to grow before it becomes a crisis. When you give those fine roots room to breathe and explore, your butterwort will reward you with vigorous, dewy growth and stunning blooms for seasons to come.





