 bluename
 How to Care for Pinguicula When Leaves Turn Black
There’s a special kind of panic that sets in when you notice your beloved Pinguicula, or butterwort, developing black, mushy leaves. I’ve been there, staring at a once-vibrant rosette now edged in darkness, wondering where I went wrong. Is it a death sentence? Is the whole plant doomed? As a fellow carnivorous plant enthusiast who has nurtured—and sometimes battled to save—my collection for years, I can tell you this: blackening leaves are a serious cry for help, but they are not always the end. More importantly, they are your plant’s clearest signal that its care needs an immediate adjustment.
In this guide, I’ll walk you through exactly what I did when my own Pinguicula moranensis started showing these alarming symptoms. We’ll move beyond generic advice and into the real-world, step-by-step troubleshooting and recovery process I followed over a critical two-week period. I’ll share the mistakes I made along the way and the solutions that finally worked, backed by the best practices recommended by authorities like the International Carnivorous Plant Society (ICPS). By understanding the “why” behind the black leaves, you can not only address the current crisis but also prevent it from happening again.
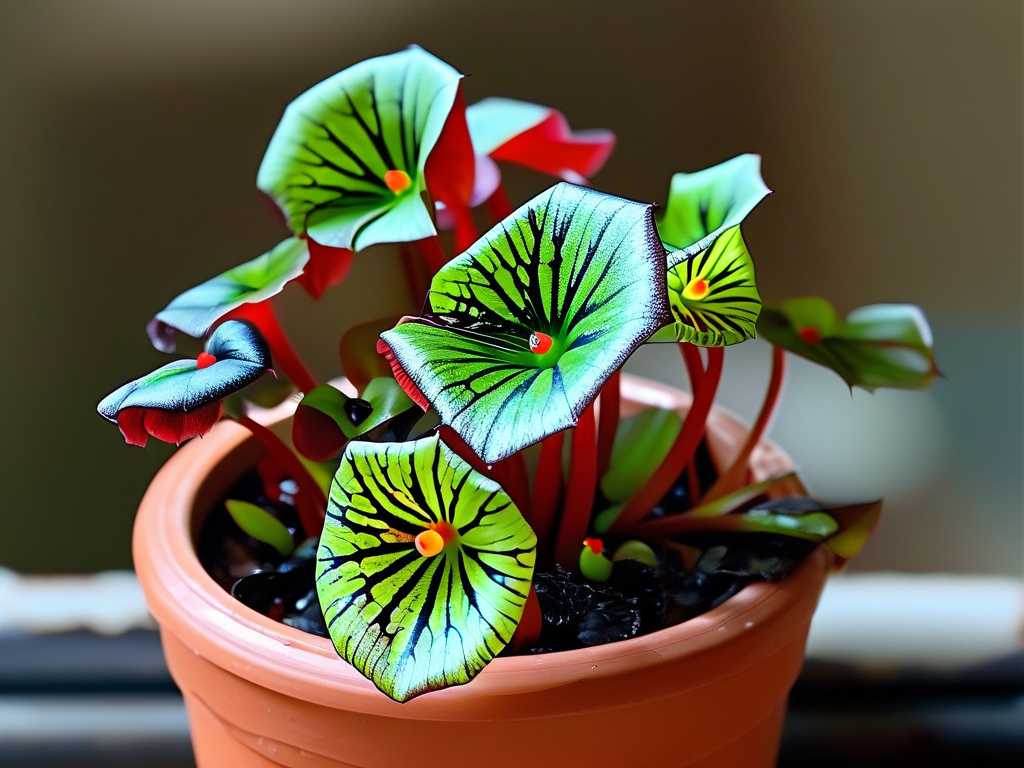
Understanding the “Why”: Diagnosing the Cause of Black Leaves
Before you can treat the problem, you must diagnose it. Black leaves on a butterwort typically point to one of three core issues: fungal/bacterial rot, severe physical damage, or catastrophic environmental stress. Through my own trial and error, I’ve learned that correctly identifying the culprit in the first 24-48 hours is what makes or breaks the recovery.
The Primary Suspect: Fungal or Bacterial Rot (The Silent Killer)
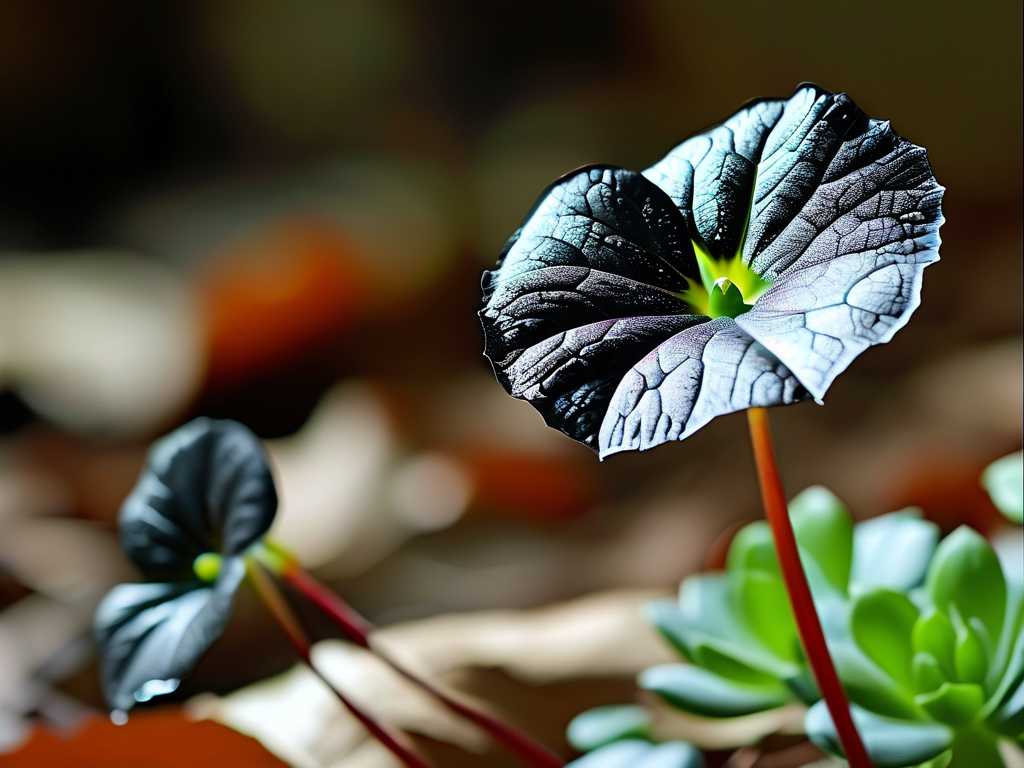
This is, by far, the most common cause I’ve encountered. It often starts at the base of the leaves or in the crown (the plant’s central growth point) and spreads outwards. The affected tissue is typically soft, wet, and collapses easily. The ICPS notes that persistently soggy conditions, especially in cool temperatures, create an ideal breeding ground for these pathogens.
- My Personal Experience: My Pinguicula’s troubles began after I became overzealous with winter watering. I kept the tray method (sitting the pot in a shallow dish of water) going without allowing the medium to approach dryness. Combined with lower light and cooler temps on my windowsill, the conditions were perfect for rot. I first noticed a slight darkening at the very center, which I foolishly ignored for a few days, thinking it was just older leaves dying back.
Other Potential Culprits
- Physical Trauma: A crushed leaf from handling or pest damage can turn black at the injury site. This is usually localized and doesn’t spread if the plant is otherwise healthy.
- Chemical Burn: Using standard potting soil, fertilized soil, or tap water (which contains minerals and salts) can cause root damage and foliar burn, manifesting as black or brown crispy tips that may progress.
- Extreme Environmental Shock: A sudden, drastic change in temperature, light, or humidity can shock the plant, causing older leaves to blacken and die back rapidly as the plant redirects energy.
My Step-by-Step, Two-Week Rescue Protocol
When I confirmed it was rot (the smell was faintly sour, a telltale sign), I sprang into action. Here is the exact sequence I followed.
Phase 1: Immediate Intervention (Days 1-3)
- Unpot and Inspect: Gently, I removed the plant from its pot. I carefully washed the roots and rhizome under distilled or rainwater to clear away the old, soggy medium. The goal was to assess the damage to the crown and root system.
- Surgical Removal: Using sterilized scissors (I wiped them with isopropyl alcohol), I cut away every single leaf and root fragment that was black, mushy, or even suspiciously soft. This is heartbreaking but non-negotiable. The ICPS emphasizes that all infected tissue must be removed to prevent spread. I cut back until I saw only clean, firm, white or greenish tissue at the crown.
- Fungicide Treatment: As a precaution, I lightly dusted the entire crown and any remaining root stubs with a sulfur-based fungicide powder. This creates a protective barrier. Some growers use a diluted hydrogen peroxide soak, but I’ve had more consistent success with sulfur on delicate carnivorous plant tissue.
- Fresh Start in New Medium: I prepared a brand new pot with a sterile, well-draining mix. My go-to is a 50:50 blend of perlite and peat moss, both rinsed with distilled water beforehand. I made a small depression and set the trimmed crown on the surface, barely anchoring it. I did not bury it deeply.
Phase 2: The Critical Recovery Environment (Days 4-14)
This phase is all about patience and providing impeccable conditions.
- Watering: I abandoned the tray method completely. Instead, I placed the pot in a bright, warm location and watered it from the top with distilled water only when the surface of the medium felt just slightly damp. The mantra was “moist but not wet.”
- Light: I provided very bright, indirect light. I used a grow light set about 12 inches away for 14 hours a day to give it energy without the stress of direct, hot sun while it was vulnerable.
- Humidity: To reduce transpirational stress on the wounded plant, I placed a clear plastic dome or a ziplock bag loosely over the pot to create a humid microclimate. I ventilated it for an hour each day to prevent stagnant air.
The Two-Week Observation: My Results and The “Pitfalls” I Hit
- Days 1-7: The plant looked… like nothing. It was just a small, greenish nub on the soil. I fought the urge to poke it or water it more. This is the hardest part.
- Day 8-10: Here’s where I hit a pitfall. I saw what I thought was a new speck of mold. In a panic, I removed the humidity dome completely. Within a day, the tiny crown started to shrivel. I realized I’d exposed it to too-dry air too soon. My solution: I immediately re-established the dome but increased ventilation to twice daily. The shriveling stopped.
- Day 12: Victory! A tiny, bright green nub emerged from the side of the old crown—a brand new leaf bud. This was the unequivocal sign that the plant had rerouted its energy and was initiating recovery.
- Day 14: The new leaf was visibly larger, and a second one had begun to form. The original crown tissue remained firm and green, not black. The rescue was a success.
Long-Term Adjustments to Prevent Recurrence
Saving the plant is only half the battle. You must change the care routine that led to the problem.
- Master the Watering Cycle: I now strictly mimic natural wet/dry cycles. During active growth, I use the tray method but let the water dish dry out for a day or two before refilling. In winter (the succulent phase for many Pinguicula), I let the medium become almost completely dry before giving it a light watering.
- Prioritize Airflow: I invested in a small, oscillating fan for my plant shelf. Gentle air movement is a powerful deterrent against fungal spores settling and taking hold.
- Stick to Appropriate Media: Never, ever use standard potting soil or miracle-gro type products. The mineral buildup is fatal. The American Carnivorous Plant Society reiterates that the inert, nutrient-poor mixes like peat/perlite or pure vermiculite are essential for long-term health.
- Water Purity is Non-Negotiable: Rainwater, distilled water, or reverse osmosis water only. This is the single most important rule in carnivorous plant care.
Can a Pinguicula come back from black leaves? Yes, absolutely, if the crown (the central growth point) is still firm and healthy. The plant can often regenerate from the crown even if all leaves are lost, as mine did. The key is removing all rot and providing a stable recovery environment.
Should I cut off the black leaves on my butterwort? Yes, but with precision. Using sterilized tools, cut away the blackened portions or the entire leaf if the decay reaches the base. Make clean cuts into healthy tissue to prevent the rot from spreading further into the crown.
What is the difference between normal leaf die-off and rot? Normal die-off in Pinguicula typically affects the oldest, outer leaves. They will yellow gradually, then may turn brown and dry out, remaining fairly firm. Rot, in contrast, often starts unexpectedly, can affect inner or outer leaves, and causes tissue to become soft, wet, and mushy, sometimes with an unpleasant odor.
Seeing those first new, green leaves emerge after a rescue is one of the most rewarding experiences in plant care. It transforms a moment of failure into a profound lesson in observation and adaptation. Black leaves on your Pinguicula are a daunting sight, but they are ultimately a message. By responding with swift, informed action—focusing on sterile removal, perfecting your water and light regime, and having the patience to wait—you can not only save your plant but also forge a deeper understanding of its needs. Your butterwort’s resilience will surprise you, and the skills you learn from this process will make you a more confident and successful carnivorous plant grower.





