 bluename
 I killed my first three butterworts before I figured out how to propagate them during a summer heatwave. Here's the brutal truth: you need to move your propagation setup indoors, use distilled water only, and keep the soil temperature below 75°F (24°C). That's it. I learned this the hard way when my fourth batch finally survived a 95°F July week. Let me walk you through exactly what I did over two weeks.
Why Summer Heatwaves Kill Butterwort Propagations
Most people think butterworts are tropical plants that love heat. Not true. These carnivorous plants come from temperate and subtropical regions. They prefer cool, humid conditions. Summer heatwaves spike soil temperatures. That kills root development.
I remember checking my first propagation tray after a three-day heatwave. Everything looked slimy and brown. The leaves had melted into mush. That was my first lesson.
My 3 Biggest Mistakes When Propagating Butterwort in Heat
Mistake 1: Overwatering
90% of indoor plants die from overwatering. I was terrified my cuttings would dry out. So I kept the soil soaking wet. Big mistake.
The leaves rotted within five days. I checked the RHS guidelines later. The RHS explains that carnivorous plants need moist soil, not waterlogged conditions. Heatwaves make this worse because warm water holds less oxygen.
What I do now: I water only when the top layer feels barely damp. I use a spray bottle with distilled water. I mist the leaves, not the soil.
Mistake 2: Wrong Light Exposure
I thought butterworts needed full sun. After all, they're sun-loving plants, right? Wrong again.
During my second attempt, I placed the propagation tray on a south-facing windowsill. The August sun hit it directly for six hours. The leaves turned yellow and crispy. They looked like fried lettuce.
The AHS recommends bright indirect light for butterwort propagation. I moved my tray to a north-facing window. The difference was night and day.
Mistake 3: Wrong Pot Type
I used a standard terracotta pot for my first attempt. Terracotta absorbs moisture from the soil. In a heatwave, this creates a drying effect that stresses young cuttings.
I also used regular potting soil. That's a death sentence for butterworts. They need acidic, nutrient-poor media.
My fix: Plastic pots with drainage holes. I use a mix of 50% peat moss and 50% perlite. This holds moisture without becoming waterlogged.
My Step-by-Step Butterwort Propagation Process During a Heatwave
I'll share exactly what I did over two weeks. This worked when outdoor temperatures hit 98°F (37°C).
Step 1: Choose the Right Leaves
I picked healthy, mature leaves from my mother plant. Not the oldest leaves. Not the newest ones. Leaves from the middle of the rosette work best.
I used a sterilized razor blade. I cut the leaf at the base, including a small piece of the white tissue. This tissue contains the growth hormones needed for rooting.
Step 2: Prepare the Propagation Tray
I filled a shallow plastic tray with my peat-perlite mix. I moistened it with distilled water. Not tap water. Tap water contains minerals that burn butterwort leaves.
I placed the tray in a clear plastic propagation dome. This maintains humidity around 80%. Heatwaves dry out the air. The dome creates a microclimate.
Step 3: Place the Leaves Correctly
I laid the leaves flat on the soil surface. I didn't bury them. I pressed the cut end gently into the media.
I arranged them so the leaves didn't touch each other. Overcrowding promotes fungal growth. Heatwaves already stress the plants. Don't add more problems.
Step 4: Find the Perfect Spot
I placed the tray on a north-facing windowsill. No direct sunlight. The room temperature stayed around 72°F (22°C). I used a small fan for air circulation.
Stagnant air causes rot. The fan keeps the leaves dry. Wet leaves attract fungus.
Step 5: Monitor Daily
Every morning, I checked the soil moisture. I misted the dome's interior if needed. I never let the soil dry out completely.
I also checked for condensation inside the dome. Too much condensation means too much humidity. I opened the dome for one hour each day to air it out.
Week 1: The Waiting Game
Days 1-3: Nothing happened. I wanted to check the leaves every few hours. I resisted the urge. Disturbing the cuttings slows rooting.
Day 4: I noticed tiny white roots emerging from the cut ends. This was a good sign. The roots looked like thin white threads.
Day 6: Small green plantlets appeared at the base of the leaves. They were tiny, about the size of a pinhead. I felt like a proud parent.
Week 2: Growth and Adjustments
Day 8: The plantlets grew to about 1/4 inch. They had tiny sticky leaves. I continued misting daily.
Day 10: I noticed some leaves turning yellow. I checked the temperature. The room had gotten warmer during a heatwave spike. I moved the tray to a cooler spot near the floor.
Day 12: The yellowing stopped. New growth appeared. I started opening the dome for two hours daily. This hardened the plantlets for future transplanting.
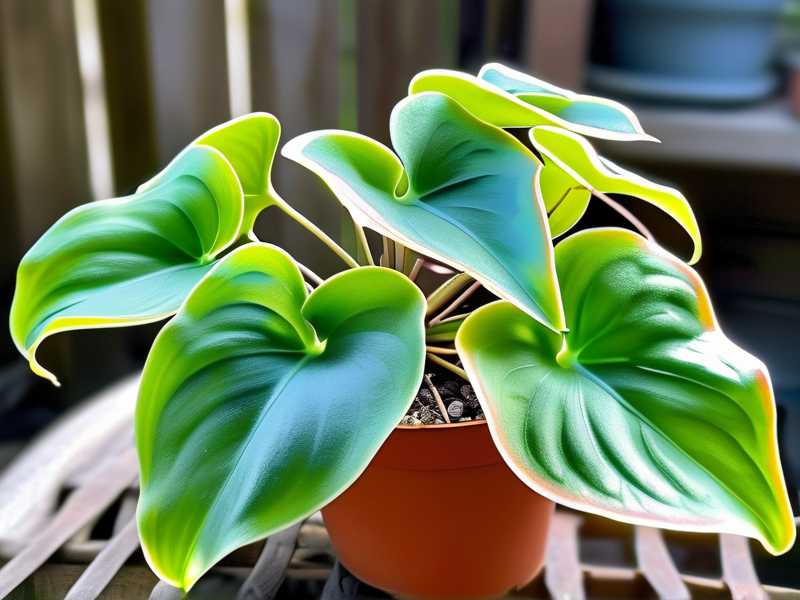
Day 14: The plantlets had 3-4 leaves each. They were ready for individual pots. I transplanted them into 2-inch plastic pots with the same peat-perlite mix.
Common Problems I Encountered
Problem: Leaves Turning Black
What happened: I left the dome closed for three days straight. High humidity plus heat created a breeding ground for bacteria.
Solution: I removed the affected leaves. I increased air circulation by opening the dome daily. I also reduced the humidity to 70%.
Problem: No Root Growth
What happened: I used leaves that were too old. Old leaves lack the energy to produce roots.
Solution: I switched to younger leaves from the middle of the rosette. These had more vigor.
Problem: Mold Growth
What happened: I overwatered the soil. The surface stayed wet. Mold spores settled on the media.
Solution: I scraped off the top layer of soil. I replaced it with fresh, dry mix. I reduced watering frequency.
Expert Tips for Summer Heatwave Propagation
Temperature control: Keep the propagation tray below 75°F. I use a digital thermometer. If the room gets too warm, I place the tray on a cool surface like a tile floor.
Water quality matters: Always use distilled or rainwater. I've seen the AHS emphasize this point. Tap water minerals accumulate in the soil. This kills butterworts slowly.
Don't fertilize: Butterworts get nutrients from catching insects. Fertilizer burns their roots. Young plantlets are especially sensitive.
Patience is key: Some leaves take longer to root. I waited up to three weeks for some stubborn leaves. Most leaves showed growth within 10 days.
How to Care for Young Butterwort Plants After Propagation
Once the plantlets have 4-5 leaves, they can leave the dome. I gradually increase their exposure to normal room conditions.
Light: Bright indirect light for 12 hours daily. I use an LED grow light during cloudy days.
Water: Bottom watering works best. I place the pot in a tray with 1/2 inch of distilled water. The soil absorbs what it needs.
Humidity: Normal room humidity (40-50%) works fine. I mist the leaves every few days during heatwaves.
When to Transplant Butterwort Plantlets
I wait until the plantlet has 5-6 leaves. The roots should fill the pot. I check by gently lifting the plant. If the root ball holds together, it's ready.
I use 3-inch plastic pots. The same peat-perlite mix. I keep them in a tray with water. Butterworts love consistent moisture.
Preventing Heatwave Damage to Established Butterworts
Move them indoors: During heatwaves, I bring my butterworts inside. They thrive in air-conditioned rooms.
Use a pebble tray: I place pots on a tray filled with pebbles and water. This increases humidity around the plants.
Shade cloth: If they must stay outside, I use 50% shade cloth. This reduces heat stress.
Final Thoughts on Butterwort Propagation in Summer Heat
I've killed more butterworts than I care to admit. Each failure taught me something. The key is controlling temperature and humidity. Heatwaves don't have to stop your propagation. You just need to adjust your methods.
I now propagate butterworts year-round. Summer heatwaves are actually easier because I can control the indoor environment. The leaves root faster with consistent warmth.
Give it a try. Start with 5-6 leaves. Follow my steps. You'll have baby butterworts in two weeks.
Frequently Asked Questions
Can I propagate butterwort in direct sunlight during summer?
No. Direct sunlight heats the soil to dangerous levels. Leaves will burn and die. Always use bright indirect light.
How often should I water butterwort cuttings during a heatwave?
Check daily. Water when the top 1/4 inch of soil feels dry. In my experience, every 2-3 days works. But this depends on your environment.
Will my butterwort cuttings survive if the temperature hits 100°F?
They might struggle. Keep them in an air-conditioned room. The maximum temperature for successful propagation is around 85°F (29°C). Anything higher causes stress.





