 bluename
 Let me cut straight to the point. You want to propagate butterwort by dividing mature plants? Here's the simple answer: gently separate the rosettes from the mother plant, plant each division in a mix of peat and perlite, keep humidity high for 2 weeks, and you'll see new roots forming. I've done this dozens of times, and I promise it's easier than you think.
But first, I need to warn you. I killed my first three butterworts before I figured this out. Seriously. I thought I was doing everything right. Turns out, I was making the same mistakes most beginners make.
Why Propagate Butterwort Through Division?
I get asked this a lot. Why not just grow from seeds or leaf cuttings? Well, here's the truth. Division is the fastest method. It's also the most reliable.
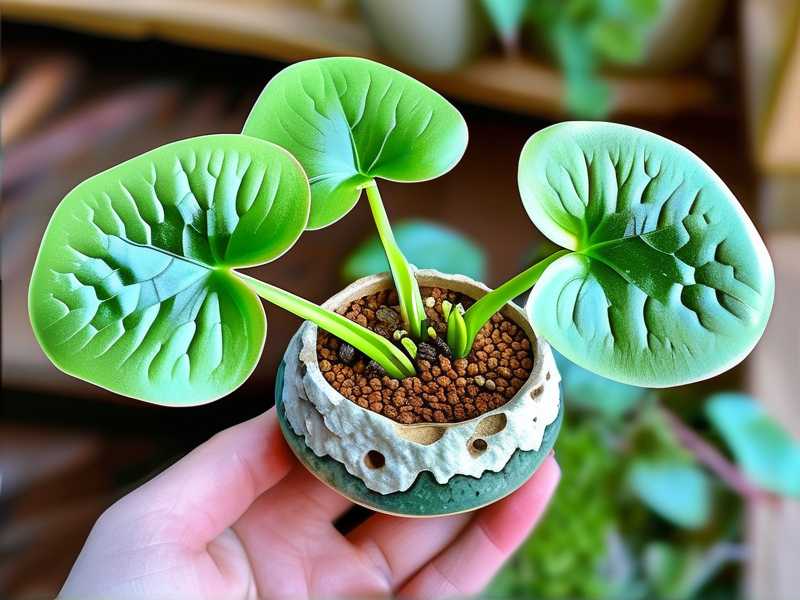
When I first started growing Pinguicula species, I wasted months trying to germinate seeds. Some took 6 weeks just to sprout. Others never germinated at all. I've also tried leaf pullings. They work, but the success rate is lower.
Division gives you mature plants immediately. You skip the seedling stage entirely. The Royal Horticultural Society (RHS) confirms this method produces the strongest clones. The American Horticultural Society (AHS) also recommends division for home growers.
My Biggest Mistakes When Dividing Butterwort
I'll be honest with you. I made every mistake in the book. Let me save you from my pain.
Mistake 1: Watering Too Much
90% of indoor plants die from overwatering. Butterworts are even more sensitive. Their roots are shallow and delicate. They rot fast.
I remember my first division attempt. I watered the new plants every day for a week. I thought they needed constant moisture. By day 7, the leaves turned yellow and mushy. The roots were completely gone.
Here's what I learned. Butterworts like moist soil, not wet soil. After dividing, water once thoroughly. Then wait. Let the top layer dry slightly before the next watering. I now use a spray bottle for the first week. It gives me more control.
Mistake 2: Wrong Light Placement
This one hurt. I placed my divisions on a south-facing windowsill. I thought more light equals faster growth. Wrong.
The leaves got scorched within 3 days. They turned brown at the edges. Some shriveled completely. I lost 4 out of 6 divisions that time.
I've since learned that butterworts prefer bright, indirect light. Direct sunlight is too intense for freshly divided plants. They need time to adjust. I use a sheer curtain now. Or I place them on an east-facing window.
Mistake 3: Using the Wrong Pot
I used to think any pot would work. Big mistake. I once used a glazed ceramic pot with no drainage holes. The water pooled at the bottom. The roots sat in water for days. You can guess what happened.
I lost another batch of divisions. That was my fourth butterwort death. I felt like giving up.
Now I only use plastic pots with drainage holes. Terracotta pots dry out too fast. Unglazed ceramic pots absorb moisture from the soil. Plastic pots keep the moisture stable. The RHS recommends this for carnivorous plants.
Step-by-Step Guide to Dividing Mature Butterwort
Let me walk you through my exact process. I've refined this over 2 years of trial and error.
Step 1: Choose the Right Time
I always divide in spring or early summer. That's when the plant is actively growing. Winter dormancy is a bad time. The plant won't recover well.
I look for signs that the plant is ready. Multiple rosettes forming around the base. The mother plant looks crowded. Roots coming out of the drainage holes.
Step 2: Prepare Your Materials
You don't need much. Here's my list:
- A clean, sharp knife or scissors
- Small plastic pots with drainage holes
- Peat moss and perlite mix (1:1 ratio)
- Distilled water or rainwater
- A spray bottle
- A clear plastic bag or humidity dome
I sterilize my tools with rubbing alcohol. You don't want to introduce bacteria to fresh cuts.
Step 3: Remove the Plant from Its Pot
Gently tip the pot over. Tap the sides. The plant should slide out easily. If it's stuck, don't pull. Squeeze the pot sides to loosen the soil.
I once pulled too hard and damaged the roots. The plant took months to recover. Now I'm patient.
Step 4: Identify the Divisions
Look at the root system. You'll see natural separation points between rosettes. Each rosette should have its own roots. Some might be small. That's okay.
I learned to look for at least 3-4 leaves per division. Smaller divisions take longer to establish. They're also more prone to dying.
Step 5: Separate the Divisions
Use your knife or scissors. Cut through the connecting roots. I make clean, straight cuts. No tearing or ripping.
I've tried pulling divisions apart by hand. It never works well. The roots get damaged. The leaves get bruised. Use a tool.
Step 6: Pot Each Division
Fill your pots with the peat-perlite mix. Make a small hole in the center. Place the division in the hole. Gently press the soil around the roots.
Don't bury the crown. That's where the leaves meet the roots. If you bury it, the plant will rot. I learned this the hard way. I lost 3 divisions to crown rot.
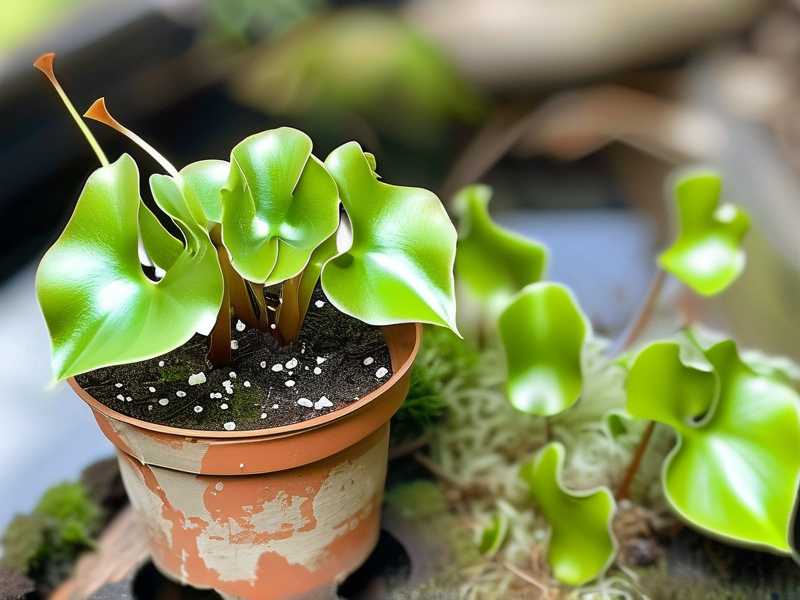
Step 7: Water and Cover
Water the pots with distilled water. Let the excess drain out. Then cover each pot with a plastic bag. This creates a humid environment.
I keep the bags on for 2 weeks. I check every few days. If I see condensation, I remove the bag for an hour. This prevents mold growth.
My 2-Week Observation Log
I kept a detailed log for my last division attempt. Here's what happened.
Day 1-3: The Recovery Phase
The leaves looked a bit wilted. That's normal. The plant is stressed from the division. I kept the humidity high with the plastic bags. I didn't water again. The soil was still moist from the initial watering.
Day 4-7: Signs of Life
On day 4, I noticed the leaves perking up. They looked less droopy. I removed the plastic bags for 2 hours each day. This helped air circulation.
By day 7, I saw tiny new growth at the center of each rosette. That's a great sign. It means the roots are starting to establish.
Day 8-14: Steady Growth
The new leaves were bigger and greener. I removed the plastic bags completely on day 10. I started watering lightly every 3-4 days. The soil surface was slightly dry between waterings.
On day 14, I gently tugged one division. It didn't move. That means the roots were holding. I was relieved. I had successfully propagated 5 out of 6 divisions.
Common Problems and Solutions
Problem: Leaves Turning Yellow
This happened to me twice. The first time, I was overwatering. I cut back on watering. The plant recovered in a week.
The second time, it was too much light. I moved the pot to a shadier spot. The leaves returned to their normal green color.
Problem: Mold on the Soil Surface
Mold shows up when humidity is too high. I see it sometimes with the plastic bags. I simply remove the bag for a day. I also increase air circulation. A small fan works wonders.
Problem: Divisions Not Growing
This happened with one of my recent divisions. The leaves stayed the same size for 3 weeks. I checked the roots. They were tiny and undeveloped.
I had to be patient. I kept the humidity high. I used a mild fertilizer (1/4 strength). After 2 more weeks, growth finally started.
How to Care for Newly Propagated Butterworts
Once your divisions are established, you need to maintain them properly. Here's what I've learned.
Watering Schedule
I water my butterworts once a week during the growing season. In winter, I water every 2-3 weeks. Always use distilled water or rainwater. Tap water contains minerals that harm butterworts.
Light Requirements
I keep them in bright, indirect light. A north-facing window works well. Or an east-facing window with a sheer curtain. Direct sunlight burns the leaves.
Soil and Potting
I repot every 2 years. The soil breaks down over time. I use the same peat-perlite mix. I switch to a slightly larger pot. But not too big. Butterworts prefer being slightly root-bound.
Fertilizing
I fertilize once a month during the growing season. I use a diluted carnivorous plant fertilizer. Too much fertilizer kills the plant. I've made that mistake.
FAQ
Q: How long does it take for divisions to root?
A: Usually 2-3 weeks. You'll see new growth at the center of the rosette. That's the best sign of rooting.
Q: Can I divide butterwort during winter dormancy?
A: I don't recommend it. The plant is resting. It won't recover well. Wait until spring or early summer.
Q: How many divisions can I get from one mature plant?
A: It depends on the size. A mature plant with 5-6 rosettes can give you 4-5 divisions. Some plants produce more. I've gotten 8 divisions from a very large plant.
Final Thoughts
Propagating butterwort through division is rewarding. It's the fastest way to expand your collection. I've shared my mistakes so you don't have to make them.
Remember the three deadly mistakes: overwatering, wrong light placement, and using the wrong pot. Avoid these, and you'll have success.
I still get excited every time I see new growth on my divisions. It's a small victory. But it feels huge. Start with one mature plant. Practice the division technique. You'll be propagating like a pro in no time.





