 bluename
 I killed my first butterwort in three days. That's the honest truth. I thought I knew what I was doing. I was so wrong.
The quick answer for propagating butterwort by division? Gently remove the plant from its pot. Look for natural offsets or rosettes. Use a sterilized knife to separate them. Replant each section in fresh carnivorous plant soil. Water with distilled water only. Place in bright indirect light. Wait two weeks before feeding.
I've been growing carnivorous plants for over seven years now. I've made every mistake possible. Let me save you from the same pain.
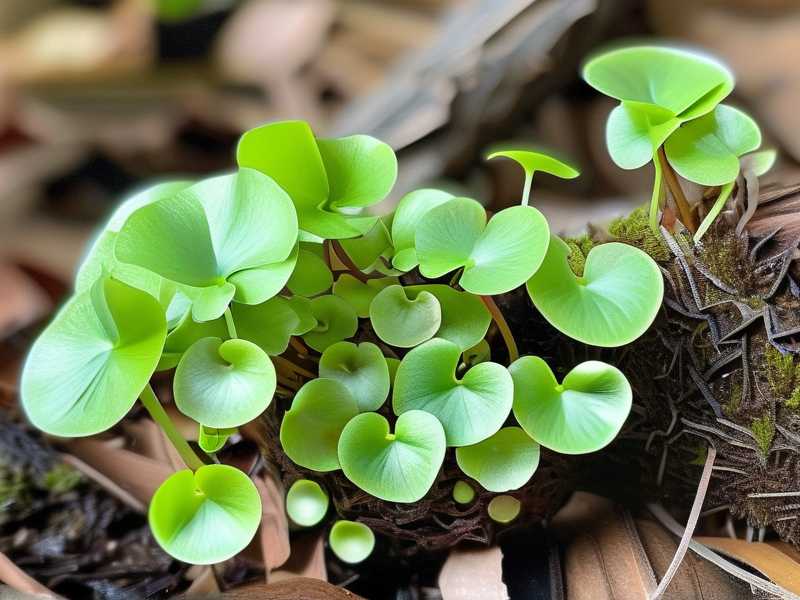
90% of indoor plants die from overwatering. But with butterworts? It's even more critical. These delicate plants rot from the roots up if you look at them wrong with a watering can.
Why Propagate Butterwort Through Division?
Simple logic really. Division is the safest method for beginners. It's also the fastest. You get mature plants instantly. No waiting months for leaf cuttings to root. No fussing with seeds that might not germinate.
I tried seed propagation first. Big mistake. The seeds are microscopic. Like dust particles. I sneezed once and lost an entire packet. Two months of effort gone in one second.
Division works because butterworts naturally produce offsets. These are baby plants growing from the mother plant's base. They already have roots. They're ready to be independent.
The Three Fatal Mistakes Beginners Make
Mistake 1: Overwatering
I drowned my first butterwort. Literally. I thought carnivorous plants loved wet feet. Wrong.
Butterworts need moisture but not saturation. They're not Venus flytraps. Their roots are delicate. They rot fast.
Here's what I do now: I water from the bottom. I pour distilled water into the tray. The plant drinks what it needs. The top soil stays dry-ish. This prevents crown rot.
Signs of overwatering: yellow leaves, mushy stems, black spots on the base. If you see these, stop watering immediately. Let the soil dry out for a few days.
Mistake 2: Wrong Light Placement
I put my first butterwort on a south-facing windowsill. Direct sun. Thought I was helping.
The leaves turned brown and crispy within a week. The plant looked like it had been sunburned. Because it had been.
Butterworts need bright indirect light. Think morning sun or filtered light through a sheer curtain. East-facing windows work great. North-facing windows with supplemental grow lights also work.
I now use LED grow lights for winter months. 12 hours on, 12 hours off. My plants thrive. No more crispy leaves.
Mistake 3: Wrong Pot
Terracotta pots are terrible for butterworts. I learned this the hard way.
Terracotta absorbs moisture. It wicks water away from the soil. The roots dry out. The plant stresses.
Plastic pots are better. They hold moisture consistently. Glazed ceramic pots also work.
But here's the real secret: drainage holes are non-negotiable. Without them, water pools at the bottom. Roots rot. Plant dies.
I use 4-inch plastic pots with drainage holes. Deep enough for roots to spread. Shallow enough to prevent waterlogging.
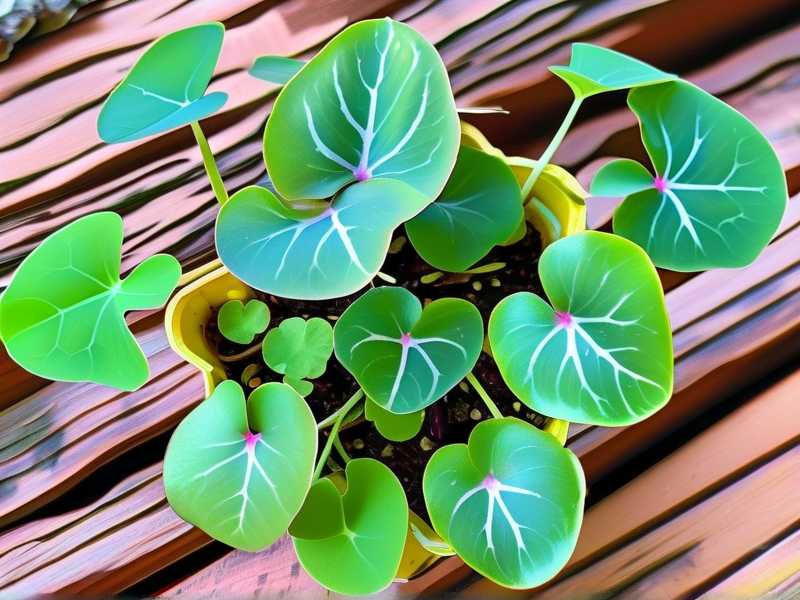
Step-by-Step: How to Propagate Butterwort by Division
Step 1: Gather Your Tools
You'll need:
- Sterilized scissors or knife
- New plastic pots
- Carnivorous plant soil mix (peat moss and perlite)
- Distilled water
- Spray bottle
- Clean tray
I sterilize my tools with rubbing alcohol. Let them dry completely. This prevents disease transfer.
Step 2: Remove the Mother Plant
Gently tip the pot sideways. Tap the bottom. The plant should slide out easily.
If it's stuck, don't yank. Run a knife around the inside edge of the pot. Then try again.
I've damaged roots by pulling too hard. Be patient. Gentle movements work best.
Step 3: Identify the Offsets
Look for smaller rosettes attached to the main plant. They'll have their own tiny roots. Some might be completely separate. Others will be partially connected.
You want offsets that are at least 1-2 inches in diameter. Smaller ones might not survive on their own.
Step 4: Separate the Sections
Use your sterilized knife. Cut through the connecting tissue. Make clean cuts. Don't tear.
If the offset has no roots, don't worry. It can still grow. But rootless offsets need extra care.
I once separated a tiny offset with no roots. I placed it on damp sphagnum moss. Kept humidity high. It rooted in two weeks. Patience pays off.
Step 5: Prepare the New Pots
Fill your pots with carnivorous plant soil. Don't use regular potting mix. It has fertilizer. Butterworts hate fertilizer.
Moisten the soil with distilled water. Not soaking wet. Just damp. Think wrung-out sponge.
Step 6: Plant the Divisions
Make a small hole in the center. Place the offset in. Gently press soil around the roots. Don't bury the crown. The growing point must stay above soil.
I learned this the hard way. Buried crown = rot. Every time.
Step 7: Water Carefully
Use your spray bottle. Mist the soil surface. Don't flood the pot.
Place the pot in a tray with shallow distilled water. Let the soil absorb from below. Remove from tray after 15 minutes.
Step 8: Provide Proper Environment
Put the new divisions in bright indirect light. No direct sun for the first week. They need to adjust.
Humidity helps. I cover my new divisions with a clear plastic dome. Or a plastic bag with holes. This creates a mini greenhouse.
Remove the dome after 3-4 days. Gradually acclimate to normal conditions.
My Two-Week Observation Log
I divided my Pinguicula moranensis on March 1st. Here's what happened.
Day 1-3: The offsets looked stressed. Leaves drooped slightly. Normal. They're adjusting.
Day 4-5: Leaves started perking up. New growth visible at the center. Roots were establishing.
Day 6-8: I noticed small dew drops on the leaves. Great sign. The plant was producing digestive enzymes.
Day 9-10: One offset developed a yellow leaf. I removed it. No big deal. Just the plant shedding old growth.
Day 11-14: New leaves appeared. Healthy green color. The plant looked settled. I started feeding with crushed bloodworms.
By day 14, all divisions were growing actively. No rot. No pests. Success.
Common Problems and Solutions
Problem: Leaves Turning Yellow
This happens. Usually from stress. Or overwatering.
Check the soil moisture. If it's wet, let it dry. If it's dry, water from below.
Problem: No New Growth
Your division might be too small. Or the environment is wrong.
Check light levels. Are they getting enough? Check temperature. Butterworts like 65-75°F.
Problem: Mold on Soil Surface
Too much humidity. Not enough air circulation.
Remove the plastic dome. Increase ventilation. Use a fan on low setting.
What the Experts Say
The Royal Horticultural Society (RHS) recommends using peat-free compost for carnivorous plants. But traditional peat-based mixes work well for butterworts. Just make sure it's free of added fertilizers.
The American Horticultural Society (AHS) emphasizes proper drainage. They recommend pots with multiple drainage holes. Standing water is the enemy of butterwort roots.
I trust these organizations. They've been studying plants for over a century. Their advice is backed by real research.
Tools That Make Propagation Easier
I use a few specific tools. They're not expensive. But they make a huge difference.
Distilled water dispenser: I buy distilled water in gallon jugs. Or use a home distiller. Tap water kills butterworts. The minerals build up and burn the roots.
Plastic propagation trays: These create consistent humidity. I found mine at a local garden center. They're cheap and reusable.
LED grow lights: For winter months. My butterworts get 12 hours of light daily. They grow year-round now.
Soil moisture meter: Takes the guesswork out of watering. I stick it in the soil. It tells me if the plant needs water.
Seasonal Considerations
Butterworts have different needs in different seasons.
Spring: Best time for division. Plants are actively growing. They recover faster.
Summer: Keep divisions out of direct sun. Heat stress is real. Water more frequently.
Fall: Reduce watering. Plants slow down. Some species go dormant.
Winter: Minimal watering. Keep plants cool. Don't fertilize.
I've killed plants by watering in winter. They just don't need it. Let them rest.
Advanced Tips for Experienced Growers
If you've mastered basic division, try these.
Leaf pullings: Take a healthy leaf. Pull it downward. It should separate cleanly. Place it on damp soil. Cover with plastic. Roots will form in 2-3 weeks.
Flower stalk propagation: Some butterworts produce flowers. Cut the stalk. Plant it in soil. It might produce new plantlets.
Seed propagation: For patient growers. Seeds are tiny. Surface sow on damp soil. Keep humid. Germination takes 2-4 weeks.
I've tried all three. Division is still the easiest. But leaf pullings are fun too.
Frequently Asked Questions
Can I propagate butterwort in water?
No. Butterworts are not aquatic plants. Water propagation causes rot. Always use soil.
How long does it take for divisions to root?
Typically 1-2 weeks. You'll see new growth at the center. This means roots are established.
Can I use regular potting soil for butterwort divisions?
Absolutely not. Regular soil has fertilizer. It will burn the roots. Use carnivorous plant mix only.
Do I need to fertilize new divisions?
No. Butterworts get nutrients from insects. Wait at least 2-3 weeks before feeding. Use crushed insects or diluted carnivorous plant fertilizer.
Can I divide butterwort during winter?
It's possible but risky. Plants are dormant. Recovery is slower. Wait for spring if you can.
My division looks wilted. What went wrong?
Check for overwatering. Or underwatering. Or light stress. Remove any dead leaves. Adjust care. Most divisions recover if caught early.
Final Thoughts
Propagating butterwort through division is straightforward. You just need to avoid those three fatal mistakes. Overwatering, wrong light, wrong pot. Get those right, and you're golden.
I've propagated dozens of butterworts this way. I've given them to friends. I've traded them at plant swaps. It's rewarding to see these plants thrive.
Start with one division. Master the technique. Then try more. You'll have a collection in no time.
Remember: 90% of indoor plants die from overwatering. Don't be part of that statistic. Be patient. Be observant. Your butterworts will thank you.
I still check my plants every morning. It's become a habit. I look for new growth. I check for pests. I adjust care as needed. This attention to detail makes all the difference.
So go ahead. Divide your butterwort. You got this.





