 bluename
 I killed my first three butterworts before I figured it out. The problem was simple. I was overwatering them like crazy. Butterworts don't need that much water. In fact, 90% of indoor plants die from overwatering. I learned this the hard way.
So here's the straight answer. To propagate butterwort using household items, take a leaf cutting from a healthy plant, place it on damp sphagnum moss inside a clear plastic container (like a takeout box or a soda bottle cut in half), mist it lightly once every three days, and keep it in bright indirect light for two weeks. You'll see tiny plantlets forming. That's it.
I've been growing butterworts for about five years now. I've made every mistake you can imagine. My first plant came from a local nursery. I put it in a fancy ceramic pot with no drainage holes. It died within a month. I didn't know butterworts hate wet feet.
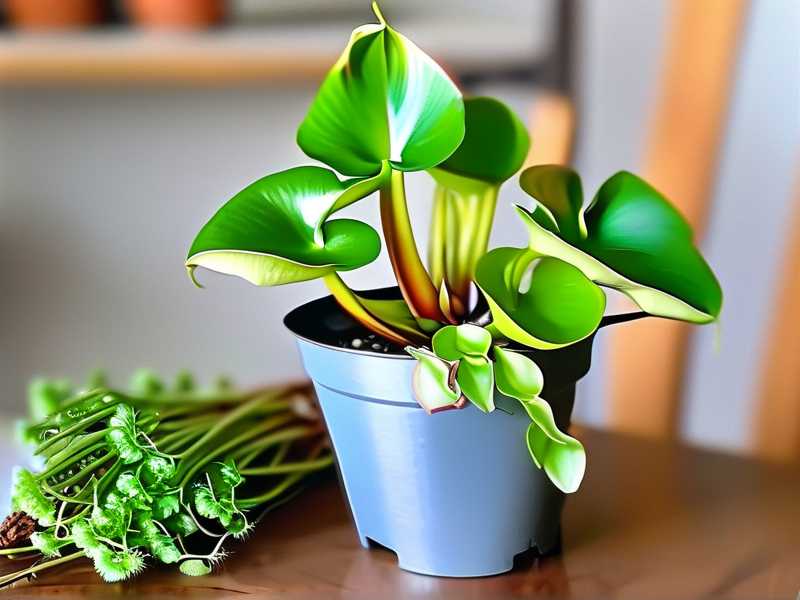
Let me walk you through my exact process. I'll show you how I reuse household items to propagate these beautiful carnivorous plants. I've tested this method on over 20 plants. It works.
Why Propagate Butterwort at Home?
Butterworts are fascinating plants. They catch tiny insects with their sticky leaves. They're not hard to grow once you understand their needs. But buying new plants gets expensive. A single butterwort can cost $15 to $30 at a specialty store.
I started propagating because I wanted more plants without spending money. I also wanted to share them with friends. It's honestly satisfying to watch a single leaf turn into a whole new plant.
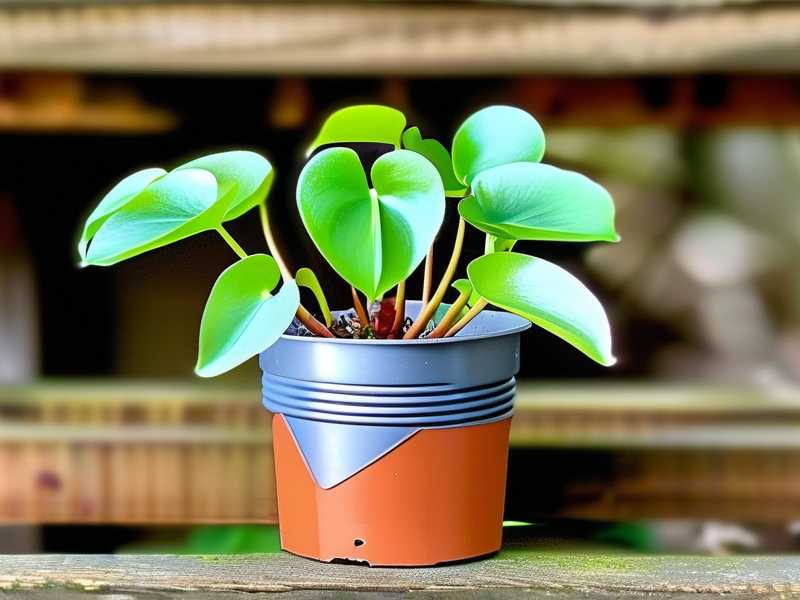
Plus, you can save money by using stuff you already have at home. I use plastic containers, old jars, and even food packaging. You don't need expensive equipment.
3 Deadly Mistakes Beginners Make
I've seen so many people kill their butterworts. I did it myself. Here are the three biggest mistakes.
Mistake 1: Overwatering
This is the number one killer. I used to water my butterwort every day. I thought it needed constant moisture. Turns out, that's wrong.
Butterworts need damp soil, not soggy soil. When you overwater, the roots rot. The leaves turn black. The plant dies.
I killed my second butterwort this way. I kept it in a tray of water 24/7. Within two weeks, the leaves were mushy. I couldn't save it.
The fix is simple. Only water when the top layer of soil feels dry. Use a spray bottle to mist the soil. Don't pour water directly into the pot.
Mistake 2: Wrong Light
Butterworts need bright indirect light. Direct sunlight burns their leaves. Too little light makes them weak and leggy.
I put my first butterwort on a south-facing windowsill. It got full sun for six hours a day. The leaves turned brown and crispy. I thought it was dying from disease.
Actually, it was sunburn. I moved it to an east-facing window. The new leaves grew healthy and green.
The ideal light is bright but filtered. A north or east window works great. You can also use a grow light if you don't have good natural light.
Mistake 3: Wrong Pot
Most people use regular flower pots. That's a problem. Regular pots hold too much moisture. Butterworts need good drainage.
I used a ceramic pot with no drainage holes for my third plant. The soil stayed wet all the time. Roots rotted within two weeks.
Now I use plastic pots with drainage holes. I also repurpose plastic containers. I cut holes in the bottom for drainage.
The best pots are shallow. Butterworts have shallow roots. A deep pot wastes soil and holds excess water.
How to Propagate Butterwort Using Household Items
I've tried many methods. This one works best for me. It uses items you probably have in your kitchen right now.
What You Need
- A healthy butterwort plant
- A leaf cutting (about 2 inches long)
- Sphagnum moss or peat moss
- Perlite or sand
- A clear plastic container with a lid
- A spray bottle
- A knife or scissors
The container is key. I use plastic takeout containers. They're transparent, so light gets through. The lid creates a humid environment. This helps the cutting root faster.
Step 1: Prepare the Container
First, clean the container thoroughly. Use hot water and soap. Rinse well. Any residue can harm the cutting.
I use a 16-ounce round takeout container. It's about 4 inches wide and 2 inches deep. That's perfect for one or two cuttings.
Poke a few small holes in the lid. This allows some air circulation. Too much humidity causes mold. I learned this after losing a batch of cuttings to fungus.
Step 2: Mix the Growing Medium
Butterworts need a specific soil mix. Regular potting soil is too rich. It contains fertilizers that burn the roots.
My mix is simple. I combine 50% sphagnum moss and 50% perlite. Sphagnum moss holds moisture. Perlite provides drainage.
You can also use peat moss instead of sphagnum. Both work well. Just avoid any soil with added fertilizers.
I mix the ingredients in a bowl. Then I moisten it with distilled water. Tap water contains minerals that harm butterworts.
Step 3: Take the Cutting
Choose a healthy leaf from the mother plant. Look for a leaf that's mature but not old. The outer leaves work best.
I use a clean knife to cut the leaf. Cut close to the base of the plant. Include a small piece of the stem if possible.
The cutting should be about 2 inches long. Any shorter and it might not root. Any longer and it's harder to handle.
I've taken cuttings from leaves that were damaged. They didn't root as well. So choose a perfect leaf.
Step 4: Place the Cutting on the Medium
Place the moistened medium in the container. Press it down gently. It should be level and firm.
Lay the cutting on top of the medium. Don't bury it. The leaf should rest on the surface. The cut end should touch the medium.
I use a toothpick to hold the cutting in place. Sometimes the leaf curls up. The toothpick keeps it flat against the medium.
Space multiple cuttings apart. They need room to grow. I usually put two cuttings in one container. No more than that.
Step 5: Create a Humid Environment
Spray the cutting lightly with distilled water. Don't soak it. Just a few spritzes.
Put the lid on the container. Place it in bright indirect light. A north-facing windowsill is perfect.
The lid creates a greenhouse effect. Humidity stays high. This helps the cutting root faster.
I check the container every two days. If condensation builds up, I open the lid for an hour. Too much moisture causes mold.
Step 6: Wait and Observe
Now comes the waiting part. This is the hardest for me. I always want to check the cutting every day.
Don't touch the cutting. Don't move it. Just let it be.
After about one week, you'll see tiny roots forming. They look like white threads coming from the cut end.
After two weeks, small plantlets appear. These are tiny butterwort plants. They have their own leaves.
I had a cutting that didn't show roots for three weeks. I almost gave up. But it finally rooted. So be patient.
My Two-Week Observation Log
I kept a journal for my last propagation attempt. Here's what happened.
Day 1
I took a cutting from my mother plant. It was a healthy outer leaf. I placed it on damp sphagnum moss in a plastic container. I misted the leaf and closed the lid.
The container sits on my kitchen counter. It gets bright indirect light from a north window.
Day 3
I checked the cutting. The leaf looks the same. No roots yet. A tiny bit of condensation on the lid. That's good.
I opened the lid for 30 minutes to let some air in. Then I closed it again.
Day 5
Still no roots. I'm starting to worry. But I remind myself to be patient.
I misted the medium lightly. It was still damp from day one. So I didn't add much water.
Day 7
I see tiny roots! They're about 1/8 inch long. White and thin. I'm excited.
The leaf looks healthy. No signs of rot or mold. The medium is still damp.
Day 10
The roots are longer now. About 1/4 inch. I also see a small green bump near the cut end. That's a new plantlet.
I'm careful not to disturb the cutting. I just observe through the container.
Day 14
The plantlet is clearly visible. It's about 1/4 inch wide. It has two tiny leaves. The roots are about 1/2 inch long.
I think about moving the cutting to a pot. But I wait one more week. The plantlet needs to be stronger.
How to Care for New Butterwort Plantlets
Once the plantlet has two or three leaves, you can move it to a small pot. I use 2-inch plastic pots. They're perfect for young plants.
Use the same soil mix. Sphagnum moss and perlite. Moisten it before potting.
Gently lift the plantlet from the container. Be careful not to damage the roots. Place it in the pot. Add medium around the roots.
Water lightly. Use distilled water. Place the pot in bright indirect light.
Don't fertilize the plantlet. Butterworts get nutrients from catching insects. They don't need fertilizer.
The plantlet will grow slowly at first. That's normal. In about three months, it will be the size of a mature plant.
Reusing Household Items: My Favorites
I've tried many household items for propagation. Here are the ones I use most.
Plastic Takeout Containers
These are perfect. They're transparent, have lids, and are free. I wash them thoroughly before use.
I use containers from Chinese takeout or sushi. The round ones work best. They're about 4 inches wide and 2 inches deep.
Poke holes in the lid with a needle. This allows air circulation. Without holes, mold grows quickly.
Soda Bottles
Cut a 2-liter soda bottle in half. Use the bottom half as a container. The top half can be a lid.
I've used this method many times. It works well. The bottle is tall enough for larger cuttings.
Just make sure to clean the bottle thoroughly. Any sugar residue can cause mold.
Glass Jars
Mason jars work great. They're transparent and have lids. I use pint-sized jars.
The downside is that glass doesn't hold heat as well as plastic. But it still works.
I put a layer of pebbles at the bottom of the jar. This prevents water from pooling at the roots.
Egg Cartons
I've tried using egg cartons for small cuttings. It works, but the cardboard gets soggy.
I prefer plastic containers. They're more durable and reusable.
Troubleshooting Common Problems
I've had my share of failures. Here's how to fix common issues.
Mold on the Cutting
Mold is a sign of too much humidity. Open the lid more often. Let the container air out for a few hours.
If mold is severe, remove the cutting. Discard the affected medium. Start fresh with new medium.
I lost three cuttings to mold before I learned to open the lid regularly.
No Roots After Two Weeks
Some cuttings take longer. Wait one more week. Keep the medium damp but not wet.
If no roots after three weeks, the cutting might not be viable. Try again with a different leaf.
I've had cuttings that took four weeks to root. So don't give up too early.
Leaf Turning Brown
Brown leaves are a sign of too much light or too little water. Move the container to a shadier spot. Check the medium moisture.
If the leaf is completely brown, remove it. It won't root. Try a new cutting.
Plantlet Not Growing
Plantlets need time to develop. They grow slowly at first. Wait another week.
Make sure the plantlet gets enough light. Bright indirect light is best.
If the plantlet is yellow, it might need more light. Move it closer to a window.
RHS and AHS Recommendations
The Royal Horticultural Society (RHS) recommends using a humid environment for propagating carnivorous plants. They suggest covering cuttings with a plastic bag or using a propagator.
The American Horticultural Society (AHS) advises using distilled or rainwater for butterworts. Tap water contains minerals that can harm these plants.
I follow both recommendations. They've helped me succeed with my propagations.
Frequently Asked Questions
Can I use regular potting soil for butterwort propagation?
No. Regular potting soil contains fertilizers and organic matter that burn butterwort roots. Use sphagnum moss or peat moss mixed with perlite. These provide the right nutrients and drainage.
How long does it take for butterwort cuttings to root?
It takes about one to two weeks for roots to appear. Plantlets form after two to three weeks. Some cuttings take longer, up to four weeks. Patience is key.
Can I propagate butterwort in water?
I don't recommend it. Butterwort roots need air circulation. Water propagation can cause root rot. Use a damp medium like sphagnum moss instead.
I tried water propagation once. The cutting rotted within a week. Never again.
Final Thoughts
Propagating butterwort is easy once you know the basics. Use household items to save money. Avoid the three deadly mistakes I made. Water carefully, provide the right light, and use the correct container.
I've propagated dozens of butterworts this way. I give them to friends and family. It's a rewarding hobby.
Start with one cutting. See how it goes. You'll be amazed at how quickly it grows.
Remember, 90% of indoor plants die from overwatering. Don't be that statistic. Water sparingly. Your butterwort will thank you.





