bluename
 How to Care for Pinguicula Cuttings Successfully
You’ve carefully taken leaf or root cuttings from your beloved Butterwort, filled with hope for new plants. But now, the anxiety sets in. Will they rot? Why aren’t they forming new plantlets? Watching your Pinguicula cuttings slowly wither instead of thrive is a frustrating experience shared by many carnivorous plant enthusiasts. The journey from a tiny cutting to a robust new plant requires specific knowledge, but it’s entirely achievable. This guide will walk you through every critical step, transforming uncertainty into confidence and ensuring your propagation efforts are rewarded.
Understanding Your Pinguicula Cuttings
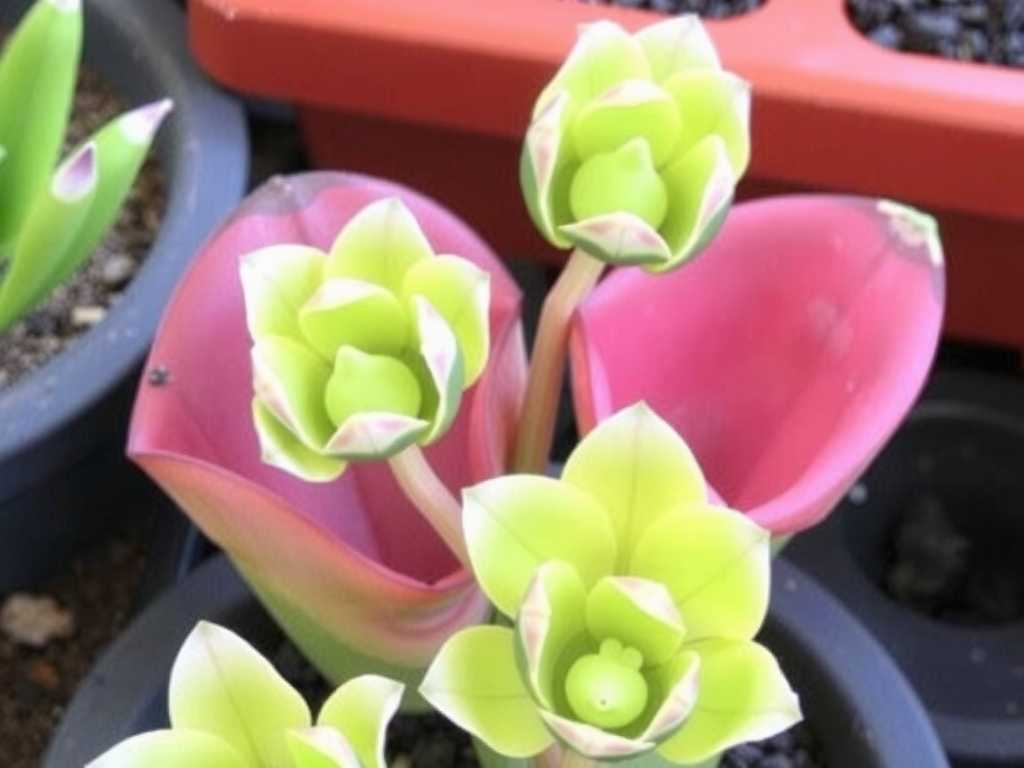
Before diving into care, knowing what you’re working with is crucial. Pinguicula, or Butterworts, can be propagated through several methods, each with slightly different needs. The most common are leaf pullings and root cuttings. Leaf pullings involve gently pulling a healthy leaf from the base of the plant, ensuring a clean break. Root cuttings are taken from thicker roots during repotting. The care principles overlap significantly, but recognizing the type helps tailor your approach for the highest success rate.
The success of your propagation starts long before the cutting is placed on the medium. It begins with selecting the right parent plant and using the proper technique. A stressed or diseased plant will yield poor cuttings. Always choose a vigorous, healthy Pinguicula. For leaf pullings, a gentle twist-and-pull motion at the base is better than cutting with scissors, as it often includes more meristematic tissue—the cells needed for new growth.
Essential Setup: The Foundation for Success
The right environment is non-negotiable. Think of it as creating a miniature, optimized nursery for your vulnerable cuttings.
Growing Medium is Paramount Never use standard potting soil or compost. It is too rich and will suffocate and rot the cuttings. The ideal medium is airy, sterile, and low in nutrients. A mix of fine milled sphagnum peat moss and perlite (at a 50:50 ratio) is an excellent and widely recommended choice. Some growers have great success with pure vermiculite or a fine-grade long-fiber sphagnum moss. The key is consistent moisture without waterlogging.
The Perfect Home: Humidity and Light Cuttings have no roots to absorb water, so they rely on ambient humidity to prevent desiccation. Placing them in a sealed plastic container, a propagation tray with a clear dome, or even a loosely sealed plastic bag creates a mini-greenhouse. This high-humidity environment is the single most important factor in the initial stages.
Light is equally critical but must be diffused. Place your setup in bright, indirect light. A north-facing windowsill or under grow lights set on a moderate cycle (12-14 hours) works perfectly. Direct, hot sun will cook the cuttings inside the humid enclosure.
The Step-by-Step Care Protocol
Phase 1: The Callusing and Planting Stage After taking your cuttings, some growers recommend letting leaf pullings air-dry for an hour or two to allow the wound to callus slightly, potentially reducing rot risk. Lay the cuttings flat on the pre-moistened growing medium. For leaf pullings, ensure the base where the pull occurred is in contact with the medium. For root cuttings, they can be laid horizontally and lightly covered. Do not bury them deeply.
Mist the surface lightly with distilled water, reverse osmosis water, or rainwater. Tap water, with its dissolved minerals, can harm sensitive cuttings. Close the lid or bag to seal in humidity.
Phase 2: The Waiting Game and Monitoring This phase requires patience. Check the container every few days for signs of growth or trouble. Condensation on the walls is good; it indicates high humidity. If excess water pools, open the lid for a few hours to allow airflow and prevent fungal outbreaks. No additional watering should be needed if the medium was pre-moistened and the container is sealed.
In 2 to 8 weeks, depending on the species and conditions, you should see tiny green plantlets emerging from the base of the leaf or along the root cutting. This is the most rewarding moment!
Phase 3: Acclimating New Plantlets Once plantlets have formed and show a few leaves of their own, they need to acclimate to lower humidity. This process, called "hardening off," is delicate. Begin by propping open the lid of your container slightly for an hour each day, gradually increasing the time over 1-2 weeks. This slowly introduces them to normal room humidity.
When they appear sturdy, you can transplant them into their own small pots filled with the standard Pinguicula medium. Treat them as mature plants from this point on, but continue to keep the soil slightly more moist than you would for an established Butterwort as their root systems develop.
Troubleshooting Common Problems
Rotting Cuttings This is the most common issue. It’s often caused by a medium that is too wet, poor air circulation, or a non-sterile environment. If a cutting turns black and mushy, remove it immediately to prevent spreading. Ensure your medium is damp, not soggy, and consider introducing brief daily air exchanges sooner.
No Growth or Plantlet Formation If weeks pass with no change, don’t lose hope. Some species are slower. Ensure they have adequate warmth (70-78°F or 21-26°C is ideal) and light. Double-check that the leaf pulling included a piece of the basal core. Sometimes, a cutting simply fails, which is why taking multiple cuttings is always advised.
Fungal or Mold Growth White, fuzzy mold on the medium surface is a sign of stagnant air. Increase ventilation by opening the container more frequently. You can carefully spray the affected area with a diluted fungicide suitable for carnivorous plants or, as a gentler option, a sprinkle of ground cinnamon, which has natural antifungal properties.
Expert Insights for Advanced Success
Renowned carnivorous plant cultivator and author, Joe Hand, emphasizes consistency: "The biggest killer of Pinguicula leaf cuttings is fluctuating conditions. Find a stable spot with good light and forget about them, aside from brief weekly checks. Constant tinkering does more harm than good."
Studies on plant tissue culture highlight the importance of a sterile start. While home propagation isn't lab-sterile, using clean tools, fresh medium, and distilled water dramatically tips the odds in your favor. This attention to detail mirrors the best practices for Butterwort propagation used by botanical gardens.
How long does it take for Pinguicula cuttings to grow? The timeline varies by species and conditions. You can typically expect to see the first tiny plantlets in 4 to 6 weeks, but it may take as little as 2 or as long as 12 weeks for some varieties. Patience is essential.
Can I propagate Pinguicula in water? While some plants root well in water, it is generally not recommended for Pinguicula cuttings. The risk of rot is very high, and the transition from water to soil medium is challenging for the new plantlets. The semi-hydroponic method using a sterile, moist solid medium is far more reliable for successful Butterwort propagation.
Why are my new plantlets dying after transplanting? This is often due to transplant shock or insufficient humidity during acclimation. Ensure the new potting medium is similar to the propagation medium, handle the delicate roots minimally, and consider placing a small clear cup or bag over the potted plantlet for a few extra days to ease its transition to the new environment.
Mastering the care of Pinguicula cuttings transforms propagation from a gamble into a predictable science. By providing the foundational pillars of a sterile, airy medium, consistently high humidity, and bright indirect light, you create the perfect incubator for new life. Remember, the process demands more observation than intervention. Resist the urge to overwater or constantly disturb them. Each successful new plantlet is a testament to your understanding of these fascinating carnivorous plants’ needs. Start with healthy cuttings, trust the process, and soon you’ll be sharing your own thriving Butterworts with fellow enthusiasts.