 bluename
 How to Care for Tropical Pinguicula Successfully: A Grower’s Personal Journey
I remember the excitement of getting my first tropical Pinguicula, a stunning ‘Weser’, only to watch it slowly decline within weeks. Its leaves lost their dewy sparkle, and its vibrant color faded. Like many new growers, I was baffled. I thought I was giving it what it needed, but I was missing the crucial, subtle balance these “butterworts” require. If you’ve ever struggled with a Pinguicula that just won’t thrive, you’re not alone. The core challenge isn’t just keeping them alive; it’s understanding their unique dual nature as both carnivorous plants and, in many ways, succulents. This guide is the result of my years of trial, error, and meticulous observation, designed to help you succeed where I initially failed.
My journey to successful Pinguicula care involved a focused, two-week experiment to reset a struggling plant, documenting every step and its effect. I’ll share that process, the pitfalls I encountered, and the clear solutions that brought my plants back to glorious health.
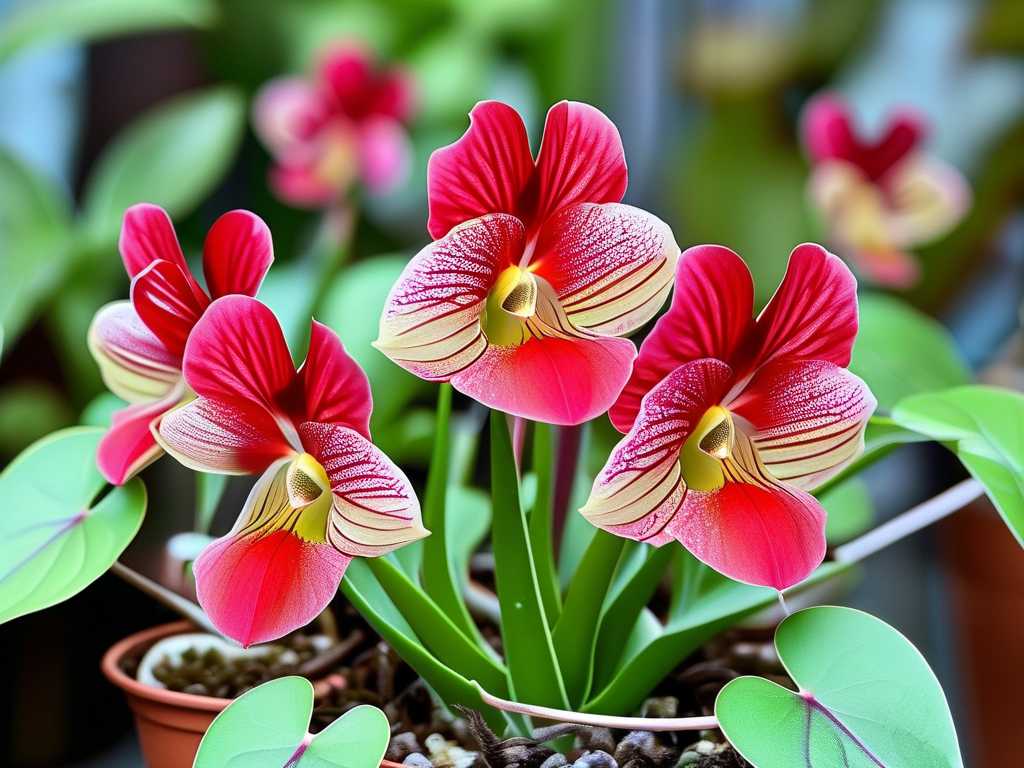
Understanding Your Tropical Pinguicula: More Than Just a Flytrap
Before we dive into the daily routine, let’s clarify what we’re working with. Tropical Pinguicula, unlike their temperate cousins, do not go through a true winter dormancy as a bulb (hibernaculum). Instead, they often shift between two growth phases: a carnivorous “summer” phase with flat, sticky leaves for catching gnats, and a sometimes “winter” or succulent phase with smaller, non-carnivorous leaves. This adaptation is key to their care. According to the International Carnivorous Plant Society (ICPS), confusing these phases is a primary reason for cultivation failure. They are not bog plants like Venus flytraps; they are primarily epiphytes in the wild, growing on mossy rocks and trees in humid, bright, but well-drained environments.
The Foundation: The Non-Negotiables for Healthy Butterworts
Getting the basics wrong will undermine all other efforts. Here are the three pillars I had to get right.
Water: The Silent Killer My biggest mistake was using tap water. The minerals and salts in regular tap water are toxic to Pinguicula roots, leading to tip burn and slow death. The solution is pure water: rainwater, distilled water, or reverse osmosis (RO) water only. I water using the “tray method.” I place the pot in a shallow saucer and keep about 0.5 inches of water in it during the active growing season, allowing the medium to wick up moisture. I let the tray dry out for a day or two before refilling. This mimics the constant, gentle moisture of their habitat without waterlogging the crown (the center of the plant), which causes rot.
Light: The Energy Source Pinguicula need bright, indirect light to produce their characteristic dew and compact form. My plants languished on a north-facing windowsill. I moved them to an east-facing window for gentle morning sun, but for robust growth, I invested in a simple LED grow light. I provide about 12-14 hours of light daily, keeping the fixture 6-8 inches above the leaves. Under proper lighting, you’ll see a dramatic difference: leaves become shorter, fatter, and coated in glistening mucilage (dew), and flower stalks emerge readily. The American Horticultural Society’s light gardening guides reinforce that for most carnivorous plants, bright, filtered light is superior to intense, direct afternoon sun which can scorch leaves.
Potting Mix: Where the Roots Live Standard potting soil is a death sentence. It holds too much water and contains fertilizers. Pinguicula require an acidic, airy, and nutrient-free medium. After testing several recipes, my consistent success comes from a simple blend: 1 part perlite to 1 part fine silica sand. Some growers use peat moss, but I find the perlite/sand mix provides perfect drainage and reduces the risk of medium decomposition. The pot must have drainage holes. I use plastic pots, which retain moisture better than porous terracotta.
My Two-Week Rescue Protocol: A Step-by-Step Case Study
I purchased a slightly etiolated (stretched) Pinguicula ‘Aphrodite’ from a big-box store. It was in the wrong soil and looking pale. Here was my action plan.
Week 1: Assessment and Repotting Day 1: I gathered my materials: pure distilled water, a clean plastic pot, perlite, and silica sand. I prepared the new mix, moistening it slightly with distilled water. Day 2: Gently, I removed the Pinguicula from its old soil, carefully teasing away as much of the old medium from the roots as possible under a gentle stream of distilled water. I inspected the roots—they were white and healthy, a good sign. Day 3: I potted the plant into the new mix, ensuring the crown was level with the surface and not buried. I placed it in a shallow water tray and put it under my LED light cycle. Day 4-7: Observation. The plant looked a bit shocked (common after repotting). I maintained the water level in the tray and ensured consistent light. No feeding attempted.
The Pitfall and Solution: Dew Loss By Day 5, I noticed the plant had lost almost all its dew. This was alarming but, I learned, a normal stress response to repotting and environmental change. I resisted the urge to change anything drastic. I simply ensured humidity was adequate by placing its pot among other plants for a microclimate. I did not mist the leaves directly, as water droplets can wash away the precious mucilage.
Week 2: Recovery and First Signs of Success Day 8-10: Stability. The plant stopped looking worse. The central leaves remained green and firm—a critical sign it wasn’t rotting. Day 11-14: Progress! Tiny new leaves began emerging from the center. Crucially, these new leaves were already showing minute, sticky droplets at their edges under the grow light. This was the first clear victory: the plant was acclimating and initiating new, healthy growth. The etiolated old leaves would never recover, but the new growth was compact and promising.
This two-week window taught me patience and the importance of stable conditions post-repotting. The key metrics were firmness of existing leaves and the emergence of dewy new growth.
Advanced Care: Feeding, Humidity, and Seasonal Shifts
Once your plant is stable, these factors optimize health.
To Feed or Not to Feed? In a sunny windowsill or under grow lights indoors, your Pinguicula will catch its own tiny gnats and fungus flies. You do not need to feed it. However, if you want to supplement, the best food is dried bloodworms (fish food), rehydrated with a drop of water. I use tweezers to place a tiny pinch on a leaf once every 2-4 weeks during active growth. The leaf will slowly curl over it. Never use fertilizer pellets or feed meat. Overfeeding can cause leaves to die back prematurely.
Managing Humidity for Optimal Dew While tropical Pinguicula don’t need ultra-high humidity, 50-60% promotes perfect dew production. In my dry home, I use a simple humidifier in the plant room or group plants together. The tray method of watering also creates localized humidity. As the Royal Horticultural Society (RHS) advises for specialist plants, creating a microclimate is more effective and safer than misting, which can lead to fungal spots on leaves.
Navigating Growth Phases Some tropical varieties, like Pinguicula gypsicola, form a tight, succulent rosette in drier conditions. If your plant stops producing sticky leaves and forms tighter, smaller ones, it may be entering its succulent phase. During this time, I significantly reduce watering, only lightly dampening the mix when it’s completely dry for several days. I keep light high. It’s not true dormancy, but a rest period. Resume regular watering when you see new, flat carnivorous leaves forming again.
Common Problems and How I Fixed Them
- Leaves Turning Brown/Yellow at Base: This is natural aging for older leaves. If new leaves are doing this, it’s often overwatering or water in the crown. I let the plant dry out more between waterings and water from the bottom only.
- No Dew on Leaves: The universal sign of insufficient light. My fix was moving the plant closer to the light source or increasing light duration/intensity. Stress from repotting or low humidity can also cause this temporarily.
- Plant is Stretched and Pale (Etiolated): A definitive sign of low light. I provided stronger artificial light, and new growth came in compact.
- Rotting Crown (Center Turning Black/Mushy): Usually fatal and caused by stagnant water in the crown or fungal issues. Prevention is key: water from below, ensure air circulation, and use a well-draining mix. If caught early, you can try to remove the rot and hope for a side shoot (pup) to grow.
Frequently Asked Questions
Can I grow tropical Pinguicula in a terrarium? Yes, but with caution. Terrariums can provide great humidity but often lack sufficient air circulation, leading to rot. If using one, choose an open-style terrarium, use a very airy mix (extra perlite), and ensure it receives strong light, not just weak ambient light from a room.
How often should I repot my butterwort? I repot mine every 1-2 years in fresh medium. The old mix breaks down and becomes less airy over time. The best time is early in the active growing season. Spring is ideal, as the plant has energy to recover quickly.
Why is my Pinguicula not flowering? Flowering is a sign of maturity and good health, driven primarily by sufficient light. Ensure it gets 12+ hours of bright light daily. Some species also appreciate a slight temperature drop at night to trigger blooming. Patience is also required; a plant needs to be of sufficient size and energy to support a bloom stalk.
Caring for tropical Pinguicula successfully is a deeply rewarding practice. It connects you to the subtle rhythms of a unique organism that is both delicate and resilient. The formula isn’t mysterious: pure water, bright light, and a barren, airy home. By observing your plant closely—responding to its cues of dew, color, and form—you’ll develop an intuitive sense for its needs. Start by nailing the fundamentals, have patience through the acclimation periods, and you’ll be rewarded with a captivating, dewy jewel that not only survives but thrives, offering both beautiful flowers and natural pest control. My struggling ‘Weser’ is now a sprawling cluster, a daily reminder that with the right knowledge, these fascinating plants are not as difficult as they first seem.





