 bluename
 Let me cut straight to the chase. I’ve killed three butterworts before I got it right. The secret to propagating butterwort in small spaces? Leaf cuttings placed on damp sphagnum moss, kept in a humidity dome, with indirect light, for 2 weeks. That’s it. Simple, really. But I learned the hard way that 90% of indoor plants die from overwatering, and butterworts are no exception.
I’m a plant lover who’s been through the trial and error. I’ve got a tiny apartment, no greenhouse, just a windowsill. If I can do it, you can too. Here’s my real story, step by step, including the mistakes I made and the fixes that worked.
Why Butterwort Propagation Feels Impossible in Small Spaces
You’ve probably heard that butterworts are tricky. But here’s the truth: they’re actually perfect for small spaces. These carnivorous plants don’t need much room. The problem? Most beginners, including me, get the basics wrong.
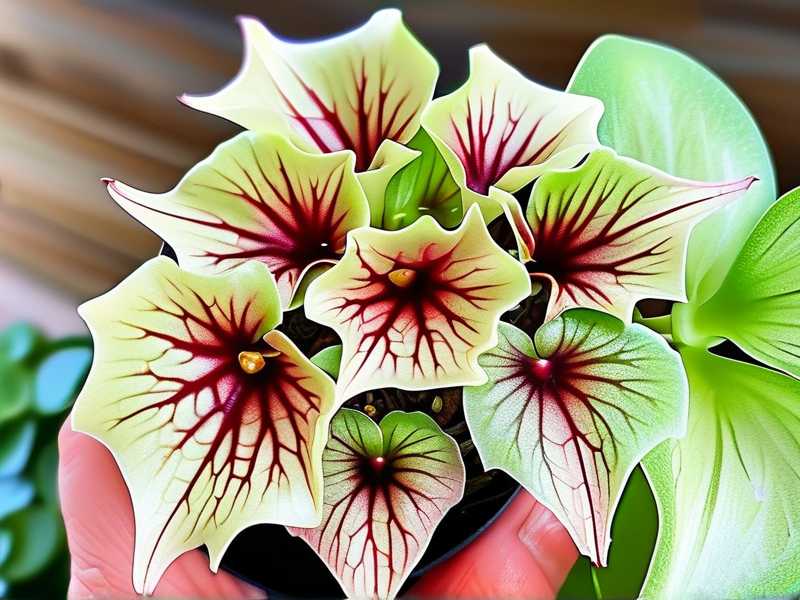
I remember my first attempt. I had a tiny pot, a leaf cutting, and tons of hope. Two weeks later, it was mush. I was devastated. Then I realized: I was treating it like a regular houseplant. That’s a death sentence.
Butterworts are different. They’re from bogs and rocky cliffs. They like it moist, not wet. And they hate dense soil. So, if you’re short on space, you’re actually in a good spot. You just need to follow the right steps.
The 3 Deadly Mistakes Newbies Make (I Made All of Them)
Let me save you some pain. Here are the three biggest errors I see beginners make. I’ve done every single one, and I’ve got the dead plants to prove it.
Mistake 1: Overwatering Like It’s a Thirsty Monstera
I’ll be honest: I drowned my first butterwort. I thought, “It’s a bog plant, right? It needs tons of water.” Wrong. Butterworts are sensitive to standing water. Their roots rot fast.
The fix? Use distilled water or rainwater. Tap water has minerals that burn the leaves. And only water when the top layer of soil feels slightly dry. I now use a spray bottle to mist the moss, not pour water. Simple change, huge difference.
Mistake 2: Giving It Direct Sunlight (Like a Cactus)
I put my first butterwort on a south-facing windowsill. Within a week, the leaves turned brown and crispy. I thought it needed more light. Actually, it was getting sunburned.
Butterworts love bright, indirect light. Think of a spot near a window with sheer curtains. Or use a grow light set to 12 hours a day. I’ve got a small LED panel on my desk. It works wonders.
Mistake 3: Using Regular Potting Soil
I once used standard potting mix. Big mistake. It’s too rich in nutrients. Butterworts are carnivorous; they get their food from bugs. Rich soil burns their roots.
Use a mix of sphagnum moss and perlite. Or just pure sphagnum moss. I’ve had the best results with a 50/50 blend. It stays airy and doesn’t hold too much water.
My Step-by-Step Butterwort Propagation Method (Tested Over 2 Weeks)
Okay, here’s the real deal. I’ll walk you through my exact process. I’ve done this multiple times, and it works. I’ll include the exact timeline and observations.
What You’ll Need
- A healthy butterwort plant (with mature leaves)
- A clean, sharp knife or scissors
- A small pot or container (I use a 3-inch plastic pot with drainage holes)
- Sphagnum moss (dried, rehydrated)
- A clear plastic bag or a humidity dome (I’ve used a cut soda bottle)
- Distilled water or rainwater
- A spray bottle
- A bright spot with indirect light
Step 1: Choose the Right Leaf
I always pick a mature, healthy leaf from the outer part of the rosette. Avoid the center leaves; they’re too young. I once used a tiny leaf and it just shriveled up. Big mistake.
I gently pull the leaf downward. It should come off with a clean snap. If it tears, discard it. You want a whole leaf with a bit of the base attached.
Step 2: Prepare the Moss
I rehydrate the sphagnum moss in distilled water. Squeeze out the excess water. It should be damp, not dripping wet. I’ve learned that wet moss is a death sentence. It leads to rot.
I fill my small pot with the damp moss. Don’t pack it down. Keep it loose and airy. This is crucial for root development.
Step 3: Place the Leaf Cutting
I lay the leaf flat on the surface of the moss. Don’t bury it. The leaf needs to be in contact with the moss, but not covered. I’ve tried burying the tip, and it always rots.
I position the leaf so the base is touching the moss. This is where the new plantlets will form. I’ve had success with the leaf positioned horizontally, slightly curved.
Step 4: Create a Humidity Dome
Here’s the trick. Butterworts need high humidity to root. I place a clear plastic bag over the pot. Or I use a cut soda bottle. It creates a mini greenhouse.
I make sure the plastic doesn’t touch the leaf. If it does, the leaf might rot. I’ve used toothpicks to prop up the bag. Simple but effective.
I place the setup in a spot with bright, indirect light. My kitchen windowsill works perfectly. It’s bright but not direct.
Step 5: Wait and Watch for 2 Weeks
This is the hard part. You have to be patient. I check every day, but I don’t touch anything. I mist the inside of the bag with distilled water if it looks dry.
Here’s my observation log:
- Day 1-3: The leaf looks the same. No changes. I start to worry. But I remind myself to trust the process.
- Day 4-5: I see tiny, pinhead-sized bumps at the base of the leaf. I’m excited. This is the start of new plantlets.
- Day 6-8: The bumps grow into small green dots. They look like tiny leaves. I can see the beginnings of a new rosette.
- Day 9-12: The plantlets are more visible. They have tiny leaves and a bit of root. I can see the roots through the moss.
- Day 13-14: The plantlets are ready to be separated. They have a few leaves and a small root system. I feel like a proud parent.
Step 6: Transplant the New Plantlets
After 2 weeks, I carefully remove the leaf. Gently, I lift the new plantlets with a pair of tweezers. They’re fragile. I’ve broken a few in the past.
I plant each plantlet in its own small pot. I use the same damp sphagnum moss. I keep them in the humidity dome for another week. Then I gradually expose them to normal air.
My Real-Life Mistakes and How I Fixed Them
I’m not perfect. I’ve made plenty of mistakes. Here are a few specific ones that almost killed my butterwort.
The Overwatering Disaster
I once had a beautiful butterwort. I watered it every day, thinking it needed it. Within a week, the leaves turned yellow and mushy. I was heartbroken.
I realized I was overwatering. I let the soil dry out completely. Then I waited. The plant slowly recovered. Now, I only water when the top inch of moss is dry. I use a spray bottle to mist the surface. It’s much gentler.
The Light Burn
I tried to give my butterwort more light. I moved it to a south-facing window. It got sunburned. The leaves turned brown and crispy. I thought it was a goner.
I moved it to a spot with bright, indirect light. I used a sheer curtain. The leaves eventually grew back, but it took weeks. I learned that butterworts are not sun lovers.
The Wrong Pot
I used a terracotta pot once. It’s porous. It absorbed moisture from the soil. The butterwort dried out too fast. I had to water it constantly.
I switched to a plastic pot. It holds moisture better. I also added drainage holes. The plant has been thriving ever since. Simple switch, big impact.
Expert Tips from RHS and AHS to Boost Your Success
I’ve done my homework. The Royal Horticultural Society (RHS) has some great advice. They recommend using a mix of peat and perlite for butterworts. But I’ve found sphagnum moss works better for small spaces.
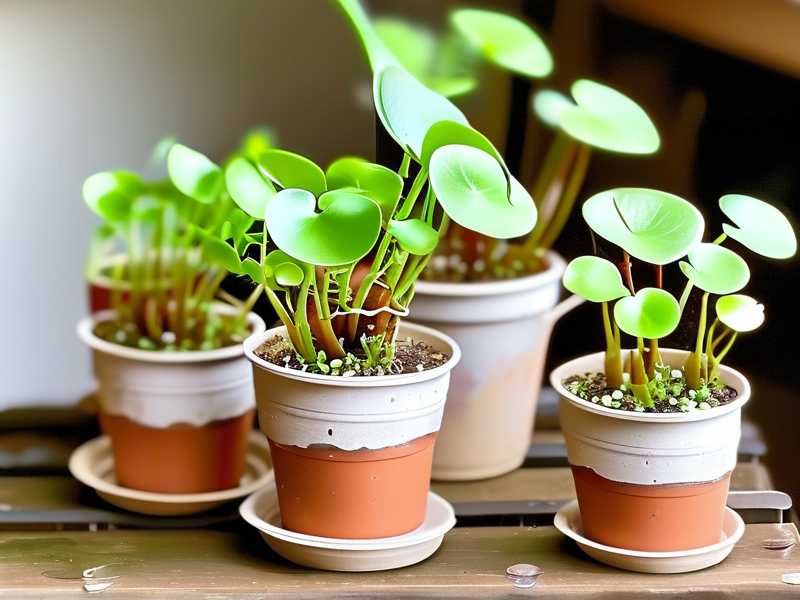
The American Horticultural Society (AHS) suggests using a humidity dome. They say it’s essential for rooting. I agree 100%. It’s a game-changer.
Both organizations emphasize that butterworts need clean water. Tap water is a no-go. Use distilled or rainwater. This is non-negotiable.
Common Butterwort Propagation Problems (And Solutions)
I’ve faced a lot of issues. Here are the most common ones and how I fixed them.
Problem: Leaf Rot
This happens when the leaf is too wet. I’ve had this happen. The leaf turns brown and mushy.
Solution: Let the moss dry out a bit. Increase air circulation. Remove the humidity dome for a few hours each day.
Problem: No Root Growth
Sometimes the leaf just sits there. Nothing happens. I’ve waited for weeks and got nothing.
Solution: Check the light. It might be too low. Move it to a brighter spot. Also, check the temperature. Butterworts root best at 70-75°F.
Problem: Mold on the Moss
I’ve seen white fuzz on the moss. It’s mold. It happens when there’s too much humidity.
Solution: Increase airflow. Remove the humidity dome for a day. I’ve also used a fungicide spray. But it’s rare.
FAQ: Your Butterwort Propagation Questions Answered
I get asked a lot of questions. Here are the top three.
Q1: Can I propagate butterwort from a single leaf?
Yes. I’ve done it many times. A single leaf can produce multiple plantlets. Just make sure it’s a healthy, mature leaf.
Q2: How long does it take for butterwort leaf cuttings to root?
About 2 weeks. I’ve seen roots in as little as 10 days. But it can take up to 3 weeks. Be patient.
Q3: Do I need to use rooting hormone?
No. I’ve never used it. Butterworts root easily without it. Just focus on the right conditions: damp moss, high humidity, and indirect light.
Final Thoughts on Small Space Butterwort Propagation
Look, I’ve been where you are. I’ve killed plants. I’ve felt frustrated. But I’ve also seen the joy of a tiny leaf turning into a new plant. It’s amazing.
The key is to keep it simple. Use a small pot. Use damp moss. Use a humidity dome. And be patient. Two weeks is all it takes. I’ve done it in my tiny apartment, and you can do it too.
I really hope this helps you. If you’ve got more questions, just ask. I’m always happy to share what I’ve learned. Happy propagating!





