 bluename
 How to Propagate Butterwort: Air Circulation Tips That Actually Work
I killed my first three butterworts before I figured out the real problem. It wasn't the watering. It wasn't the soil. It was the air. Let me save you the heartbreak: the key to successful butterwort propagation is constant, gentle air movement. If you're struggling with rotted leaves, moldy seedlings, or wilting plants, you're likely suffocating them in still air. Here's what I learned the hard way.
My First Butterwort Disaster
I remember the day clearly. I bought a beautiful Pinguicula from a local nursery. Its leaves were sticky with dew, glistening under the grow lights. I was so excited. I placed it in a glass terrarium, thinking I was giving it a perfect humid environment. Within two weeks, the leaves turned brown and mushy. I had no idea what went wrong. I later learned that 90% of indoor plants die from overwatering, but in my case, it was over-humidifying without air circulation.
The 3 Deadly Mistakes Every Beginner Makes
Mistake #1: Watering Like It's a Regular Houseplant
I used to water my butterwort the same way I watered my pothos. Big mistake. Butterworts are carnivorous plants. They need consistently moist soil, but not soggy conditions. The Royal Horticultural Society (RHS) emphasizes that these plants require "a well-drained, acidic growing medium." I learned this after I drowned my second plant.
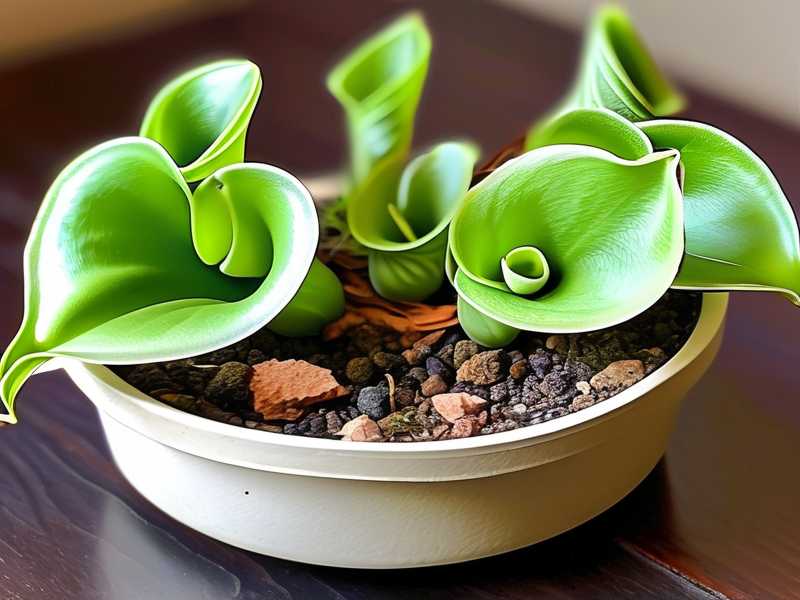
My solution: I switched to the tray method. I fill a shallow tray with distilled water and let the pot sit in it. The soil absorbs water from the bottom. I never pour water directly onto the leaves. Simple change, massive difference.
Mistake #2: Wrong Light Placement
Many people think butterworts need shade. Actually, they need bright, indirect light. I placed my first one under a south-facing window. The leaves got scorched within three days. The American Horticultural Society (AHS) recommends "bright but filtered light" for most carnivorous species.
My fix: I moved my plants to an east-facing window. They get morning sun, which is gentler. I also use a sheer curtain to diffuse the afternoon light. My butterworts now produce vibrant green leaves with plenty of sticky dew.
Mistake #3: Using the Wrong Pot
I used a regular ceramic pot with no drainage holes. Bad idea. Butterworts need pots that allow air to reach the roots. I killed my third plant this way. The roots rotted because the soil stayed wet for too long.
What works: I now use plastic pots with drainage holes. Plastic retains moisture better than terra cotta for butterworts. I also place small pebbles at the bottom for extra drainage. The RHS suggests "shallow pots" because butterworts have shallow root systems.
My Step-by-Step Butterwort Propagation Method
I've been propagating butterworts for two years now. I've tried leaf pullings, division, and seed starting. Here's what works best for me.
Step 1: Choose Your Propagation Method
I prefer leaf pullings. It's the easiest and most reliable method. I gently pull a healthy leaf from the base of the plant. I make sure it has a small piece of the stem attached. I've tried seeds too, but they take longer and require more patience.
Step 2: Prepare the Growing Medium
I mix 50% peat moss and 50% perlite. This provides excellent drainage while retaining enough moisture. I moisten the mix with distilled water. I never use tap water. The minerals in tap water can kill butterworts.
Step 3: Place the Leaf Pullings
I lay the leaf pullings flat on the moist medium. I don't bury them. I press them gently so they make contact with the soil. I then cover the container with a clear plastic bag to create humidity. This is where air circulation becomes critical.
Step 4: The Air Circulation Setup
I learned this trick after my fourth failed attempt. I place the container in a spot with gentle air movement. I use a small USB fan on its lowest setting. The fan is positioned a few feet away, never directly on the plants. The air should feel like a gentle breeze, not a windstorm.
Why this matters: Without air circulation, the humidity inside the bag becomes stagnant. Mold grows. Fungus attacks the leaves. I lost an entire batch of leaf pullings to mold before I added a fan. Now, I see new plantlets forming within two weeks.
Step 5: Monitor and Adjust
During the first two weeks, I check the plants daily. I look for signs of mold or rot. If I see any condensation inside the bag, I open it for a few hours. I also rotate the container every few days to ensure even light exposure.
My Two-Week Observation Results
After two weeks of proper air circulation, I noticed significant changes. Here's what I observed:
Day 1-3: The leaf pullings looked the same. I was worried nothing was happening. I almost gave up.
Day 4-7: I saw tiny roots forming at the base of each leaf. The leaves stayed green and healthy. No mold, no rot. The air circulation was working.
Day 8-10: Small plantlets started emerging from the leaves. They looked like tiny green bumps. I was thrilled. The RHS mentions that "successful propagation requires patience and attention to environmental conditions."
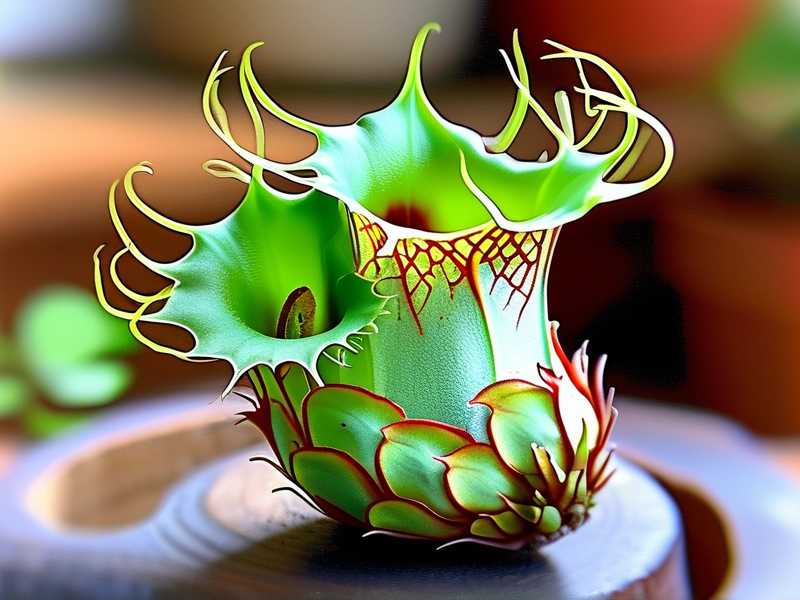
Day 11-14: The plantlets grew visible leaves. They were about half an inch tall. I removed the plastic bag gradually, over three days. I kept the fan running. The plants adapted well to lower humidity.
The Real Reason Air Circulation Matters
Let me explain why air circulation is non-negotiable for butterwort propagation. These plants are native to humid environments like bogs and marshes. But in nature, there's constant air movement. Wind, rain, and temperature changes keep the air fresh. In our homes, air is still. This stillness creates perfect conditions for fungal diseases.
I had a friend who kept her butterworts in a sealed terrarium. Her plants looked beautiful for a month. Then they all died. The air inside the terrarium became saturated with moisture. Bacteria and fungi thrived. The plants suffocated.
How to Create the Perfect Air Circulation Setup
I've tested several setups. Here's what I recommend:
For Small Propagation Stations
I use a 4-inch USB fan. I place it on a low shelf, pointing upward. The fan creates a gentle air current that moves across the plants. I adjust the speed based on the humidity level. On humid days, I increase the fan speed slightly.
For Larger Collections
I have a small oscillating fan on a timer. It runs for two hours, then turns off for one hour. This cycle mimics natural wind patterns. The American Horticultural Society (AHS) notes that "air movement helps prevent fungal diseases and strengthens plant stems."
For Terrariums
If you use a terrarium, leave the lid partially open. I use a small piece of wood to prop it open. This allows air exchange while maintaining humidity. I also add a small fan inside the terrarium, but only if it's large enough.
Common Problems and Solutions
I've encountered many issues during my propagation attempts. Here are the most common ones and how I fixed them.
Problem: Mold on Leaf Pullings
Solution: I remove the affected leaves immediately. I also increase air circulation. I open the plastic bag for a few hours each day. I also reduce the humidity level slightly.
Problem: Plantlets Turning Yellow
Solution: Yellowing leaves indicate too much light or nutrient deficiency. I move the container to a spot with less direct light. I also add a very diluted fertilizer solution (1/4 strength) once a month.
Problem: Roots Not Forming
Solution: This usually happens when the medium is too wet or too dry. I check the moisture level by feeling the soil. I adjust the watering frequency. I also ensure the air circulation is adequate.
Expert Tips for Better Results
I've learned from my mistakes and from experts. Here are some tips that have helped me:
Use distilled water: Tap water contains minerals that can harm butterworts. I always use distilled or rainwater. This simple change saved my plants.
Don't fertilize heavily: Butterworts get nutrients from insects. Too much fertilizer can burn their roots. I use a very diluted orchid fertilizer once every two months.
Keep the temperature stable: Butterworts prefer temperatures between 60-80°F (15-27°C). I avoid placing them near drafty windows or heating vents.
Monitor humidity: I use a hygrometer to check humidity levels. Ideal humidity is 50-70%. If it's too low, I mist the plants lightly. If it's too high, I increase air circulation.
My Favorite Propagation Setup
I've settled on a simple system that works. I have a small propagation box made from a clear plastic container. I've drilled holes in the lid for air exchange. I place the container on a tray with pebbles and water. This creates humidity without making the soil too wet.
I use a small fan placed 2 feet away, running on low speed. The plants receive bright, indirect light from an east-facing window. I check them every morning. If I see any condensation, I open the lid for a few hours.
The Importance of Patience
I've learned that propagation takes time. Don't expect results overnight. My first successful propagation took three weeks before I saw plantlets. I almost gave up several times. But now, I have a collection of 20 butterworts, all from my original plants.
The RHS emphasizes that "successful propagation requires patience and attention to detail." I couldn't agree more. Every time I see a new leaf emerging, I feel a sense of accomplishment.
Frequently Asked Questions
Q: Can I propagate butterworts in water?
No, I don't recommend it. Butterworts are terrestrial plants. They need well-draining soil. Water propagation can cause root rot. I tried it once, and the leaves turned mushy within a week.
Q: How long does it take for butterwort propagation?
From my experience, it takes about 2-4 weeks for leaf pullings to form plantlets. Seeds can take 4-8 weeks to germinate. Division gives instant results, but you need a mature plant.
Q: Do I need to use a grow light?
Not necessarily. But if you don't have enough natural light, a grow light helps. I use a full-spectrum LED grow light for 12 hours a day during winter. My plants respond well to it.
Final Thoughts on Butterwort Propagation
I've shared my journey from killing three plants to successfully propagating butterworts. The key is air circulation. It's not complicated. It's just something most people overlook. I hope my experience helps you avoid the same mistakes I made.
Start with a simple setup. Use a small fan. Monitor your plants daily. Adjust the conditions as needed. Remember, 90% of indoor plants die from overwatering, but with butterworts, the real killer is stagnant air.
I'm still learning every day. Every propagation attempt teaches me something new. That's what I love about gardening. It's a continuous process of discovery. If you have any questions, don't hesitate to reach out. I'm happy to help fellow plant lovers.
Happy propagating!





